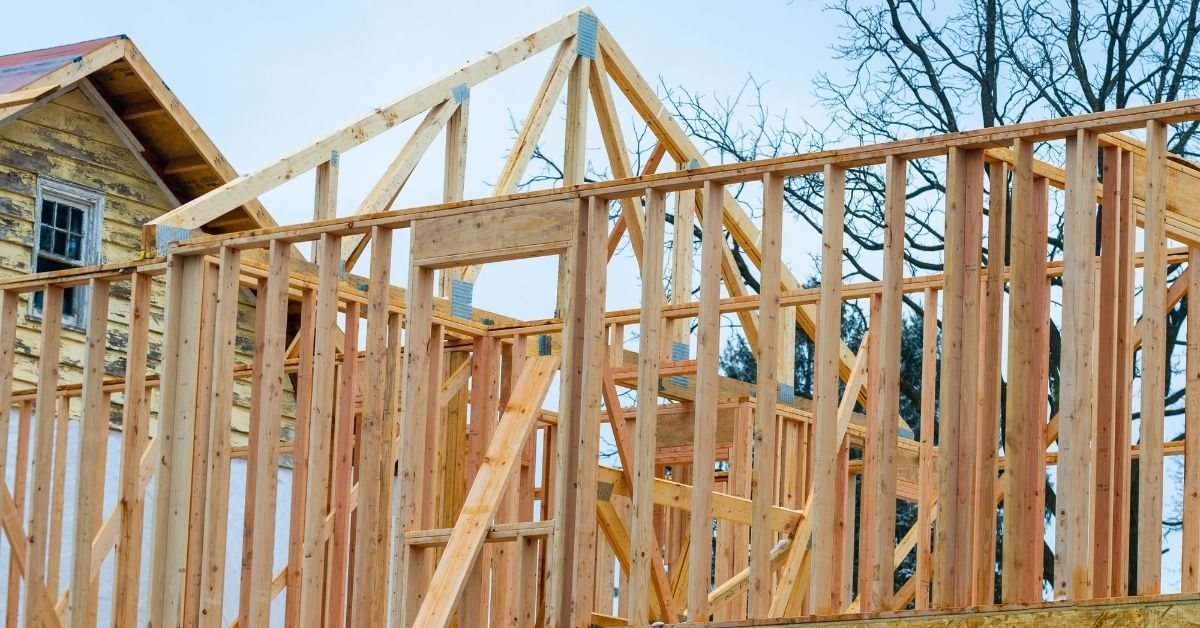
Top Rated Custom Home Builders in Toronto
Have you come across a situation that you need to [...]
Have you come across a situation that you need to [...]
Have you come across a situation that you need to [...]
One of the most promising investments in real estate. Investing [...]
Have you come across a situation that you need to [...]
Clean water in the house is very important, both for [...]
Home owners of bungalow at some point in time can [...]
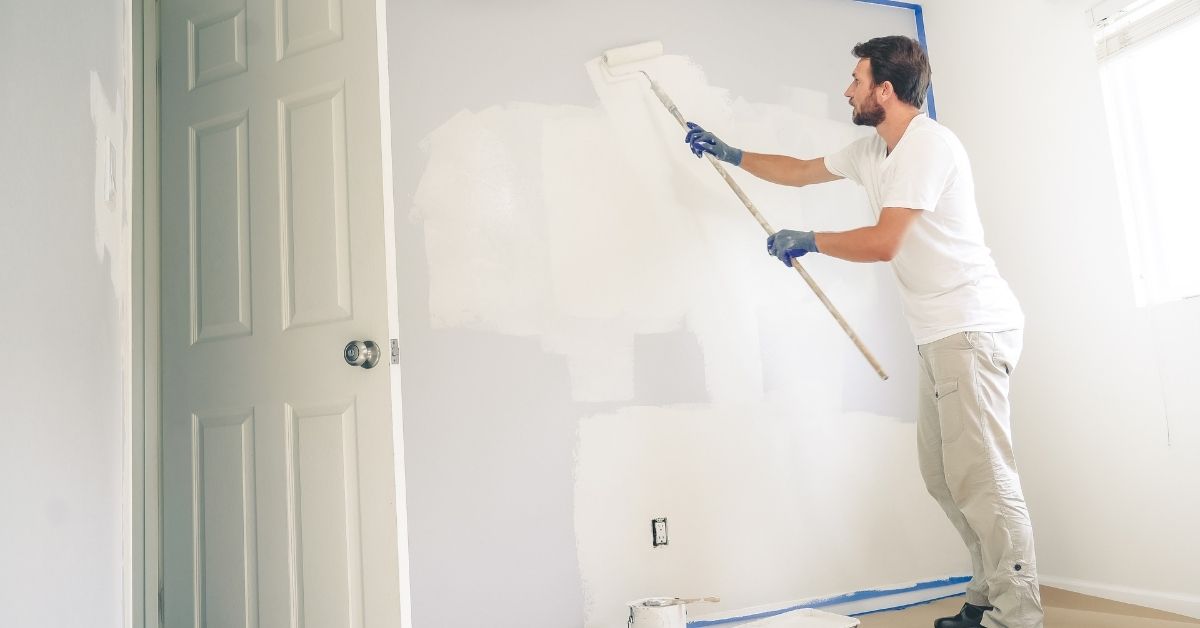
To properly paint a room, you need to study all [...]
Yes, heat gun is one of the options to remove [...]
In modern homes, cases are rare, when you have no [...]
How to find a stud in the ceiling and walls? [...]
Bringing you the latest news and insights, Everyday!
© 2020 - 2026• All Rights Reserved • Developed by RankWagon