How to Drill through the Tile – 6 Easy Steps
Have you come across a situation that you need to install shelves or fittings in the bathroom? This process can be much more difficult if the walls are covered with a tile and need to be drilled. So how to drill through tile so that it doesn’t crack and spoil the look of the bathroom?
To drill the tiles, you need to choose the right drills. Next, mark the place of drilling and stick masking tape there. Do not drill near the edges of the tiles, as this may damage them. Drill at a slow speed and do not push hard on the drill to prevent the tiles from bursting.
The tile drilling process takes some experience. However, if you know the basic rules, it will be much easier for you to drill through the tiles without damaging them. Let’s go over the main steps in how to drill into tile correctly.
How to Drill through Tile
Experienced builders know that there is a rules for every renovation work, and even for such small work as to how to drill into tile. We have compiled a series of tile drilling steps that will make this process much easier for you.
- Select Drill
- Mark Drilling Location
- Apply Masking Tape
- Drill Slowly
- Install Dowels
- Remove Garbage
Select Required Drill
To properly drill the tiles, the first step is to use the correct drills. The tiles on the walls are made of ceramics or stone, therefore special drills are needed to drill these dense materials.
These drills differ in that they have a diamond dusting. When drilling a tile, these drills cut off a part of the tile in small layers without creating strong pressure on it. This allows you to create even holes to prevent the tiles from cracking.
Diamond drills are very common and you can find them in any hardware store, they cost an average of $10 – $20. If you are in doubt about the choice of drills, you can always consult the seller.
Mark Drilling Location
Before starting drilling, it is necessary to take measurements and precisely determine the place where the fasteners will be located. Since the drilled hole can no longer be removed, it is recommended to measure it several times.
When choosing a place where you will be drilling the tiles, it is also worth remembering that you should not drill at its edges. Remember that drilling at the edges of the tiles or in the seam between tiles can cause them to crack. Try to mark the hole as close to the center of the tile as possible, this will increase the chances of it remaining intact.
Apply Masking Tape
The outside of the tile is very smooth, which can be a challenge to hold the drill in place. To simplify the task, you can stick a piece of masking tape in the place where you want to drill a hole.
Then mark the exact location for drilling again with a pencil or marker. Masking tape will make it much easier for you to hold the drill at a given point. Plus, it can help prevent the tiles from scratching if you don’t hold the drill in right place.
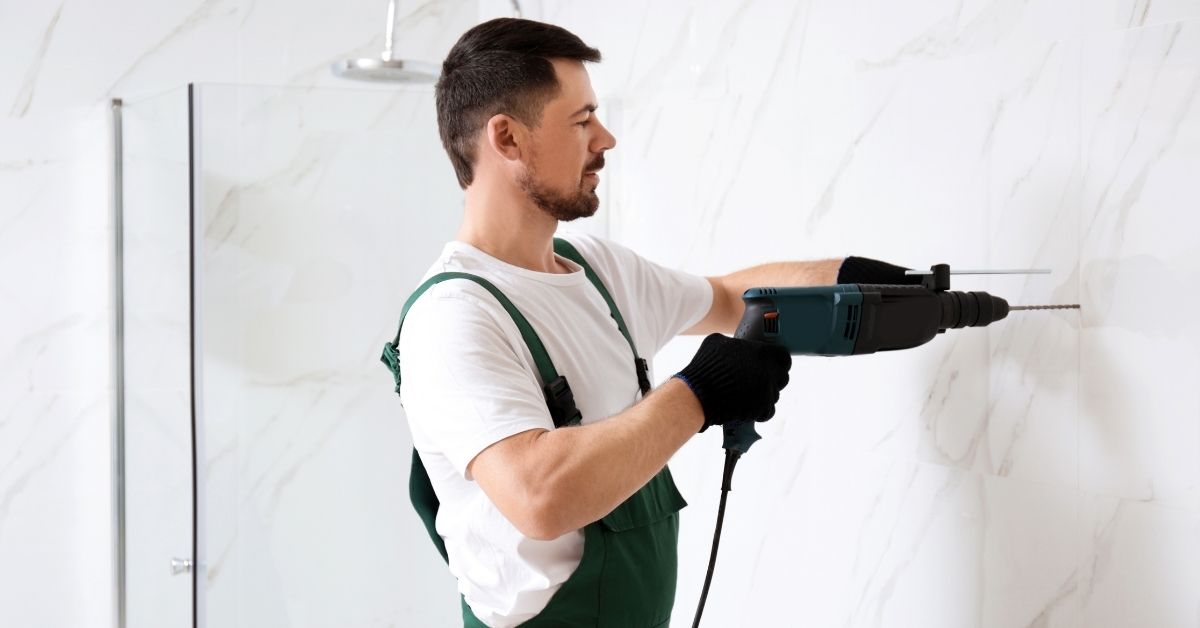
Drill Slowly
As we mentioned earlier, in the question of how to drill into tile right, the lack of rush plays an important role. To avoid chipping the tiles, it is worth drilling at low power. The correct drilling speed and applied pressure will keep the drill from overheating.
Another way to cool the drill is by using water. The water cools the diamond drill bit and this saves the tile drilling process. There are special drills in which an automatic water supply is built.
If you have a conventional drill, then you can ask for help with this. While you are drilling the hole, a second person can spray the drill with water, a slow trickle from a bottle or other handy container.
It is worth noting that in this case, safety precautions are very important so that water does not get into the drill. This can lead to a short circuit in the mains. Therefore, for safe drilling, it is recommended to carry out this process slowly or from time to time lower the drill into a container of cold water.
Install Dowels
After you have drilled the holes, all you have to do is install the expansion dowels in them. Drive in the dowels carefully so as not to damage the wall tiles with the hammer. The best way to do this is to use a rubber-tipped hammer.
Remove Garbage
When all the processes are completed and the holes in the tiles are ready, you just have to remove the debris. When drilling the tiles, a lot of fine dust will be generated. This dust will settle on all surfaces and you will need to do general cleaning in the bathroom.
To make this process easier, you can cover all shelves, mirrors, and other surfaces with a cloth. It is also recommended to hide towels, toothbrushes, and other hygiene products so that they do not get clogged.
What You need to Drill a Tile
We have detailed how to drill through a tile, however, before you start drilling, you need to prepare all the tools. Let’s take a look at the list of what you need for work.
Drill and Drill Driver are undoubtedly the most essential tools for creating a hole in a tile. If possible, use a drill driver with the ability to switch modes of operation. With such a drill driver, you can adjust the power and you do not have to try to smoothly press the power button. This will simplify the work process and protect you from damaging the tiles from a sharp press.
As we mentioned earlier, special diamond-coated drills are used to drill the tiles. You can purchase drills of the regular or cylindrical shape of the diameter you need.
Measuring Instruments. Since you need to correctly mark the points for the holes before starting drilling, you cannot do without measuring instruments. To do this, you need a measuring tape, a level, and something to mark, it can be a pencil or a marker.
Take the measurement process seriously so that the future holes match the distance of the shelf fasteners. Also, take care of the horizontal level so that it does not turn out that you install the shelf at an angle and everything will fall from it.
Masking Tape or Drill Guide will simplify the drilling process by allowing you to hold the drill at the desired point. You can also use the Drill Guide instead. This fixture with holes of different diameters is installed on the wall. After that, you push the drill into the hole and drill the tiles without fear of the drill going to the side.
Using the Drill Guide will greatly simplify the process of holding the drill at a given point. However, if you do not plan to frequently drill tiles or other surfaces, then there is no need to purchase this tool.
Personal Protective Equipment plays an important role when drilling. During the drilling process, a lot of dust gets into the air, and pieces of tiles can also chip off. To protect yourself, it is recommended to use protective goggles, a respirator, and gloves.
Remember that your health is the most important thing, so do not neglect your protective equipment, even when it comes to how to drill through a tile.
latest video
news via inbox
Nulla turp dis cursus. Integer liberos euismod pretium faucibua