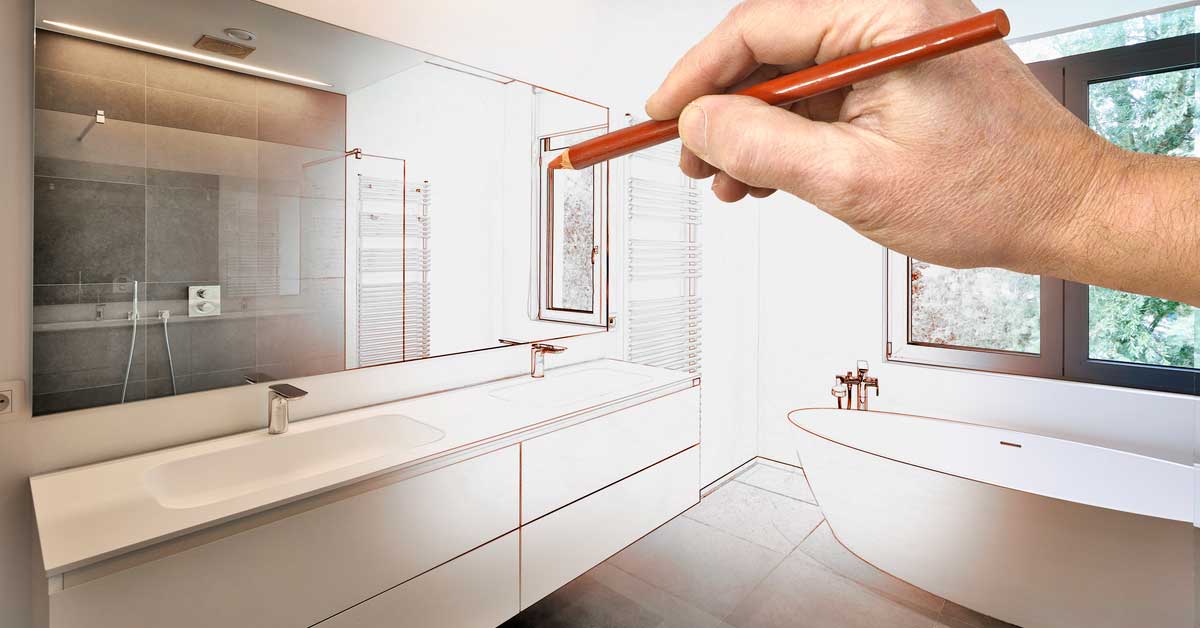
How Long Does it Take to Renovate a Bathroom with Shower
It takes 10-11 working days to complete average size 3 piece bathroom renovation for a crew that does it every day. This timing can only be achieved by hiring professional bathroom renovation local company. Contractors provide detailed schedule of their work with finish date according to your project.
As you already know, there are many details and specifics of bathroom to consider before giving exact time to renovate. Today we will discuss complete gut renovations that include full demolition and renewal of rough ins as well as finish details for bathroom. Although our chart below can be used for several sizes of bathroom to renovate and with excluded work steps.
Remodel On Point team provides table with how long does it take to renovate bathroom projects:
| Powder Room | Regular Size – 3 Piece | Master Bathroom | |
|---|---|---|---|
| Demolition | Half Day | Half Day | 1 Day |
| Framing | Half Day | Half Day | 1 Day |
| Rough Ins | 1 Day | 1-2 Days | 2-3 Days |
| Insulation/Drywall | 2 Days | 2 Days | 3 Days |
| Tiles | 2 Days | 3 Days | 4 Days |
| Painting | 1-2 Days | 2 Days | 3 Days |
| Finishes | 1 Day | 1 Day | 2 Days |
| Clean Up | 2 Hours | 3 Hours | 4 Hours |
| Total Time | 8-9 Days | 10-11 Days | 16-17 Days |
Remodeling companies within your area may operate completely differently and have faster or slower timelines. We simply want to educate readers with average work involved in complete bathroom renovation with time to finish each step.
Recommendations on How to Stay Within Schedule
Bathroom finishes at the end of work.
There is nothing worse in construction than starting work without knowing all details. Same goes for bathroom renovation projects. We cannot stress enough about long delays just because client and renovation company do not finalize materials and layout.
Trades must know not even approximate, but exact instructions for faucets, showerheads, toilet, tub and everything else. Nobody wants to redo plumbing or electrical at the end because they were not told toilet would be wall hung or mirror has lights and needs to be hardwired.
Do not rush in to start bathroom renovation project to realize shortly after that you need more information to continue work. We recommend competing walk through with contractor and agreeing on layout of all fixtures. Also decide and purchase materials ahead of time.
This way bathtub drain rough in can be placed properly as per manual, toilet can have enough clearance from the wall, showerhead water pipe positioned on the wall at right height.
Are Permits or Drawings required for Bathroom Renovation?
In construction and renovation there are no simple answers. As builders say everything depends, but lets go deeper and try to dissect the question for everyone to find what they are looking for.
Bylaws do not have restrictions on remodeling bathrooms; therefore technically there is no requirement for permit. Although there are several other restrictions that work may fall under in several situations.
Enlarging washroom size or moving walls can involve structural work and that need to be approved and inspected by city inspector. Also moving plumbing fixtures, HVAC extensions and electrical wiring triggers that threshold where work may require permitting. Every regions, state and city is different and we advise to check with local office.
Technically speaking if bathroom remodeling does not involve structural changes and relocation of drain, water and heat rough ins, you are not required to obtain permit for work. We often see simple floor plan or some sorts of drawings are made to follow the work flow.
Plan ahead if there is indeed intent to move structural walls for your project. Permits can take up to a month to be approved by city.
How Long Does it Take to Renovate a Bathroom Explained
Our team prepared complete breakdown of bathroom remodeling and timing for work done. Some projects are not be that extensive and simpler upgrades skip several stages.
Site preparation – We do not count it as specific time requirement, but this work is essential when bathroom is renovated within home that is in good condition. Put drop sheets on the floor for workers to walk from entrance to the bathroom and separate hallway with plastic to catch dust.
Demolition – Smash and trash seems easy, but actually it is very hard work and very dangerous one. Two experienced demolition guys can gut bathroom in 4-6 hours with clean up and disposal of debris. Safety is first and we suggest wearing masks, hard hats, gloves and safety shoes.
Framing if required – Back framing walls or creating a separation wall is not complicated and does not take long for person who has experience in carpentry. Same as previous step we assume it can be done in half a day.

Plumber installed mechanism for tub in bathroom.
Rough ins – Plumbing, electrical and hvac lines behind the walls are moved and updated during remodeling. These are done by licensed professionals. Even though it doesn’t take long, working together for them is close to impossible. Schedule them separately and have rough ins completed within 1-2 days.
Insulation and Drywall – Installation of drywall and insulation batts in bathroom not complicated and relatively fast. Much more detailed work is sanding and taping two coats of mud. It needs to dry every time bathroom needs 2 full days for this step of work.
Tiles – Traditionally average size bathroom has 120 – 130 sq ft of tiles on walls and floor. Cutting and putting the tiles in place takes 1.5-2 days. Keep in mind that another day is needed for grouting having it set. In total tiling during bathroom remodeling takes 3 days.
Painting – Just like mud, paint needs to dry and primer is applied just before first coat. To speed up the process pros use ventilators that dry paint. In best case its done in 1 day but let’s assume we need 2 full days to be safe.
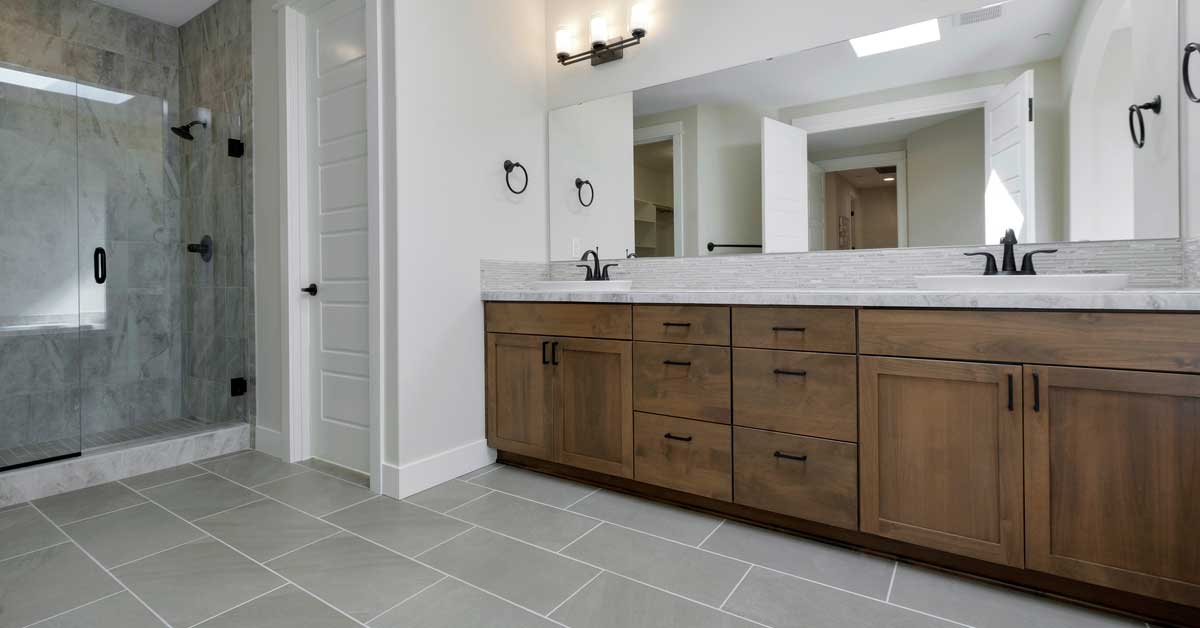
Finishes – The items that people pay attention to (aside from tiles), installed at the very end. It includes electric plugs, placing vanities on wall, shiny faucets or shower heads, lights on wall or ceiling and toilet installation. Remodel on Point thinks this work is for 1-2 days maximum.
Clean Up – Don’t take cleaning for granted. It’s not only part of service, but also shows determination and professionalism. Vacuum all the dust and make the tiles shine. It takes 1-3 Hours to finalize the bathroom project and have it ready for use.
How To Schedule Bathroom Project to Save Time
We want to break up bathroom schedules into few different categories. The process in-house renovation company has is not the same when managing trades yourself and Remodel On Point will try to explain it here.
Doing this kind of work means having trades at hands reach, that one way or another depend on you. This allows trust and ability to demand being very specific with timing. For example in the morning demolition team is tearing up the walls and after lunch framer comes in to make new walls.
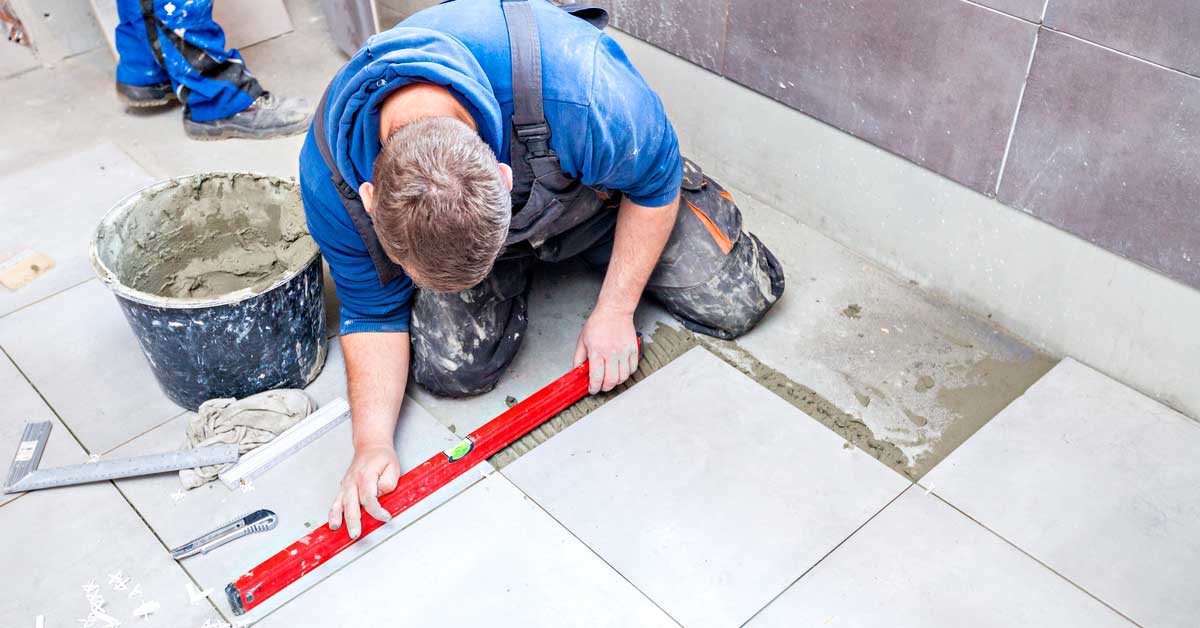
Tiler is working on floor tiles and grouting.
Companies and general contractors that are in renovation business should follow our table above with suggested sequence and timing. To be sure, ask each trade for time to complete their job and schedule next person accordingly. Book everyone ahead and make sure they are trustworthy. Otherwise you will be canceling next guy in line.
For home owners that want to make their own project or contractors that start their business it is better to test the waters first. Do not rush in, because there will be mistakes and it’s better to catch them at right time without rushing in. Leave a day in between trades just in case someone is late or issue with materials come up. Overall managing own bathroom renovation should take 5-6 days more than professional company.
What other delays can you face?
Throughout large or small project there can be delays caused by several factors. It is better to prepare for them and know what to expect to stay on track and finish bathroom renovation in time.
Bad Planning – Construction and remodeling is all about knowing details of work and mindful planning. Avoiding to create organized process leads to mistakes that create delays and loss of money. For those that need help, our team can create detailed design with schedule explaining how long does it take to renovate a bathroom with shower.
Damages – Each trade coming to a job needs to be respectful to already completed work and not damage it. Like they say – you get what you pay for. Also get slightly more materials (drywall, tiles, and trims) than calculated for assumed waste. Some tiles crack during installation; some are damaged by being sloppy.
Wrong Materials or Late Deliveries – Ordering cheapest products for bathroom renovation from unknown suppliers often leads to mixed up deliveries or late arrival. It means everyone stop their work completely until issue is resolved you contractors have the right products to work with. Try and order from reputable sources even if it means paying slightly more.
Contractors – Assuming all contractors and trades work with same pace or produce same quality is a big mistake. Ask each one of them how long does it take to renovate a bathroom step they are doing before scheduling next guy. For example Tiling crew can complete regular size bathroom (120 sq ft of tiles) in a day and a half, but solo contractor may need three days for same amount of work. Punctuality is another problem with trades.
latest video
news via inbox
Nulla turp dis cursus. Integer liberos euismod pretium faucibua