Different Types of Coffered Ceilings and Designs with Costs
What is Coffered Ceiling?
Coffered ceiling is architectural design feature for house ceiling that adds character with small separations and moldings. In other words beams are attached in certain area of ceiling and covered with moldings to make it look as finished product.
There are many types of coffered ceilings in the world and most popular we are listing below to discuss and give our readers better ideas of what they are trying to achieve in their homes.
[instagram-feed]Types of Coffered Ceilings and Designs:
Traditional – to follow the traditional style of homes with crown moldings and wainscoting patterns, coffered ceilings are made with the same style of edges and molds. White color is used for paint and 5 to 8 inch moldings are attached to beams.
Modern – newer homes are sticking to new designs, which now have to be complimented with creative ceiling designs. Open concept modern homes need slick coffered ceilings with sharp edges and preferably unique color. You can even cover them with veneer or accent material to stand out.
Venetian – luxury places that require additional feature with antique look can definitely use charm of coffered ceilings. This custom work requires tons of details and shapes to be added to beams on ceilings. Images and colors are often complement sides or flat part of drywall. You simply will not get away with just moldings and expect to pay out of this world costs for Venetian coffered ceilings.
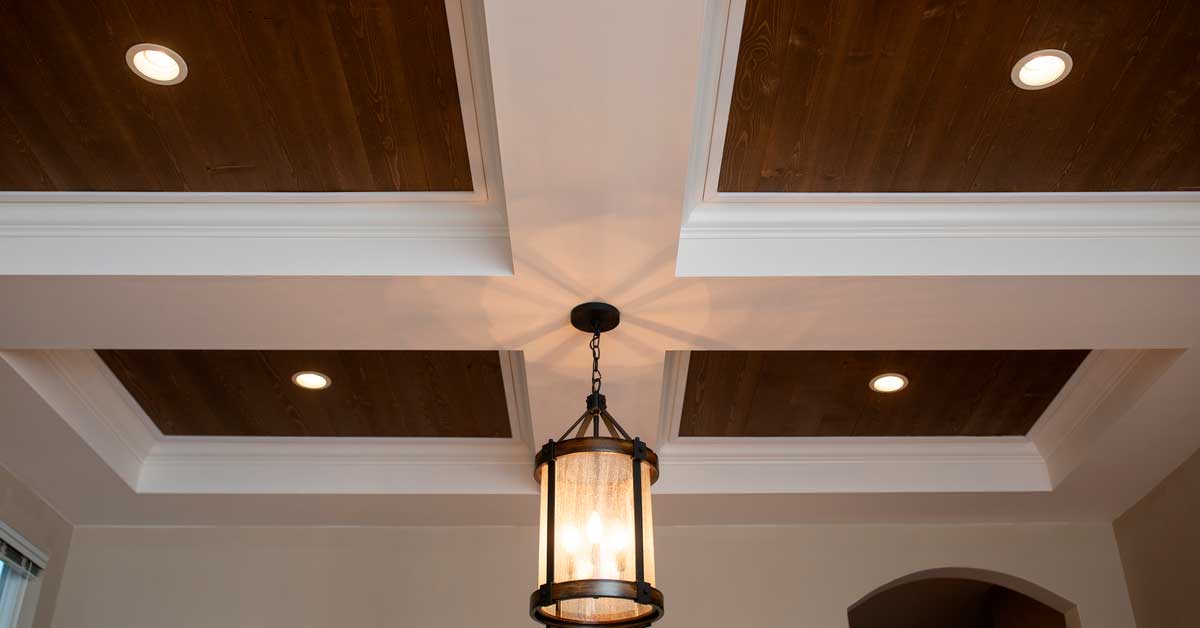
Wooden – homes that have wooden interior finishes for casings, baseboards and even wall panels should also have wooden coffered ceilings. Same material or stain color is better on the beams as the rest of the wood. Home offices often have these ceiling details.
Commercial – in office spaces if coffered ceilings are installed, they are almost always the simplest you have ever seen. Some managers go far and try to mimic industrial look with metal coffers, but overall we see only straight shapes with sharp edges that have no significant compliment to it.
Prebuilt – cheapest way out to create similar design on your ceiling is to purchase prebuilr product for coffered ceiling. There are few options on the market that are similar to custom made features, but not quite the same in originality and size. Prebuilr coffers are usually thinner due because they are non-structural.
Purposes of Coffered Ceilings Installed
Originally coffered ceilings were installed only in homes of wealthy people. Back then every additional feature would be considered extraordinary and average home owners just did not have money for it.
Long time ago, when materials became cheaper and average citizen had some money to spend, this method of design was used to cover level deficiencies on ceiling. Nowadays it is more of luxury feature for custom homes.
If your home already has coffered ceilings and it suits your style of finishes it is logical to keep it and refinish once in a while. Newly build homes do not have any intent to hide deficiencies with coffered ceilings as drywall and plaster can do the job for fraction of costs.
Most Common Areas for Beam Coffers
Be it house or a commercial space, the ideal place for installation of many types of coffered ceilings is open area with feature items and high ceiling. In commercial areas these are lobbies, large sitting or luxury private office areas. At home common places for coffered ceilings are main entertainment and open areas such as dining room, living room, kitchen or private office.
Rarely but sometimes can be spotted such design items in bedrooms or to be more specific in master bedroom. Of this to happen the house needs to be completed in specific style with wood accents or wall panels and ceiling height in the bedroom has to be at least 9 – 10 feet.
If the entire house originally does not all coffered ceilings, than we never see them in closets, bathrooms and other narrow areas.
Main Things to Consider Before Installing Coffered Ceilings
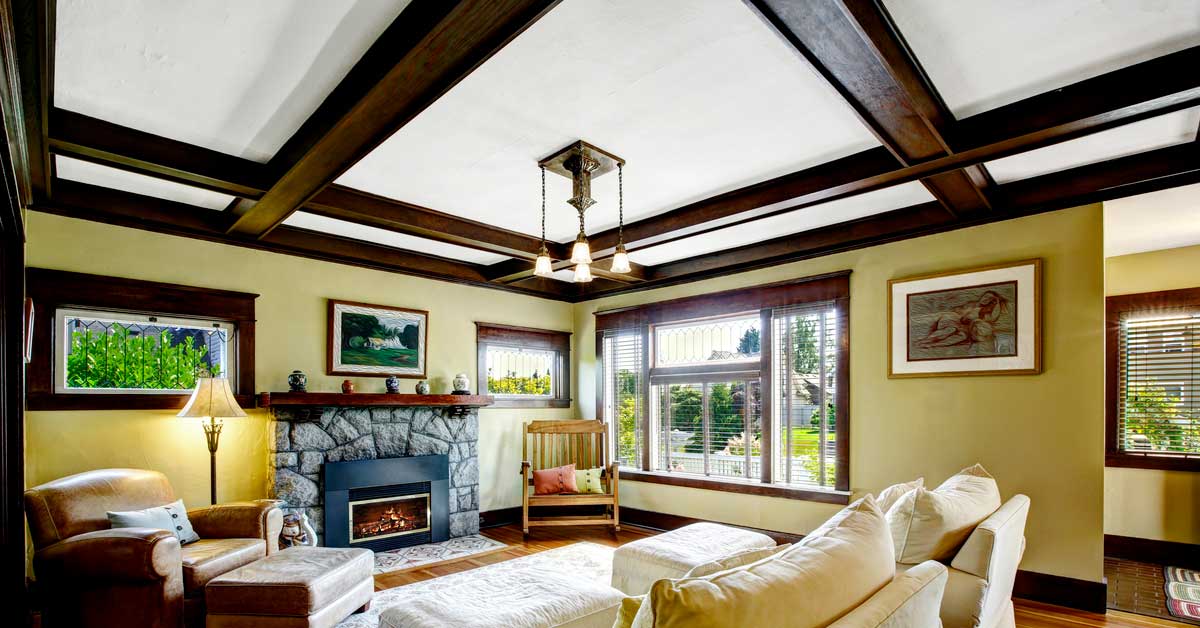
Antique looking wood beams on ceiling.
Height – Coffered ceilings do not look good in homes and buildings where ceiling height is lower than 8 feet. Your place needs to have clearance for installation. On Point Remodeling suggests optimum height of 10 feet for regular celling feature.
Open Area – It does not make sense to stuff already closed up spaces. The place of installation needs be wide open to catch the beauty of coffers with first look. There is not minimum standard but in our opinion it should start from 400 sq ft.
Size – Depending on ceiling area the size of coffers may change. If the plan is to cover 1000 sq ft of open ceiling with coffered ceilings, the size of coffer boxes and beams may be larger than in smaller areas. Average of each box is 3 feet by 3 feet.
Thickness – The beams are installed mainly for structural support but it holds only small load of moldings and drywall. Your thickness illustrates style and has to be big enough to fit moldings or side feature. Usually coffered ceilings are between 6 and 10 inches thick.
Style and color – This you need to decide from the beginning. Coffers with beams have to match the style of the building. There are tons of types and colors to choose from. Literally you can do anything with custom molding and painting.
Prebuilt Products Available
The alternative for custom built coffered ceilings there are manufacturers that pre-construct them from similar materials. The market is not that big and cannot be customizes once installed. Prebuilt coffers are not structural and are lighter in weight.
Although the quality is not the same, the benefits of purchased ceiling features are affordability and time. You can save more than half of costs by purchasing ready to installed materials and can install it within a day or two.
As this ceiling design became popular, small private stores and even large franchises like Home Depot started selling coffered ceiling systems. The regular models sell in straight and cross sections with average cost of $10 – $15 per linear foot. Suggested size boxes in 600 sq ft room will have 400 linear feet of coffered ceilings, which makes the cost of materials $12 – $8 per square foot of ceiling (materials only).
Coffered Ceilings Installation Process
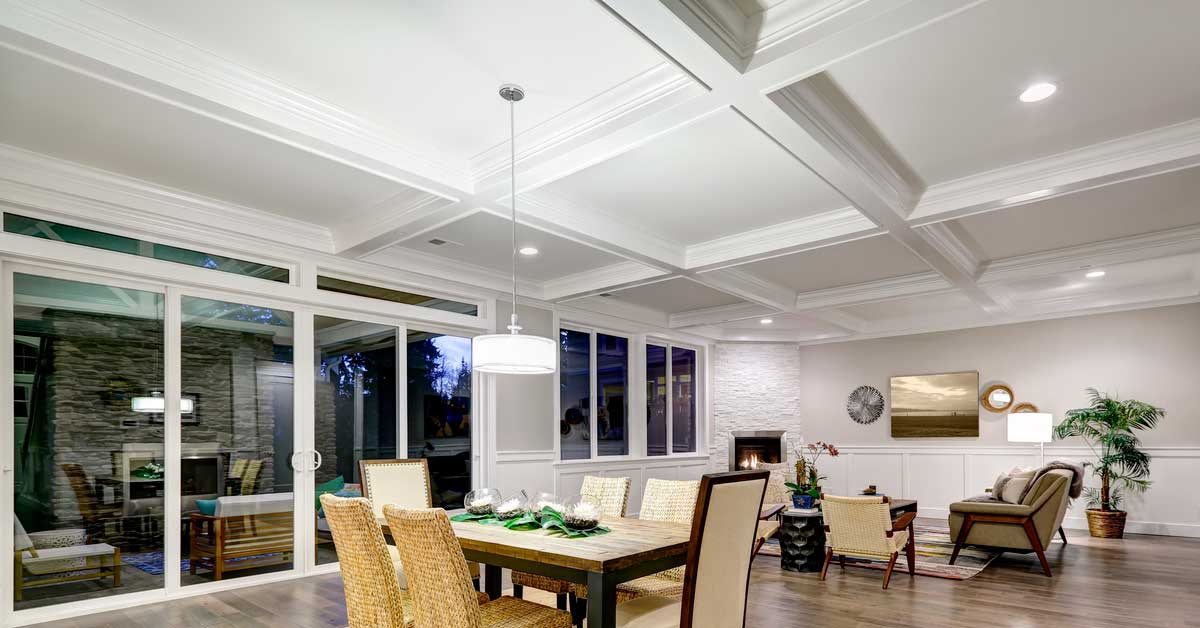
Newly built home with white custom coffered ceilings.
- You hired a contractor or decided to do it DIY, the mind is set on which rooms will be worked at. Carefully measuring and properly designing types of coffered ceilings is the key to success in installation. Measure each line that will be installed to calculate required materials.
- For all custom work there are beams installed first that create square shapes on the ceilings and hold everything that will be attached to them. Beams can be structural or nonstructural and this can be verified by architect.
- Raw wood is covered with typical to your area construction material. In some cases it can be MDF boards and others will be covered with drywall or plaster that needs to be taped and sanded to hide edges.
- Imagine at this point you have ceilings with perfectly square boxes that lack character. Contractors install moldings that match your house. They are made out of wood, MDF, plaster and even PVC. Some modern ceiling features don’t have moldings.
- Even though most of finish product is painted white, there are home owners that want to create different styles and shades by painting with different colors. Wooden products are stained.
Types of Coffered Ceilings and Costs Involved
The main question home owners have is always about how much it will cost them for such feature. Every one of us has budgets in our minds to spend for specific remodeling projects in our house and before considering anything we need to know how much different types of coffered ceilings can cost.
We wanted to separate few styles and after careful research On Point Remodeling team came up with average costs for coffered ceilings:
Custom Coffered Ceilings Cost: $28 per square foot
Wood Coffered Ceilings Cost: $36 per square foot
Prebuilt Coffered Ceilings Cost: $10 per square foot
More complicated spaces that require same types of projects have higher costs. (e.g. Manhattan penthouse, office space with night time work only, less populated areas with lack of supply)
Other factors that affect costs can be uneven rooms, some demolition prior to installation and structural changes on the project.
Materials Used By Contractors
To understand what materials are needed for installation of different types of coffered ceilings in homes we have to go back to process of work and to styles that are selected.
In custom work all the parts are installed separately and beams are attached to the ceiling first. They are made of some type of wood or metal. Interior work does not require any specific type of material or pressure treated wood.
The covers of beams are made with several materials and they differ mostly because of regional weather and how these materials will react to temperature and humidity.
Cheapest material to cover the beams is PVC and MDF. They are used for shelves, trims, boards, and can be purchased in all hardware stores and all contractors have worked with them for one or another purpose.
More detailed and complicated materials are drywall and plaster that are used for installation in between skeleton of the house and beginning of finishes.
Actual moldings can be made with MDF, PVC, plaster, gypsum or wood product. And to cover all that there are primer products, paints and stains.
Conclusion for Different Types of Coffered Ceilings
Not everyone is a fan of coffered ceilings and most home owners prefer to have their places without it. This decision can be made due to costs for custom work, limited space and height that restrict installation or simply not liking the types of coffered ceilings.
Complimentary lighting can be attached to ceiling feature for even better effect and stylish look. Overall there are tons of options how you can design coffers and have it your way, but remember everything costs.
Average carpenter contractors can be unfamiliar with this type of work and may not know all the details for proper installation. We suggest hiring professionals that do specifically coffered ceilings as their primary work on daily basis.
latest video
news via inbox
Nulla turp dis cursus. Integer liberos euismod pretium faucibua