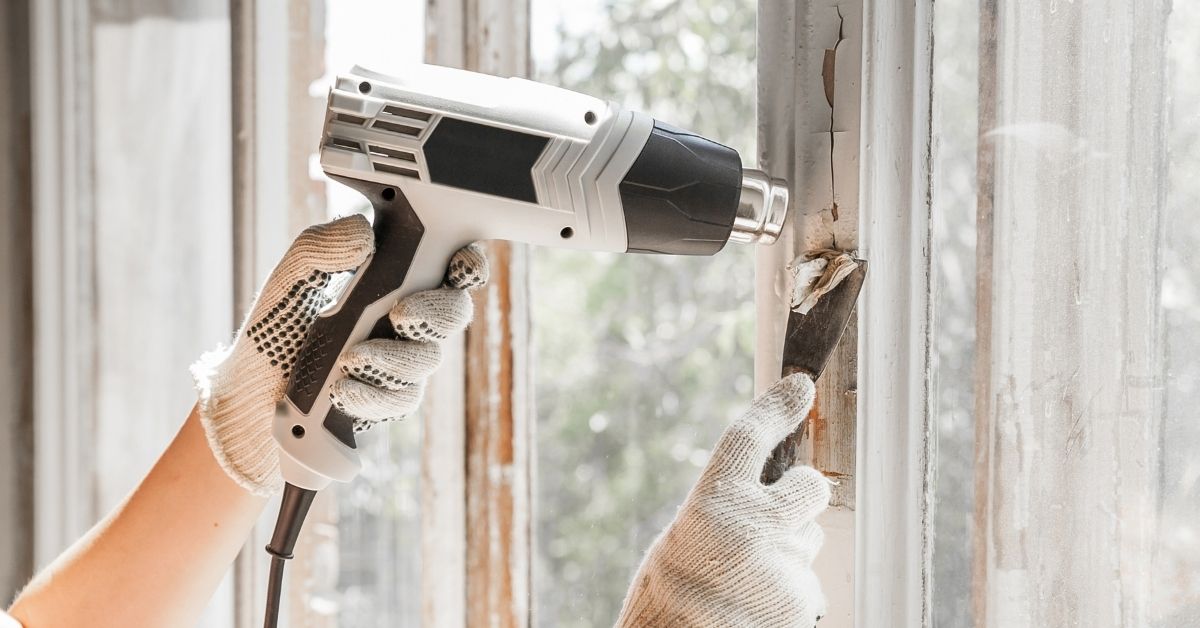
Can You Use Heat Gun to Remove Paint?
Yes, heat gun is one of the options to remove [...]
Yes, heat gun is one of the options to remove [...]
In modern homes, cases are rare, when you have no [...]
How to find a stud in the ceiling and walls? [...]
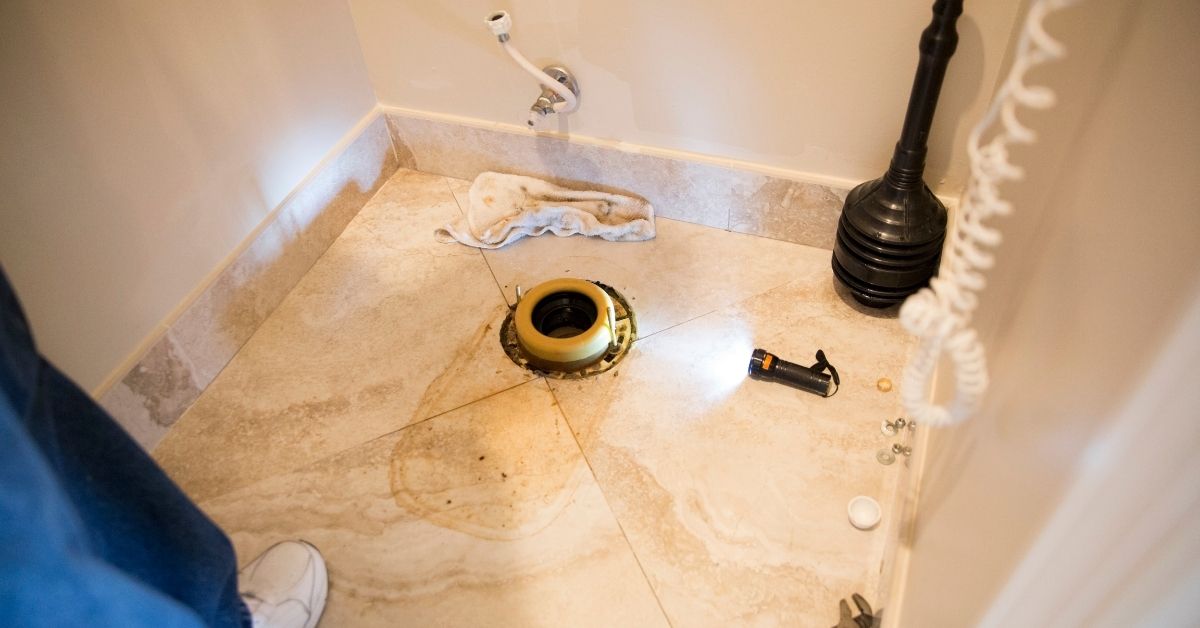
Imagine walking into bathroom after remodeling and seeing toilet drain [...]
Copper roofs have been popular for over two hundred years. [...]
During renovation or bathroom upgrade contractors or home owners often [...]
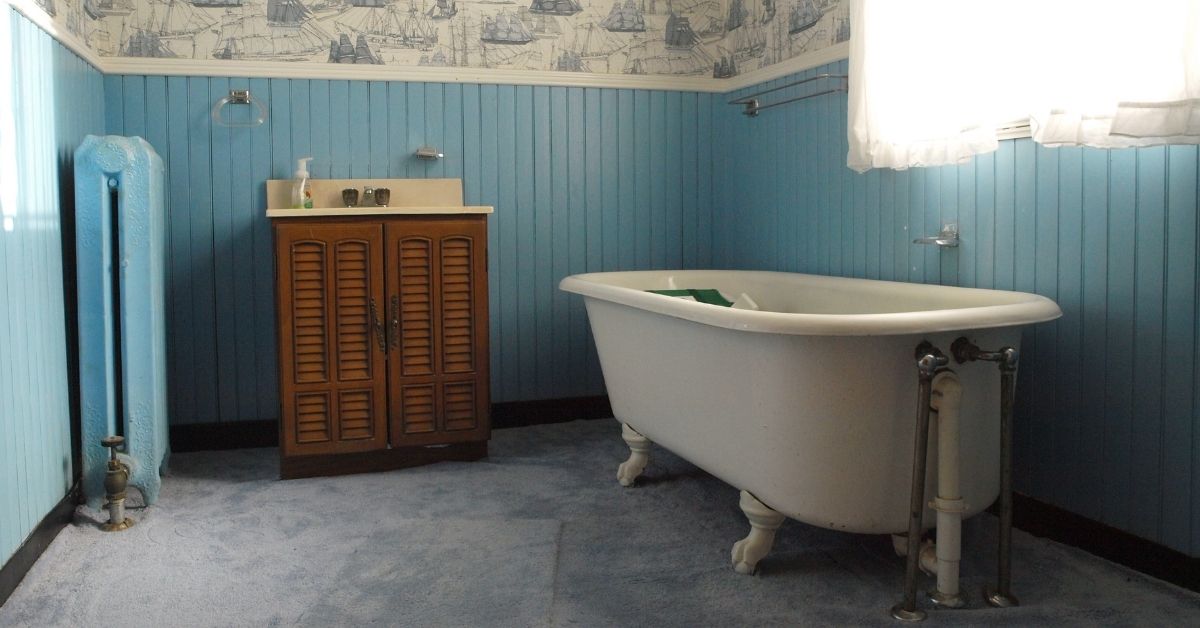
When planning a room's design, an important question is whether [...]
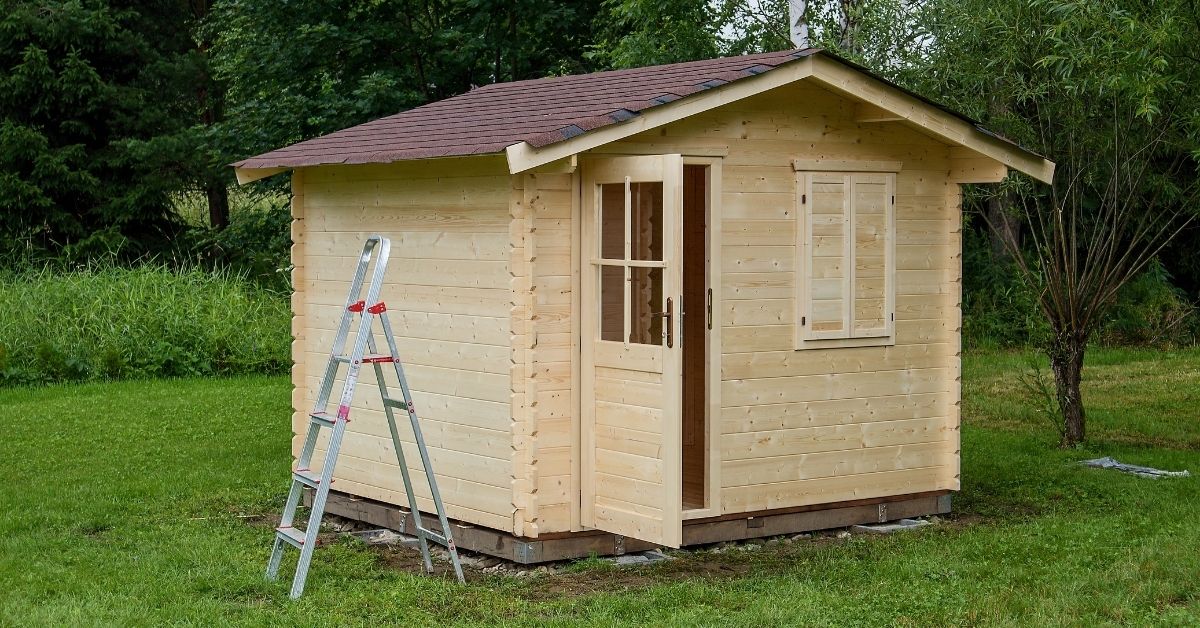
Can someone build a shed only spending $500 or less? [...]
Home Depot is the largest hardware store in America and [...]
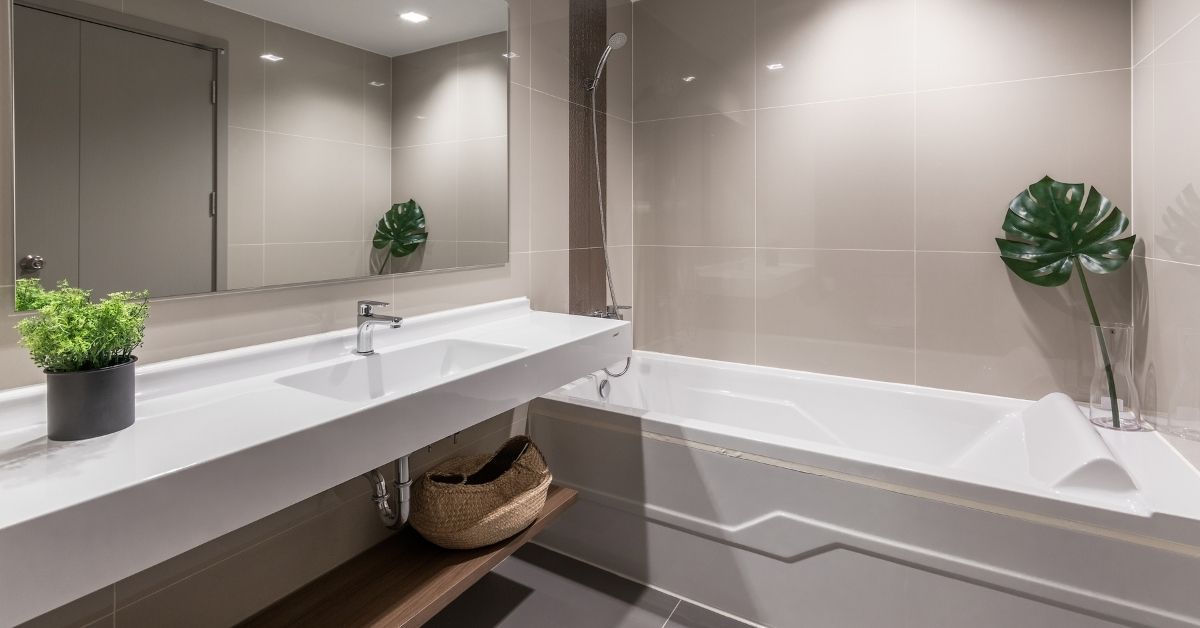
The average cost to hire contractor for 5x10 bathroom remodel [...]
Bringing you the latest news and insights, Everyday!
© 2012 - 2026 • Avada is a Website Builder for WordPress and eCommerce • All Rights Reserved • Developed by ThemeFusion