Outdoor In Ground Pool Installation Cost For Average House
Average in ground pool installation cost for regular backyard home [...]
Average in ground pool installation cost for regular backyard home [...]
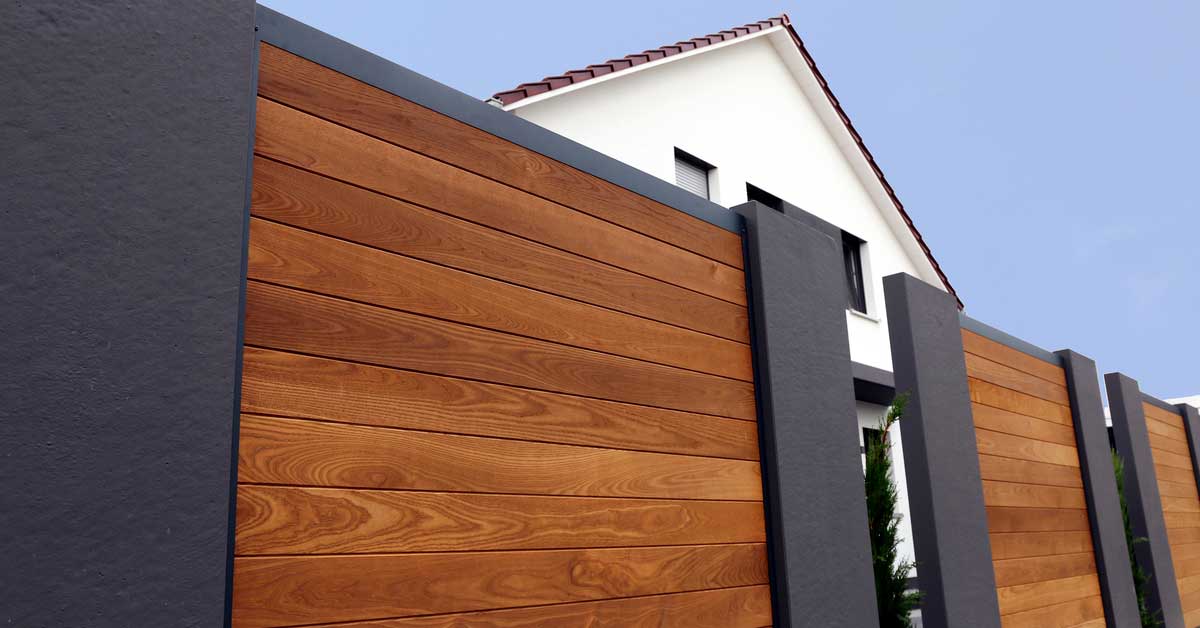
If you own a home or any other property you [...]
To get around outside of your home you need railings, [...]
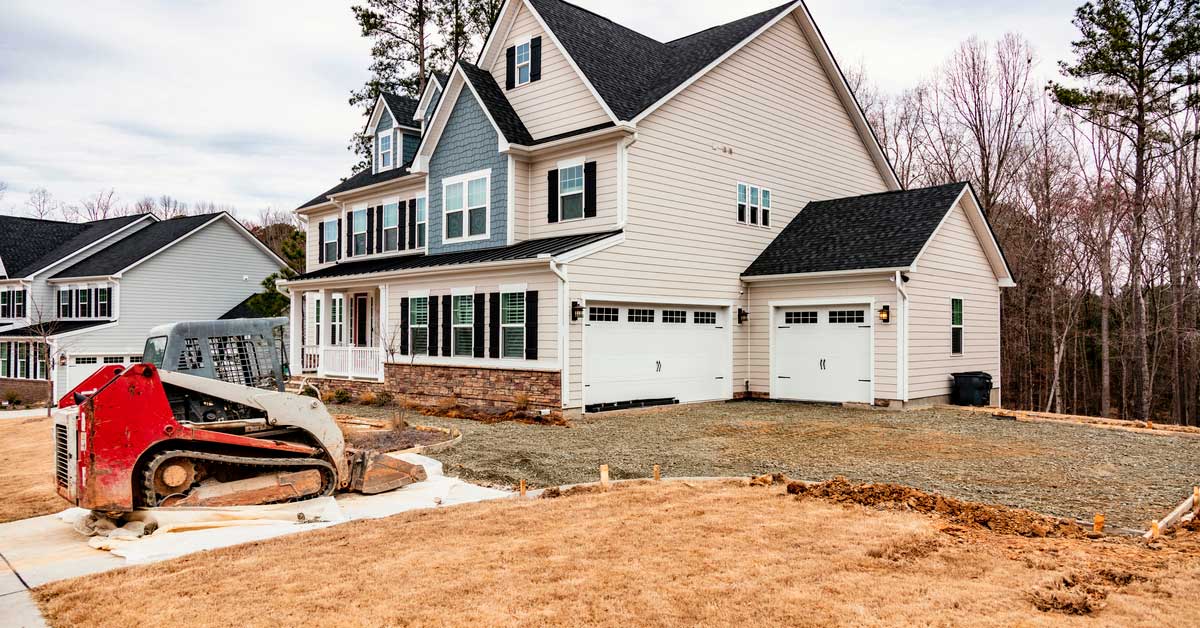
Each building has some sort of driveway or at least [...]
Many older homes were built without garage. While some areas [...]
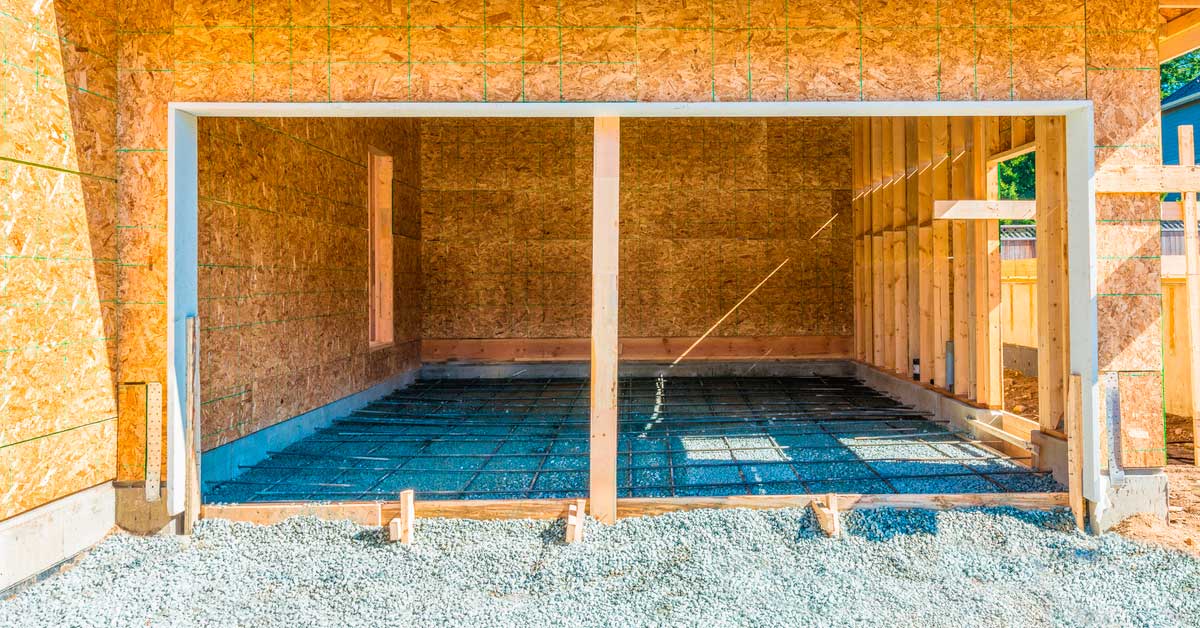
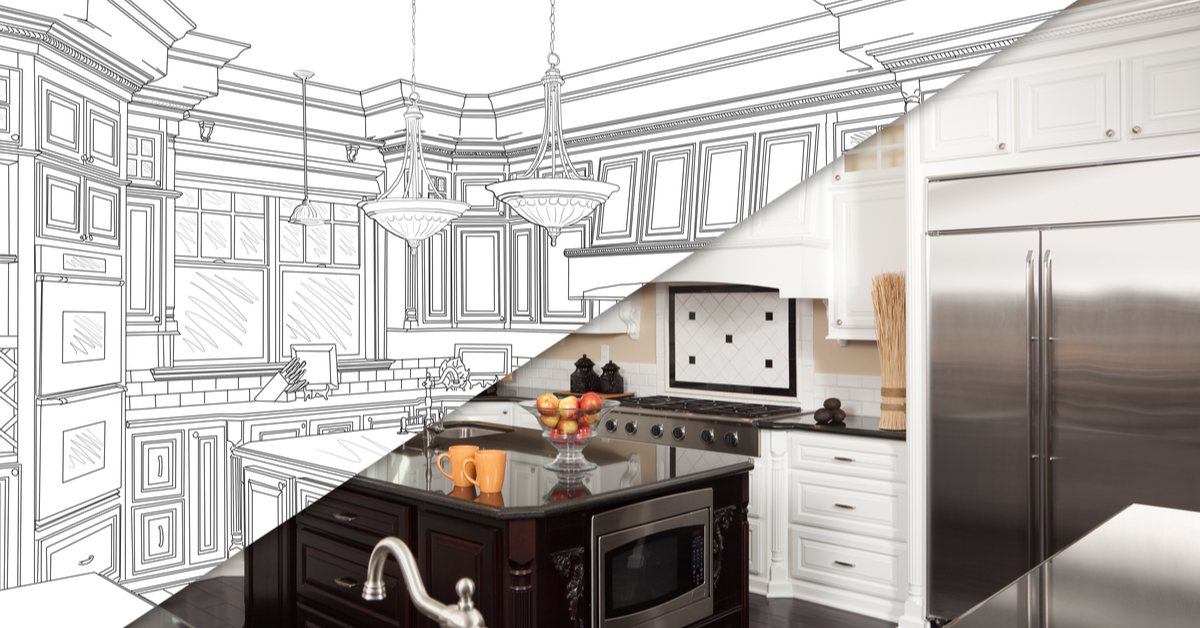
Construction is extremely hard process to put plate and finish [...]
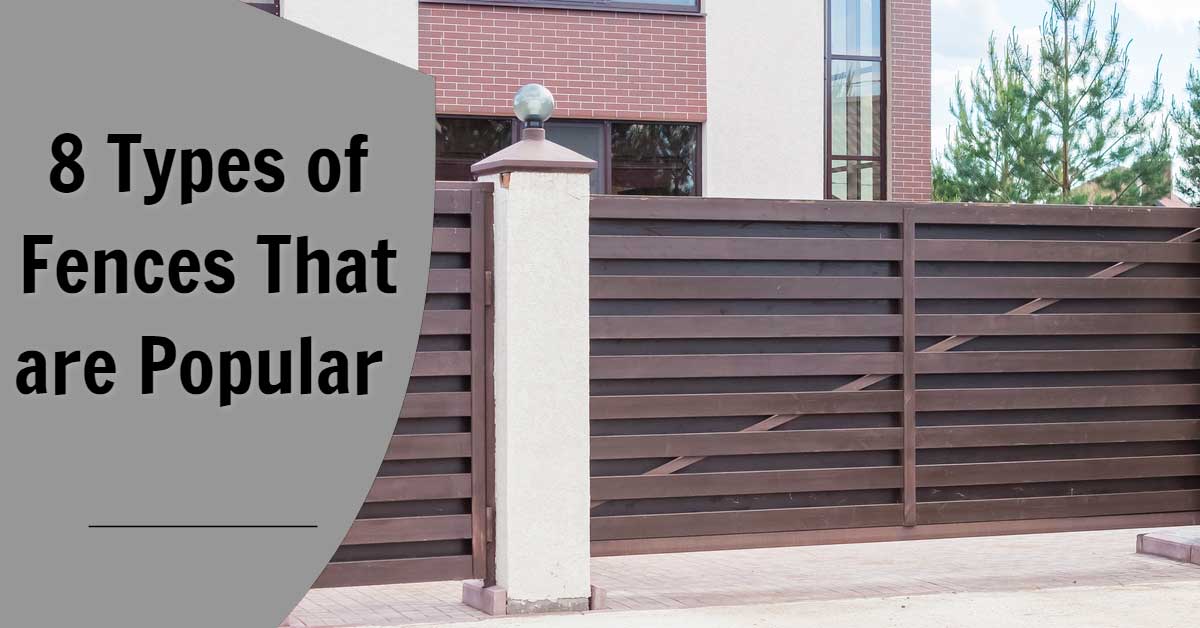
On Point Remodeling has decided to gather information on 8 [...]
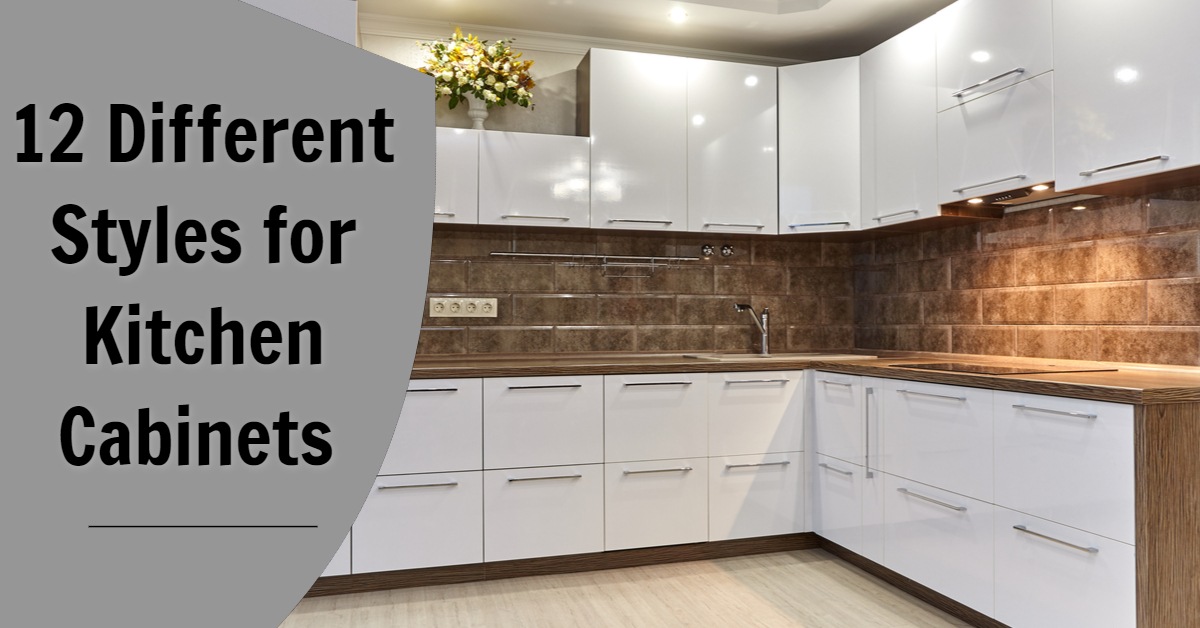
Before remodeling your kitchen, the actual style needs to be [...]
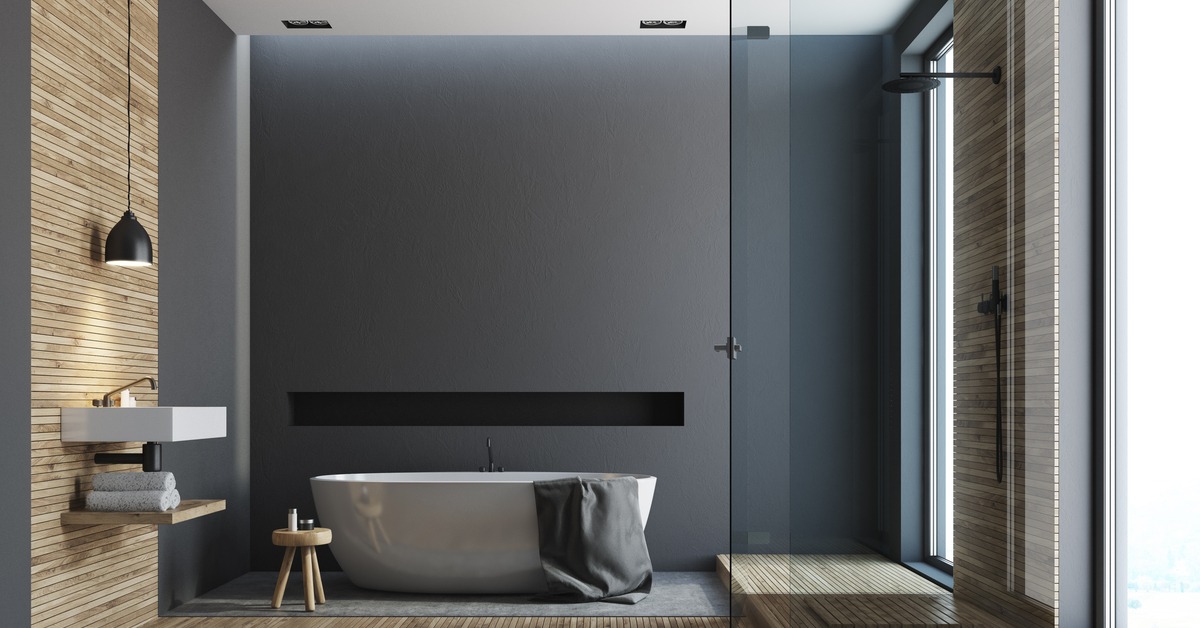
Bathroom sizes range from very tine rooms that you can [...]
Kitchen remodeling is a major task that requires careful planning. [...]
Bringing you the latest news and insights, Everyday!
© 2012 - 2026 • Avada is a Website Builder for WordPress and eCommerce • All Rights Reserved • Developed by ThemeFusion