Should you Decorate your House Before Selling?
Homes are being sold all the time in all cities [...]
Homes are being sold all the time in all cities [...]
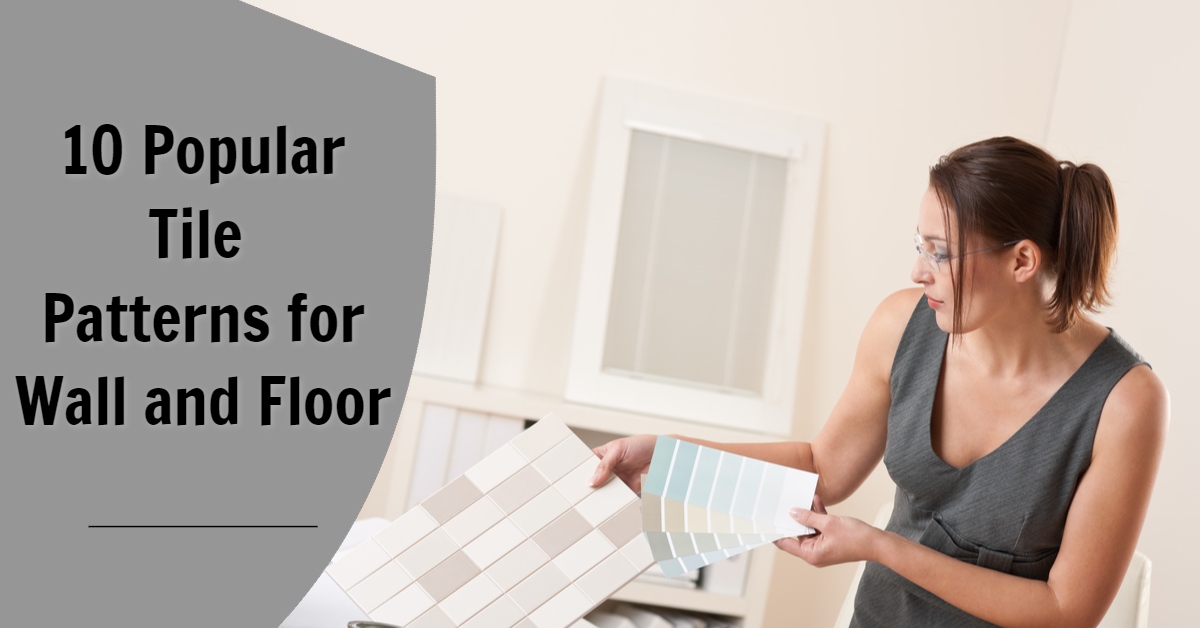
Renovating your house usually involves installation of tiles. Of course [...]
A great alternative to already many existing types of flooring [...]
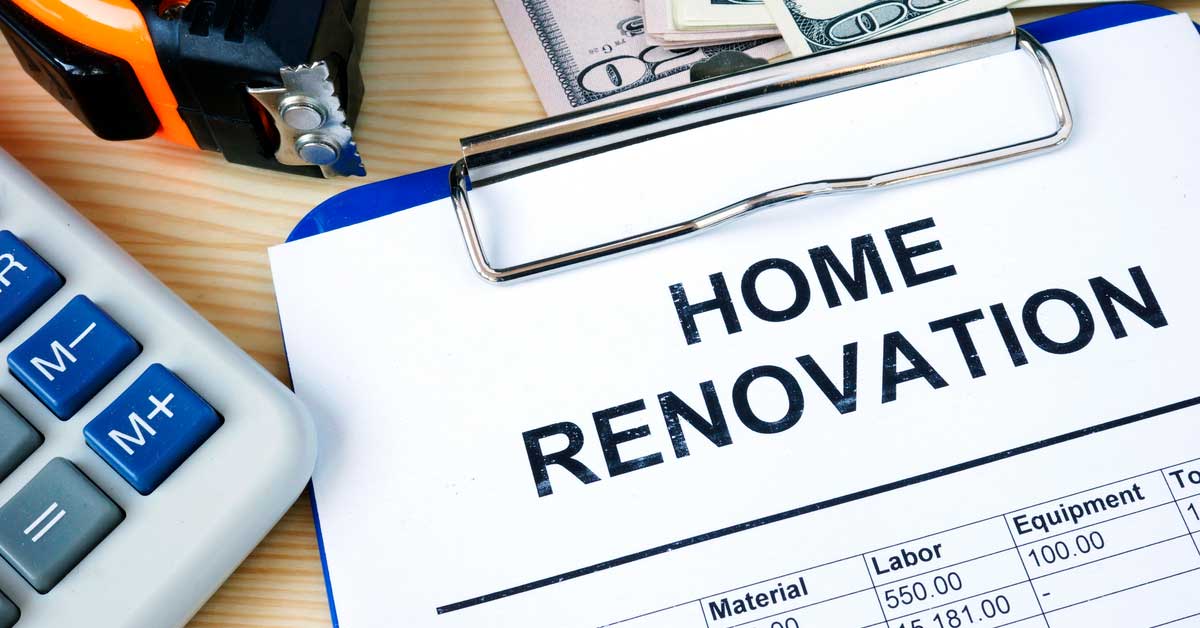
Renovating your home can be somehow expensive, especially if you [...]
Deciding and finding time to renovate your home can be [...]
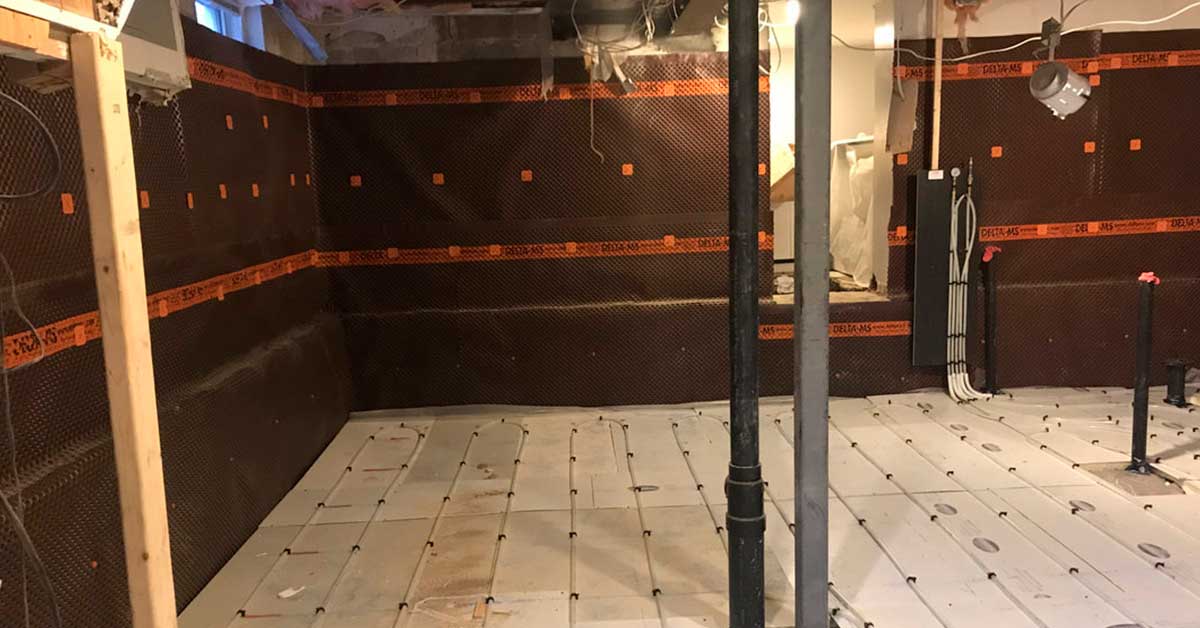
A few times in life, we can either buy a [...]
Average house with common basement of 800 sq ft and [...]
All of home buyers have at one point thought of [...]
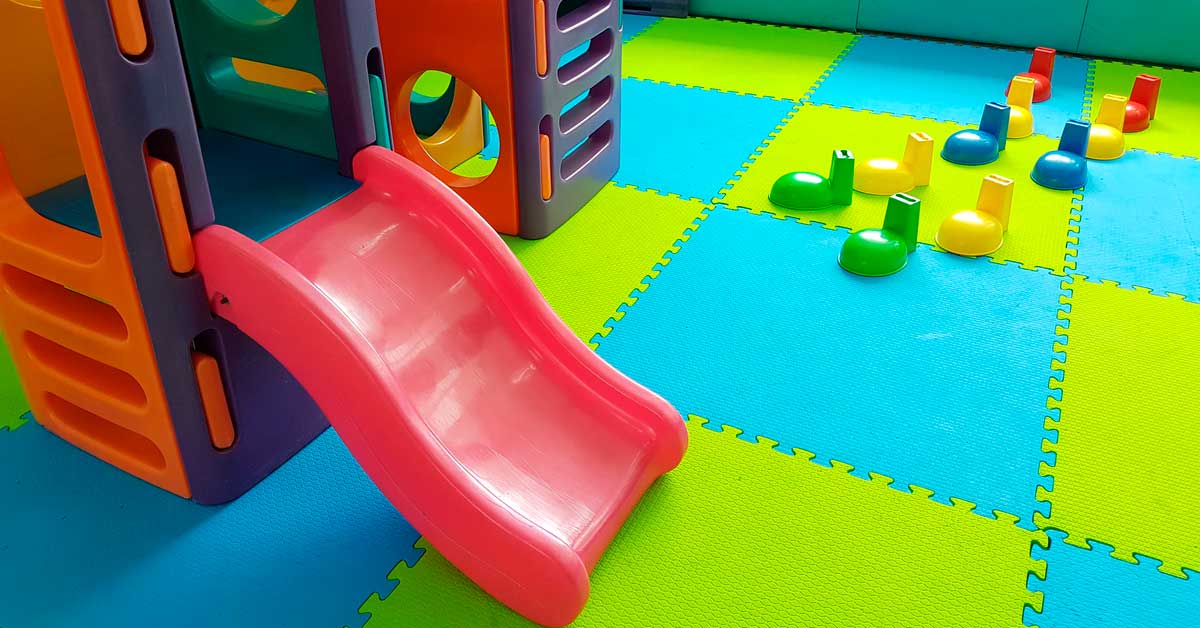
Caring for the well-being of children is very important to [...]
Decorating is an essential part of any room in your [...]
Bringing you the latest news and insights, Everyday!
© 2012 - 2026 • Avada is a Website Builder for WordPress and eCommerce • All Rights Reserved • Developed by ThemeFusion