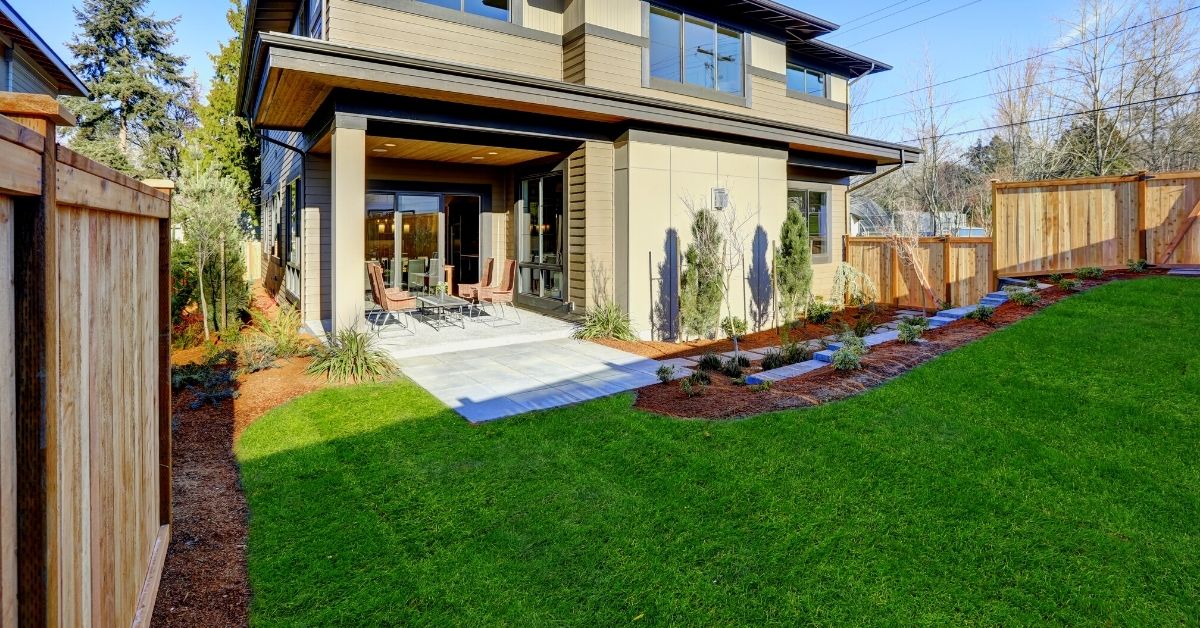
How to Flatten out a Sloped Backyard by Yourself
Most of the houses are built on not perfectly flat [...]
Most of the houses are built on not perfectly flat [...]
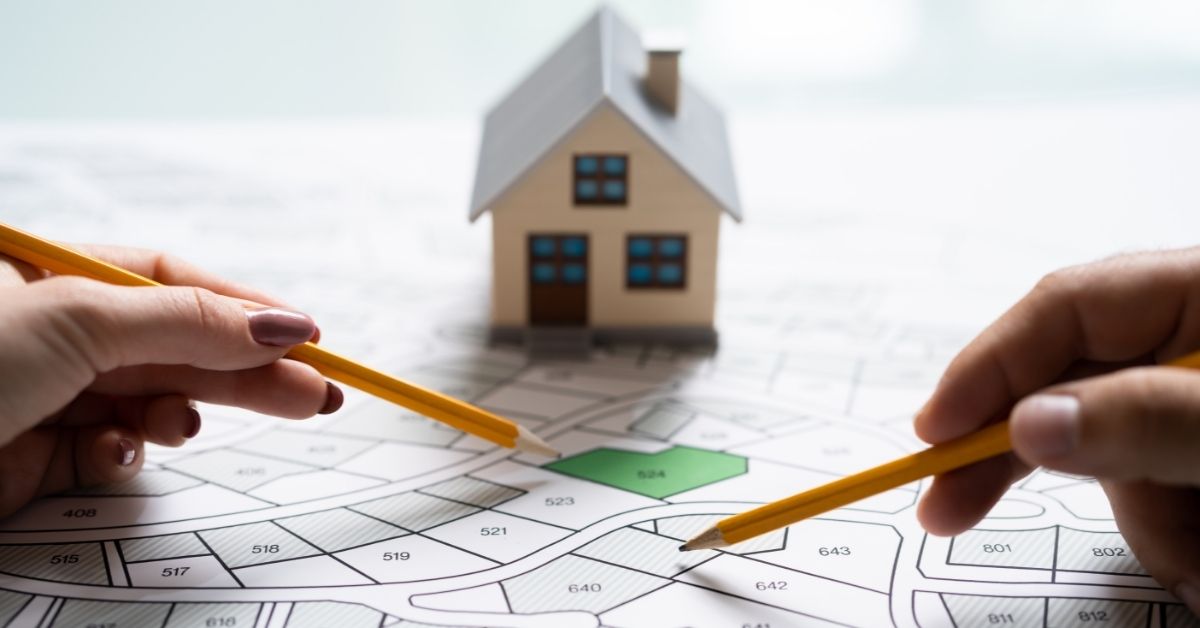
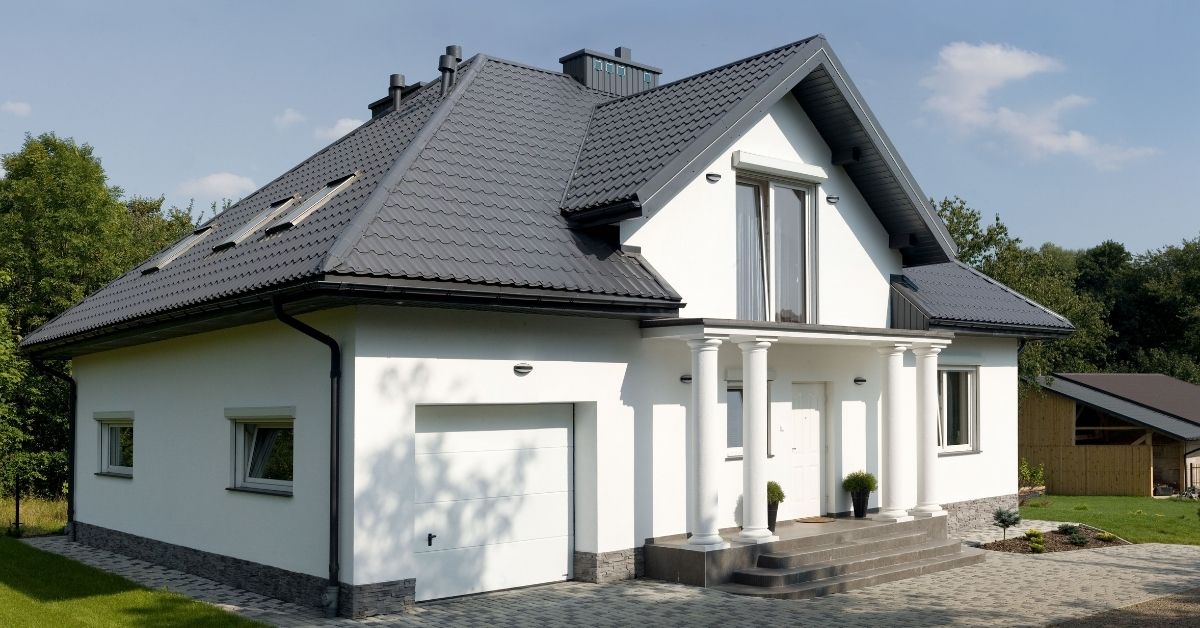
Before signing contract for new home construction ask builder what [...]
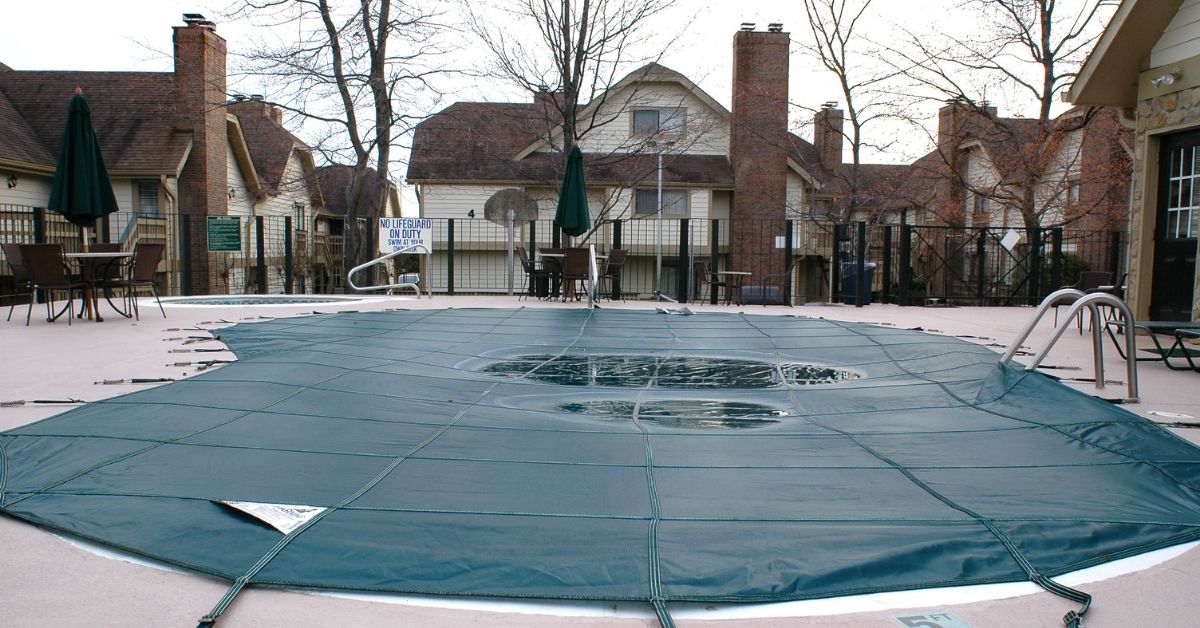
We all love to swim in the pool on hot [...]
The issue of drain worms is a nuisance for home [...]
Having a new custom home built specifically for you seems [...]
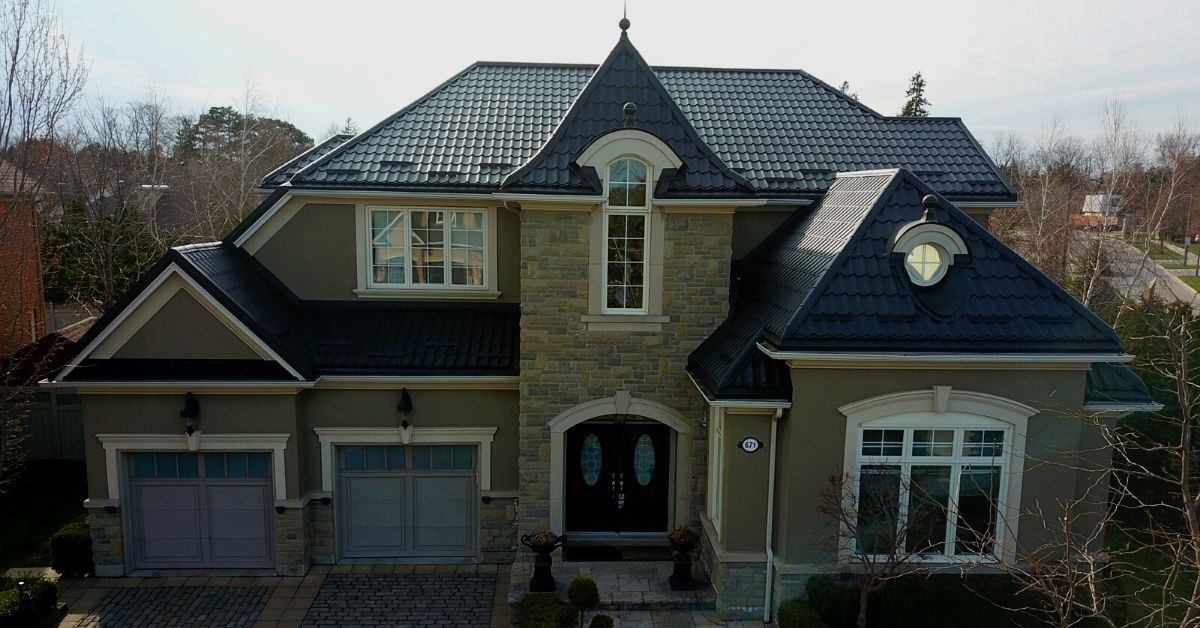
Initially, the use of metal roofs was intended for commercial [...]
Establishing a new household always raises debates. You would think [...]
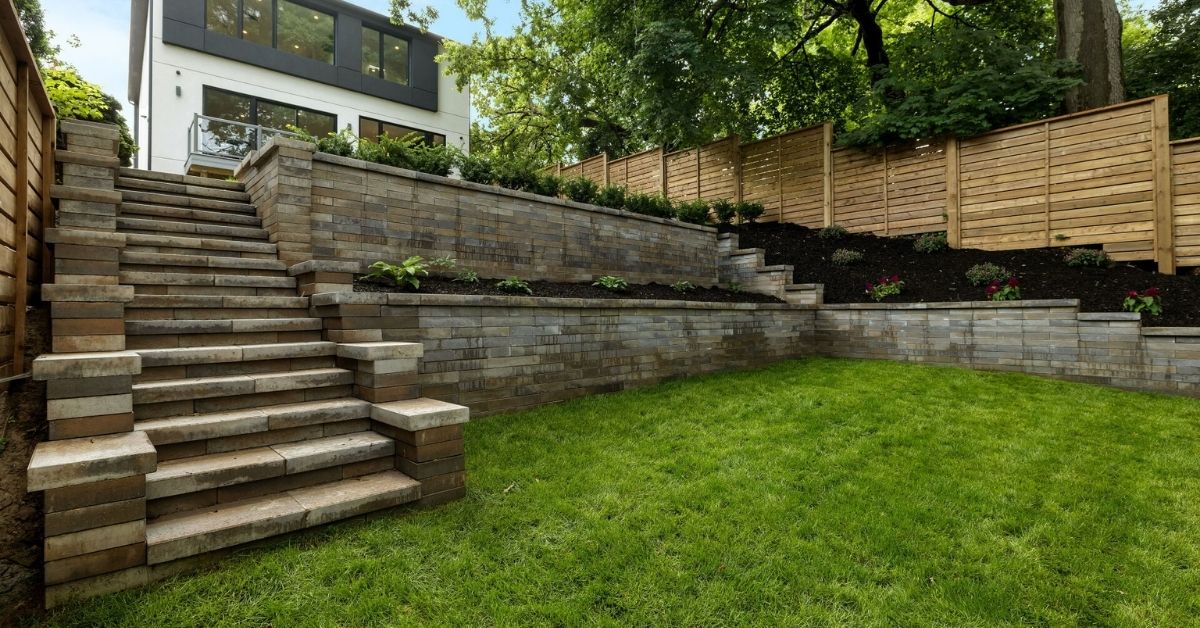
Retaining wall is built to support soil from falling down [...]
There is a huge debate about studying for corporate job [...]
Over the past decades, the most popular roofing materials have [...]
Bringing you the latest news and insights, Everyday!
© 2012 - 2026 • Avada is a Website Builder for WordPress and eCommerce • All Rights Reserved • Developed by ThemeFusion