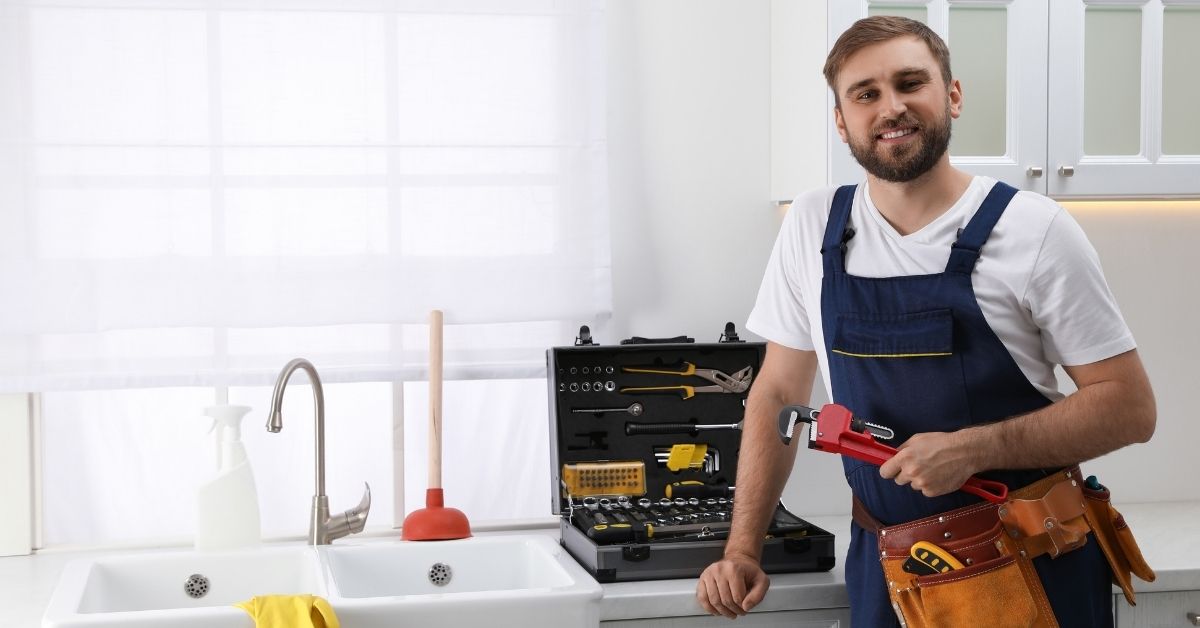
How to Grow and Expand Plumbing Company – AquaRescue
Typically small company owners who recently started business are not [...]
Typically small company owners who recently started business are not [...]
Working for someone else entire life is not what you [...]
Carpenter is one of the most respectable and tough trades [...]
There is no better time of the year, than time [...]
Pools are awesome no matter where you live, but heated [...]
Everyone at some point is interested in learning a trade [...]
Before getting into construction everyone should be familiar what occupations [...]
When it comes to building a backyard pool, depth is [...]
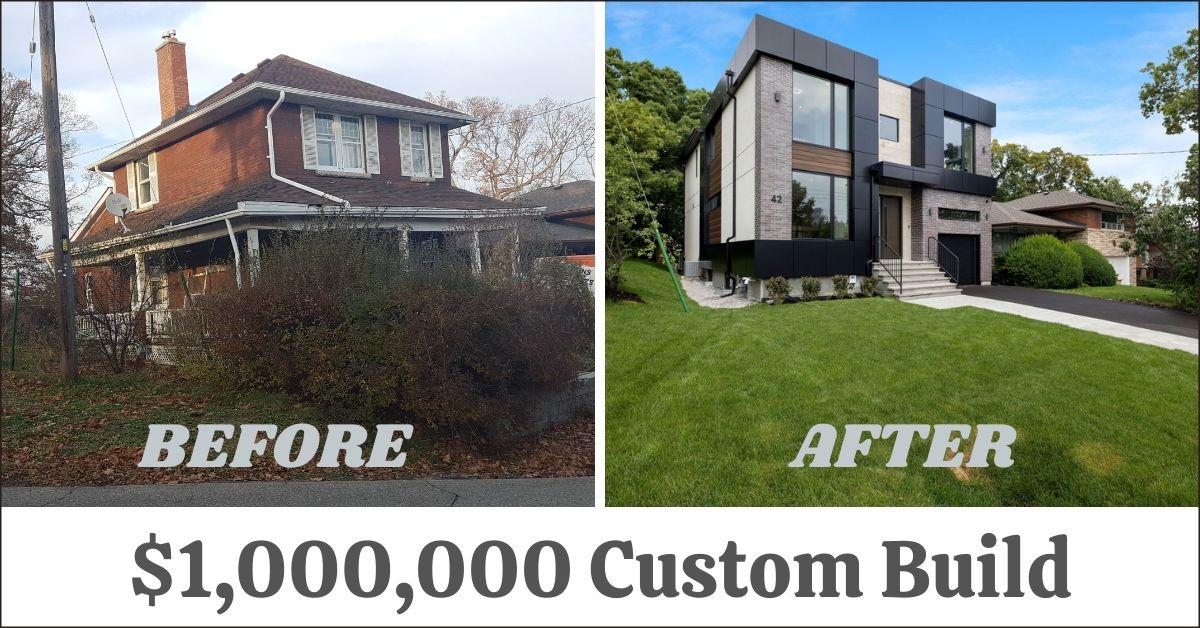
Another company that has been on our radar decided to [...]
The concept of Feng Shui has gained widespread popularity among [...]
Bringing you the latest news and insights, Everyday!
© 2012 - 2026 • Avada is a Website Builder for WordPress and eCommerce • All Rights Reserved • Developed by ThemeFusion