Important trends you need to know about social media
Elementum nulla turpis cursus. Integer liberos kusto euismod aene pretium faucibus ...
Elementum nulla turpis cursus. Integer liberos kusto euismod aene pretium faucibus ...
Elementum nulla turpis cursus. Integer liberos kusto euismod aene pretium faucibus ...
Elementum nulla turpis cursus. Integer liberos kusto euismod aene pretium faucibus ...
Elementum nulla turpis cursus. Integer liberos kusto euismod aene pretium faucibus ...
Have you come across a situation that you need to [...]
One of the most promising investments in real estate. Investing [...]
Have you come across a situation that you need to [...]
Clean water in the house is very important, both for [...]
Home owners of bungalow at some point in time can [...]
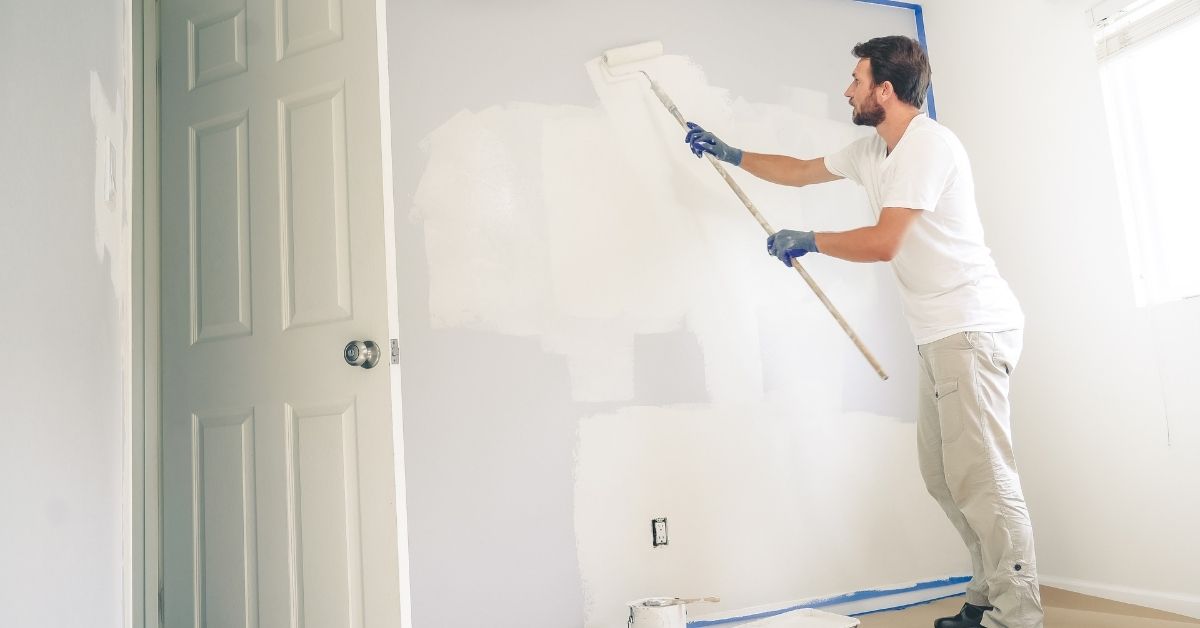
To properly paint a room, you need to study all [...]
Bringing you the latest news and insights, Everyday!
© 2012 - 2026 • Avada is a Website Builder for WordPress and eCommerce • All Rights Reserved • Developed by ThemeFusion