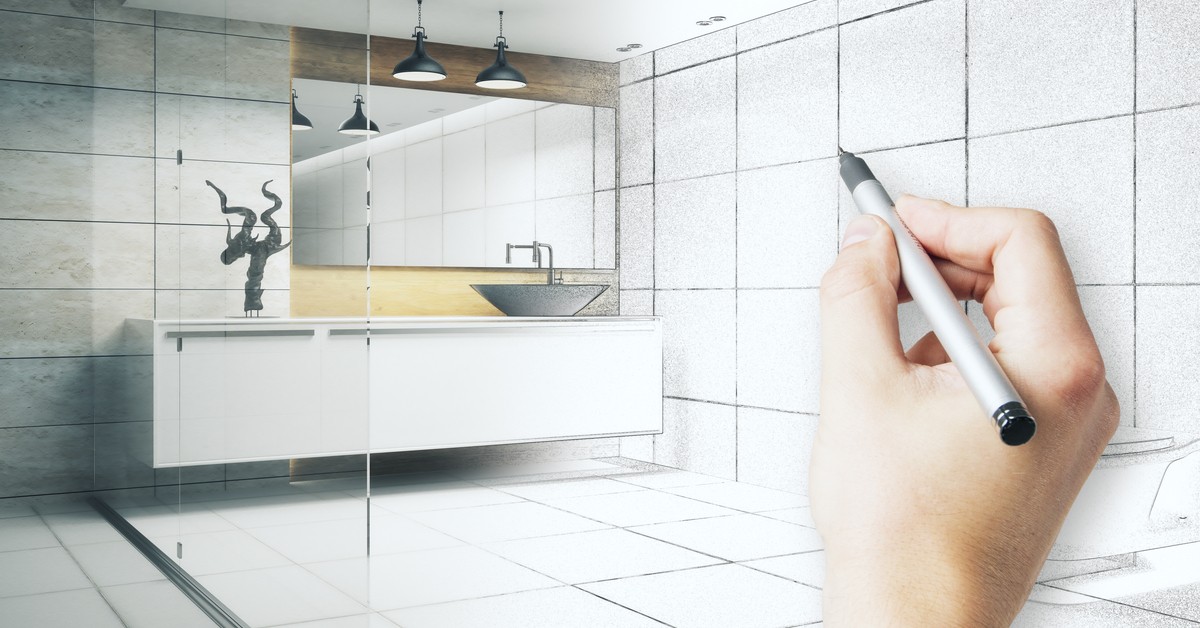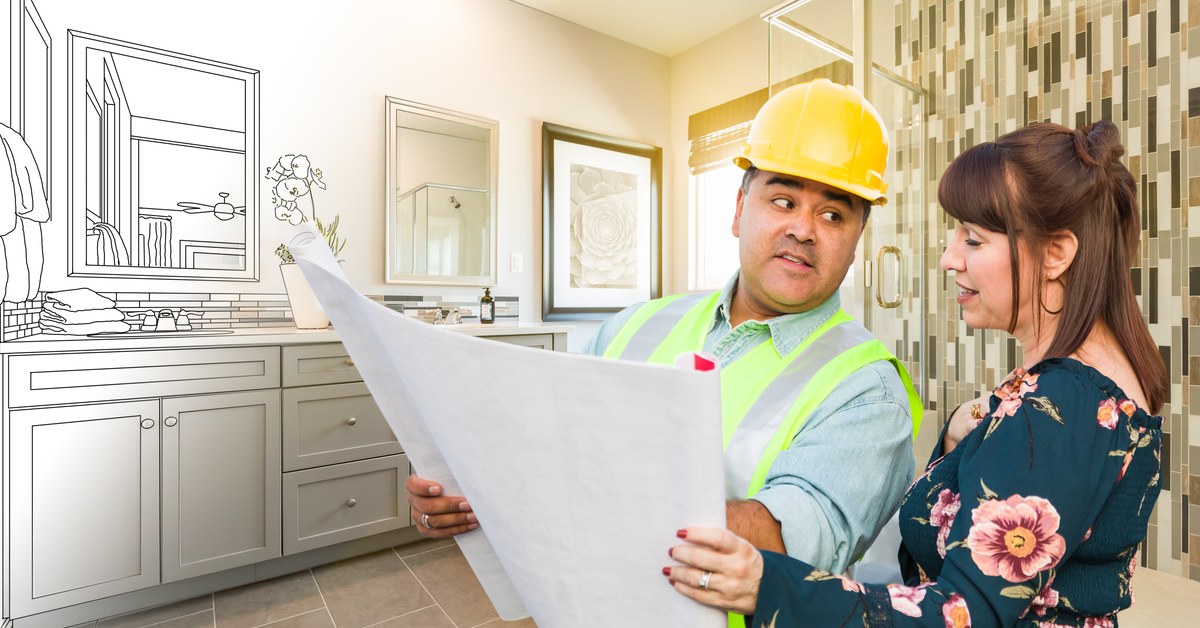
How to Hire a Contractor for Bathroom Remodel
Having a renovation in your house or a separate part [...]
Having a renovation in your house or a separate part [...]
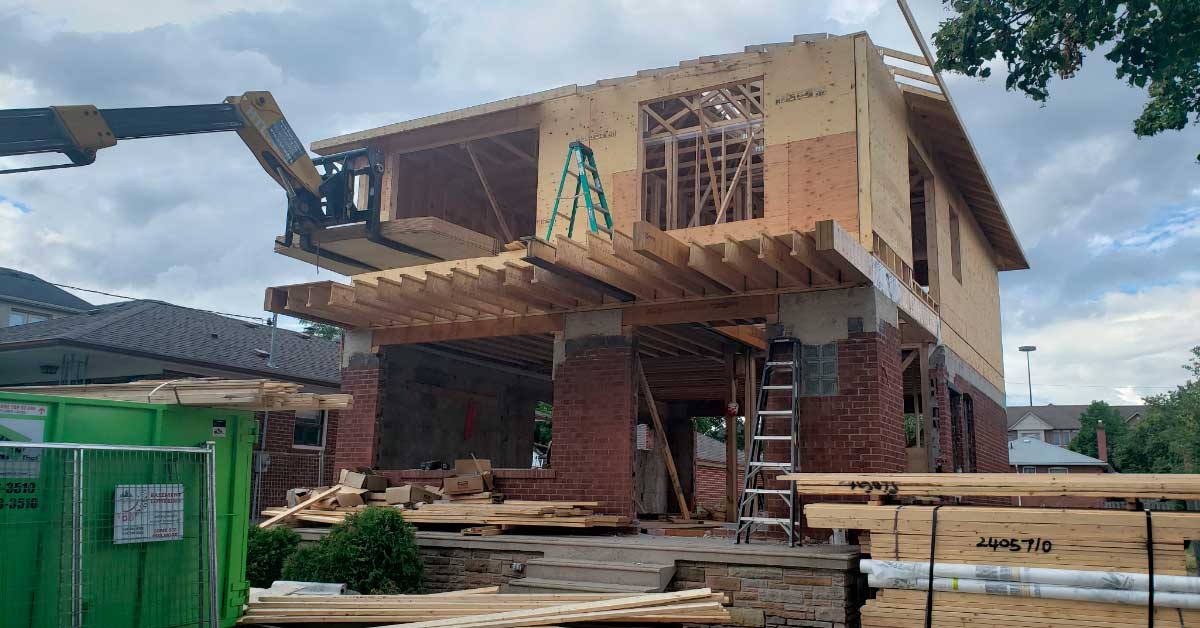
A home addition is a great method of building a [...]
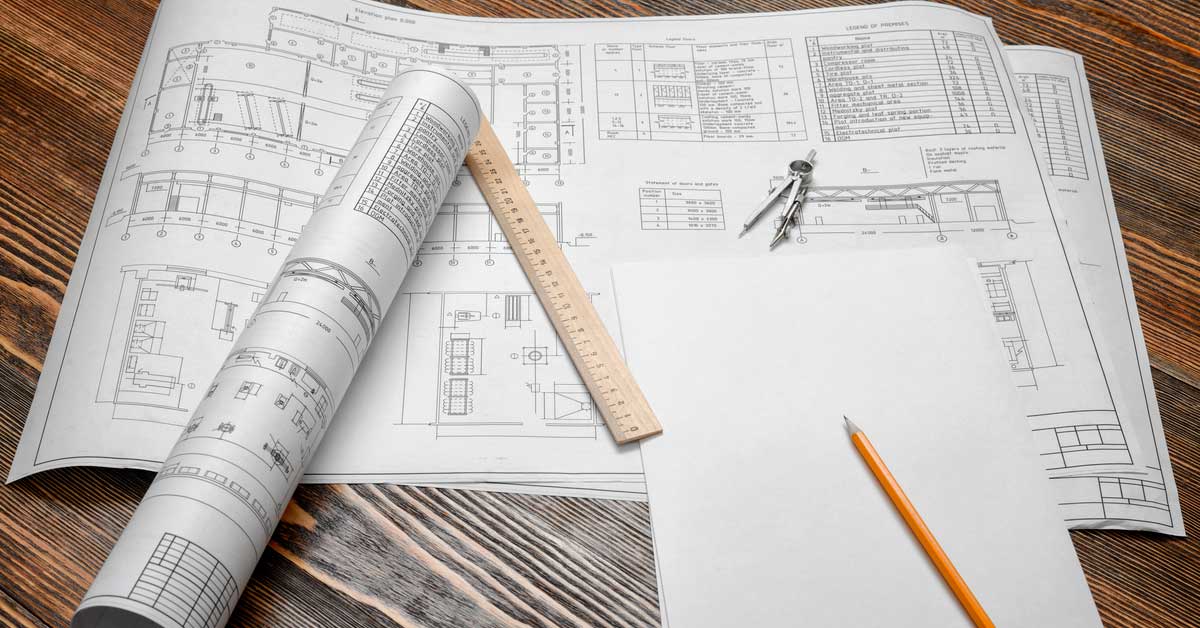
Yes, basement underpinning job requires permit and architectural drawings. It [...]
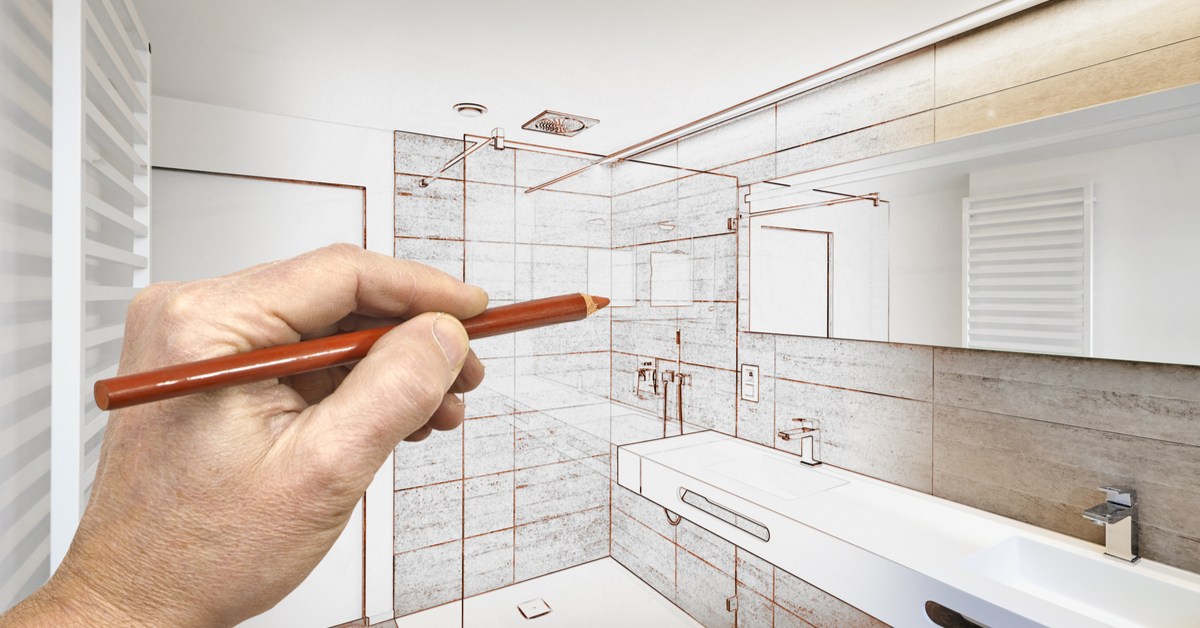
When planning a bathroom renovation, everyone wants everything to go [...]
It has been a problem for decades to shovel snow [...]
There are many details to consider when building a home. [...]
The bathroom is a part of an essential place in [...]
Intro for Spec Home vs Custom Home vs Modular Homes [...]
Many of us see new custom homes getting build in [...]
Some homes are already purchased with shed and if not, [...]
Bringing you the latest news and insights, Everyday!
© 2012 - 2026 • Avada is a Website Builder for WordPress and eCommerce • All Rights Reserved • Developed by ThemeFusion