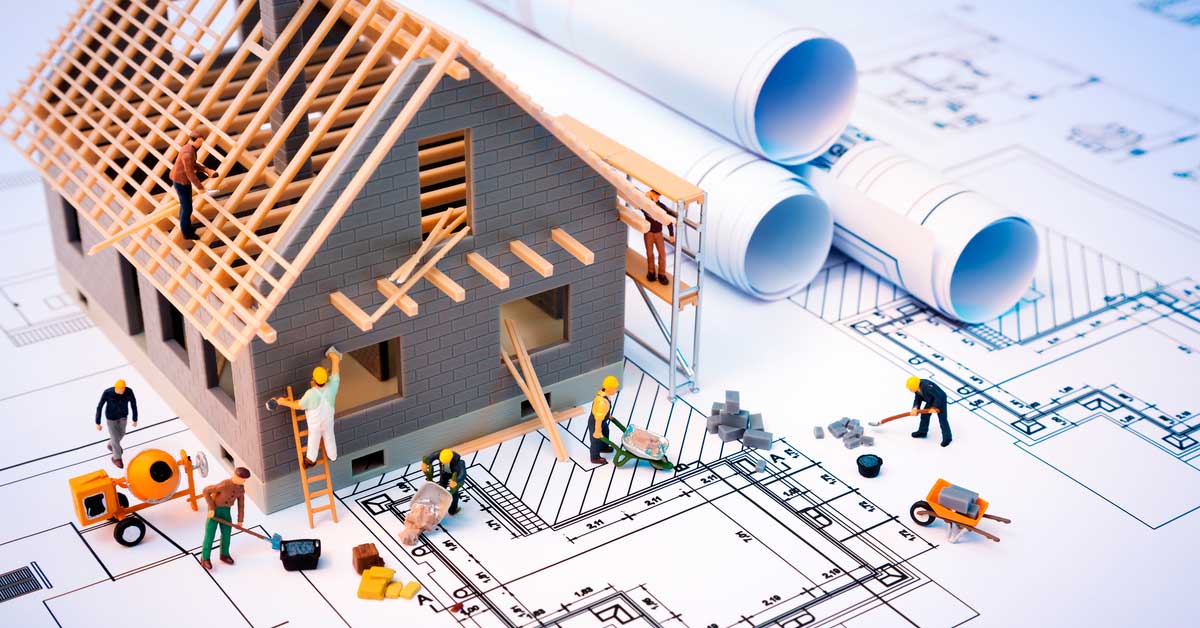
How Long Does it Take to Finish Basement?
Home owners should expect their basement to be completely finished [...]
Home owners should expect their basement to be completely finished [...]
For those home owners who want to step up a [...]
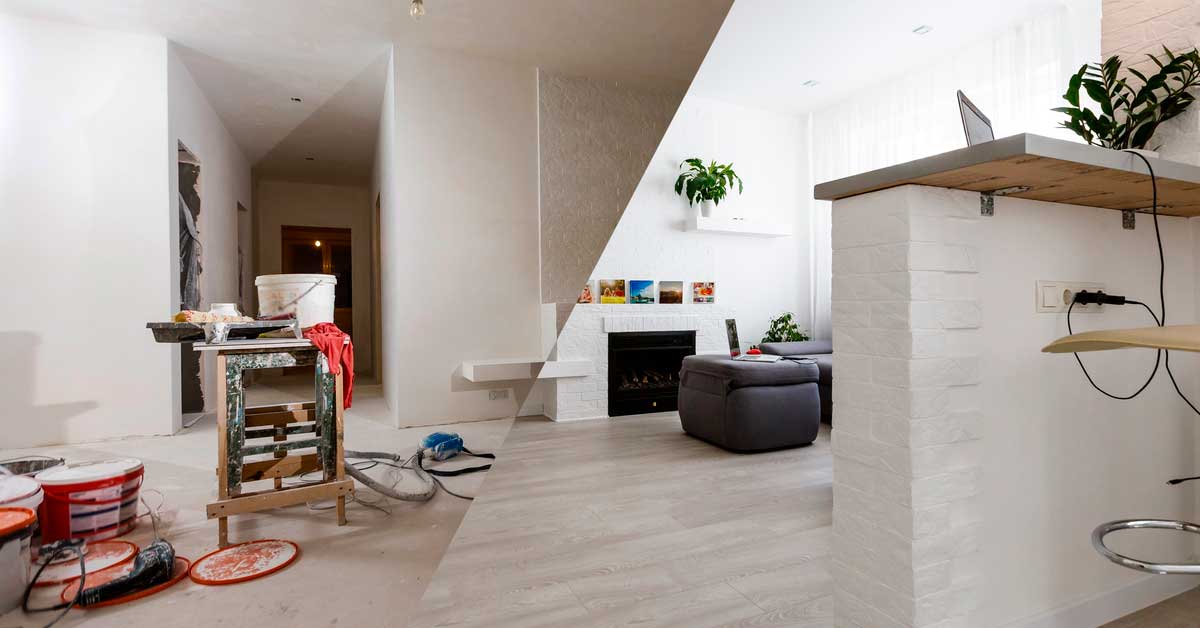
It is common to compare home renovation costs to similar [...]
If each of us is asked to describe the classic [...]
For a long time, people have confused concepts such as [...]
Renting apartments or parts of the house is widely spread [...]
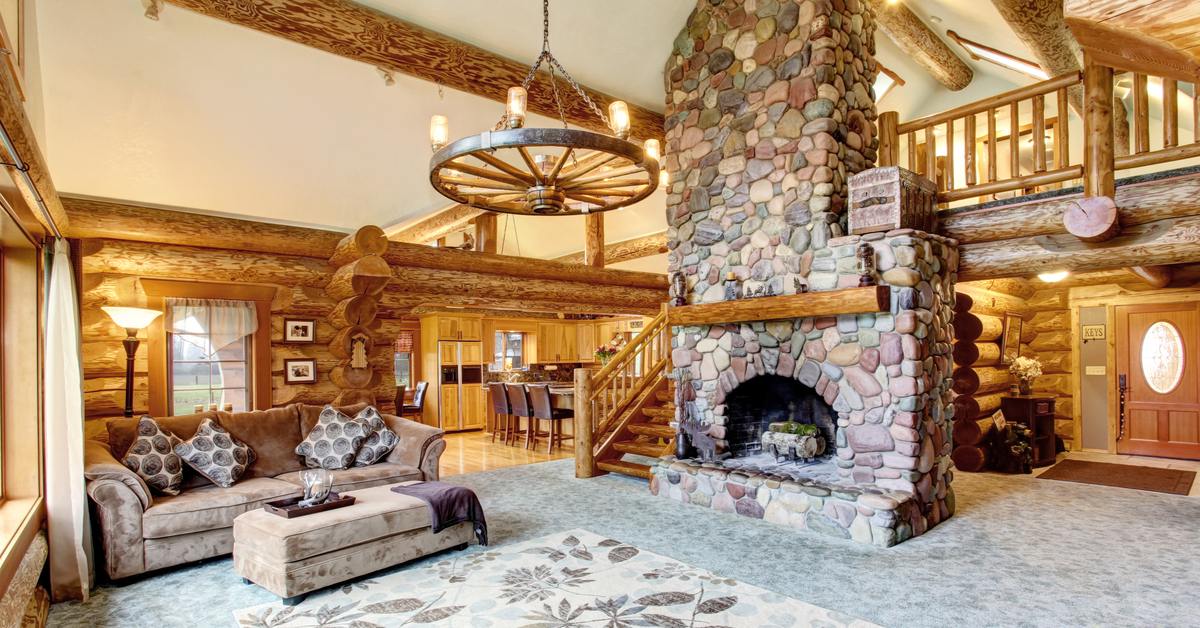
Rustic style is distinguished by its ease and warmth. It [...]
Walls are the main component of every home. We all [...]
Selling a home is not an easy process from start [...]
A beautifully decorated living room should create the overall mood [...]
Bringing you the latest news and insights, Everyday!
© 2012 - 2026 • Avada is a Website Builder for WordPress and eCommerce • All Rights Reserved • Developed by ThemeFusion