Top 15 Custom Home Builders in Alberta
Alberta is home to more than four million people and [...]
Alberta is home to more than four million people and [...]
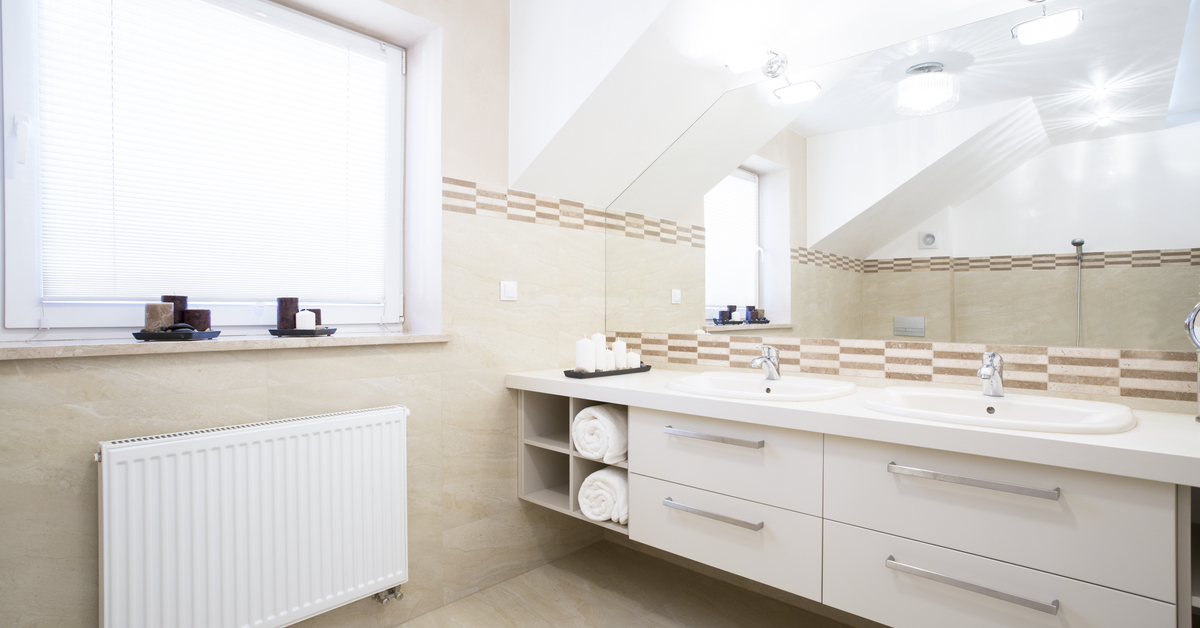
The choice of the heating that suits you is very [...]
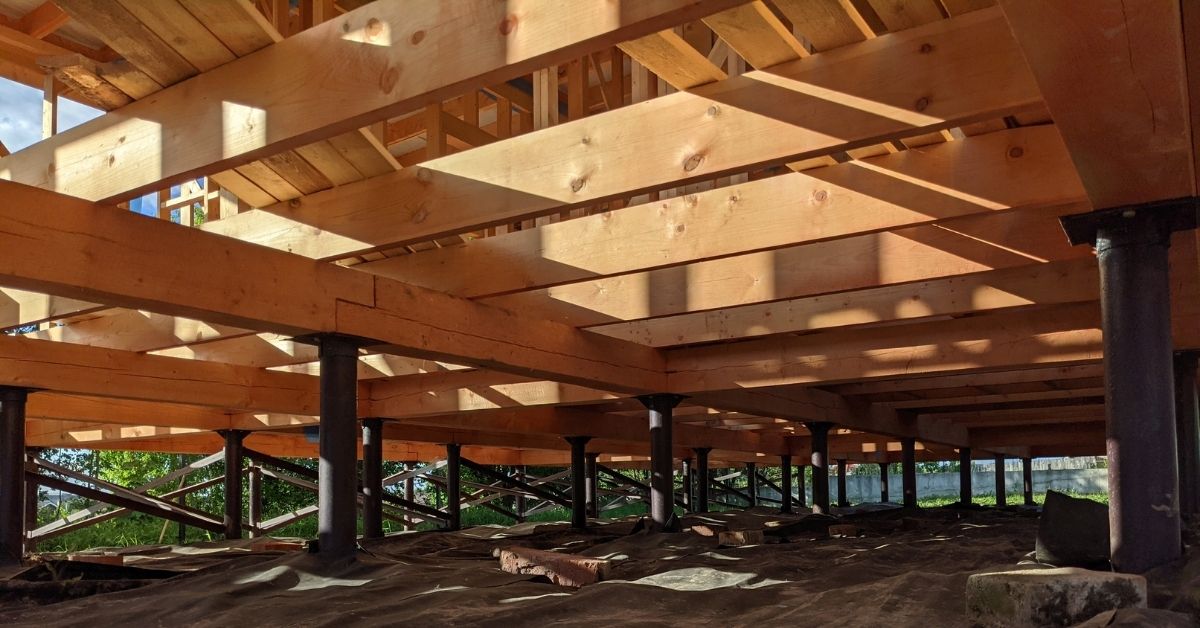
Construction of a house is divided into two stages. One [...]
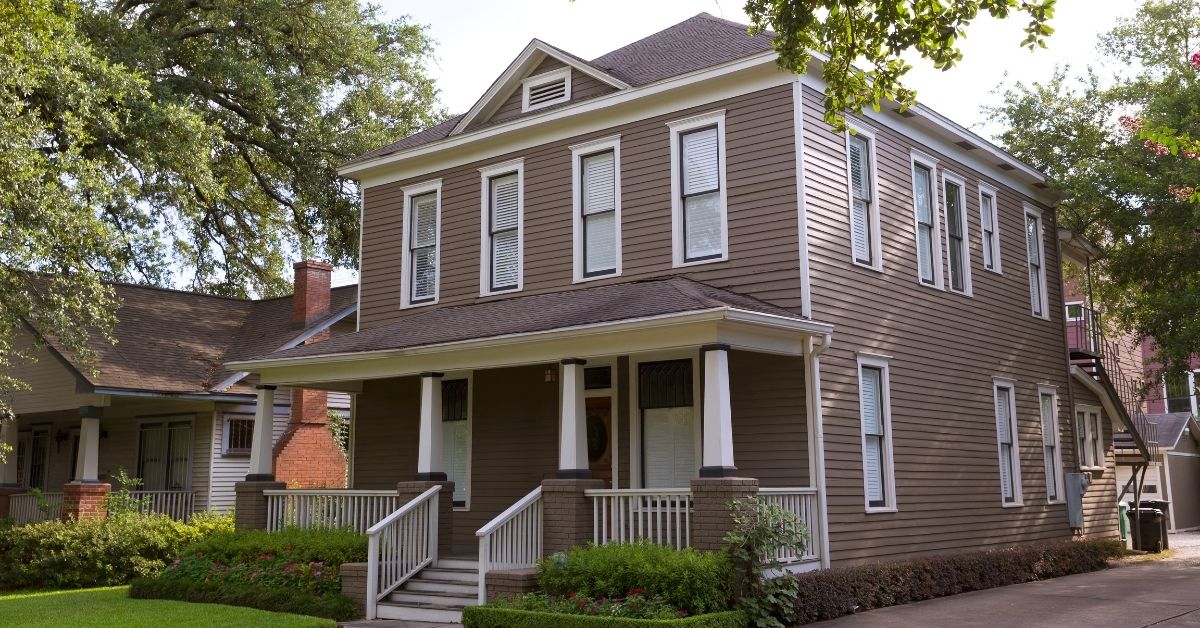
The average cost to build a house in Houston is [...]
Alternative type of flooring surface that is rare in average [...]
Average cost to build a house in Chicago area is [...]
Contemporary luxury countertops are the hallmark of every kitchen. Unfortunately, [...]
House construction on floating slab system that sits on concrete [...]
The cost to build a house in New York for [...]
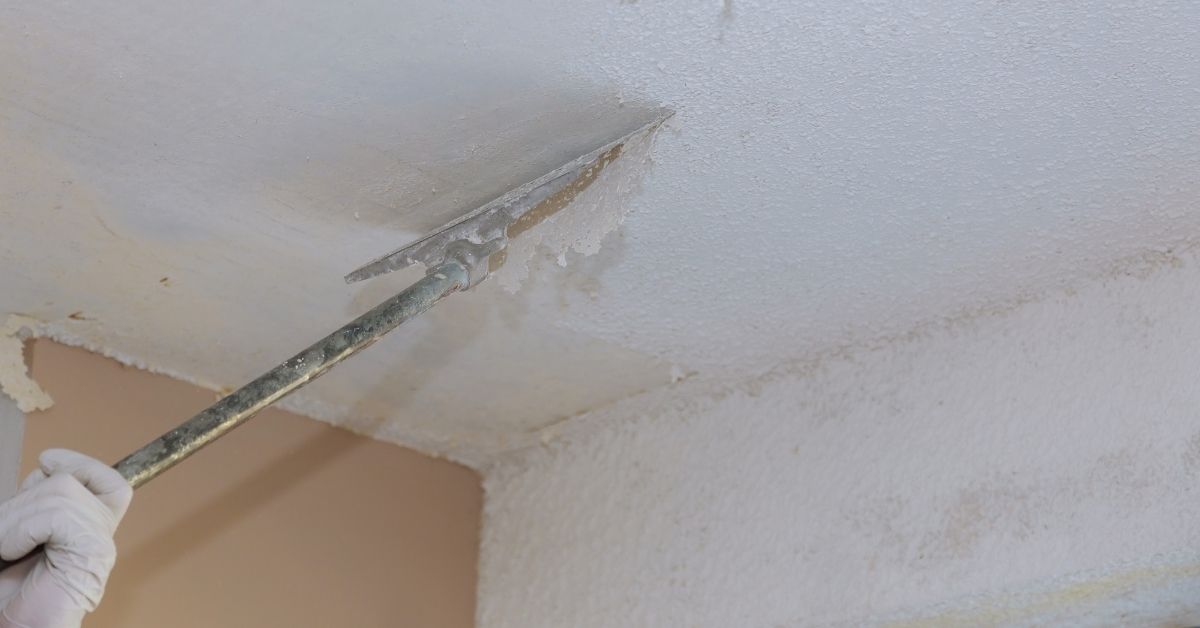
It costs $9 per square foot to remove popcorn ceiling [...]
Bringing you the latest news and insights, Everyday!
© 2012 - 2026 • Avada is a Website Builder for WordPress and eCommerce • All Rights Reserved • Developed by ThemeFusion