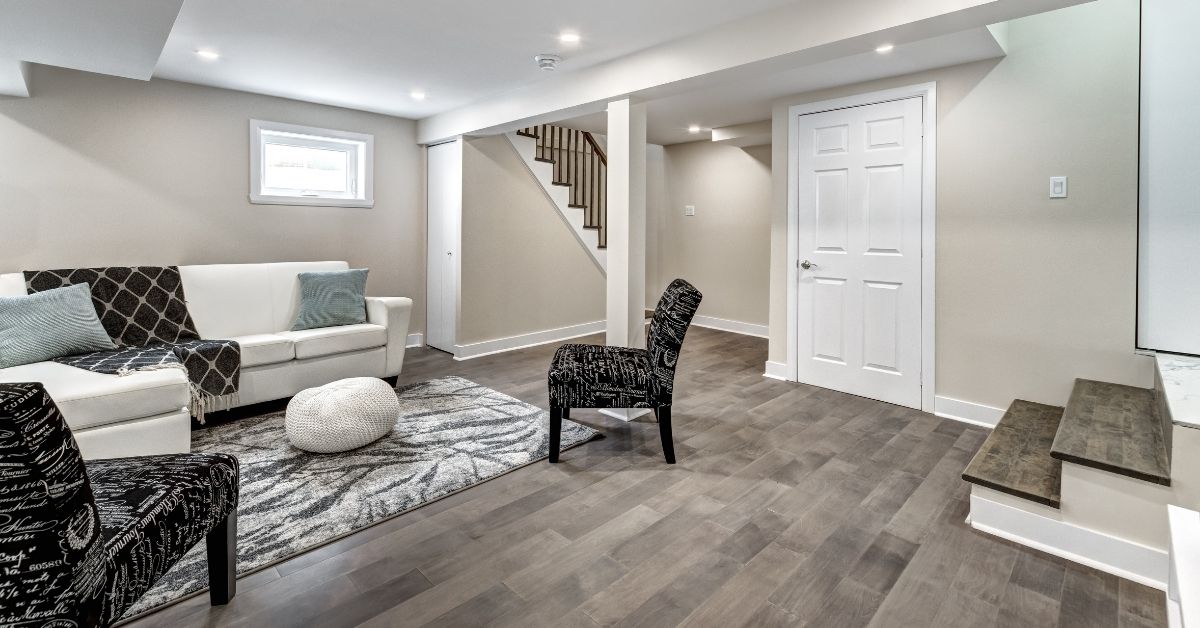
How Much Does It Cost to Finish a Basement?
Average size basement of 1000 sq ft costs $45000 - [...]
Average size basement of 1000 sq ft costs $45000 - [...]
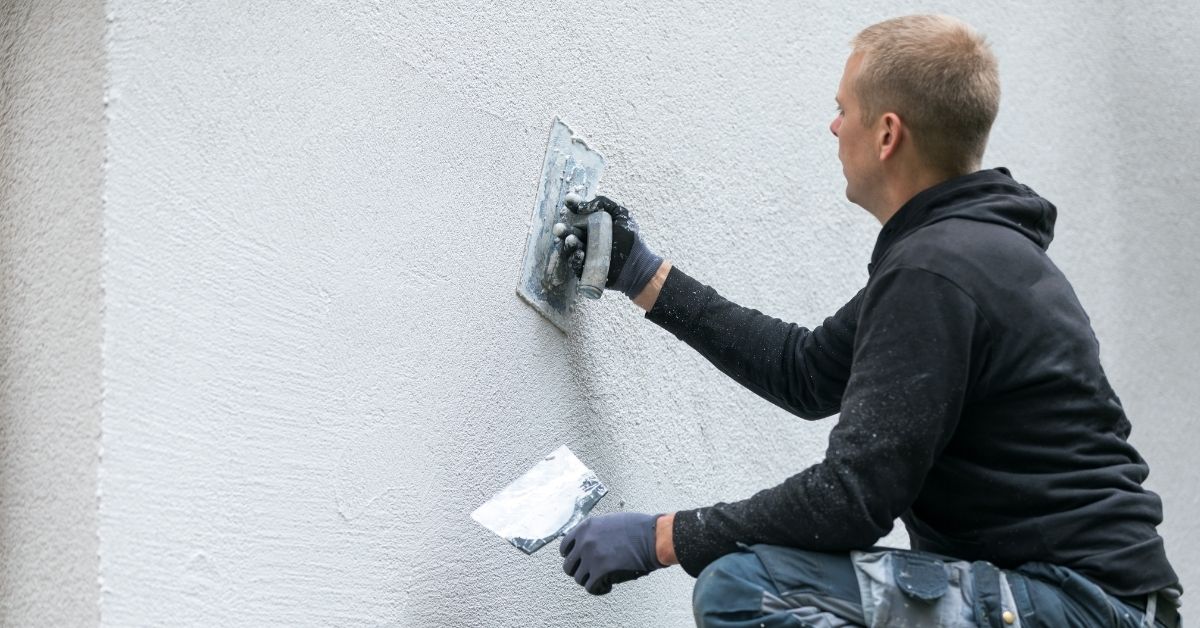
In residential construction we often see plaster and stucco as [...]
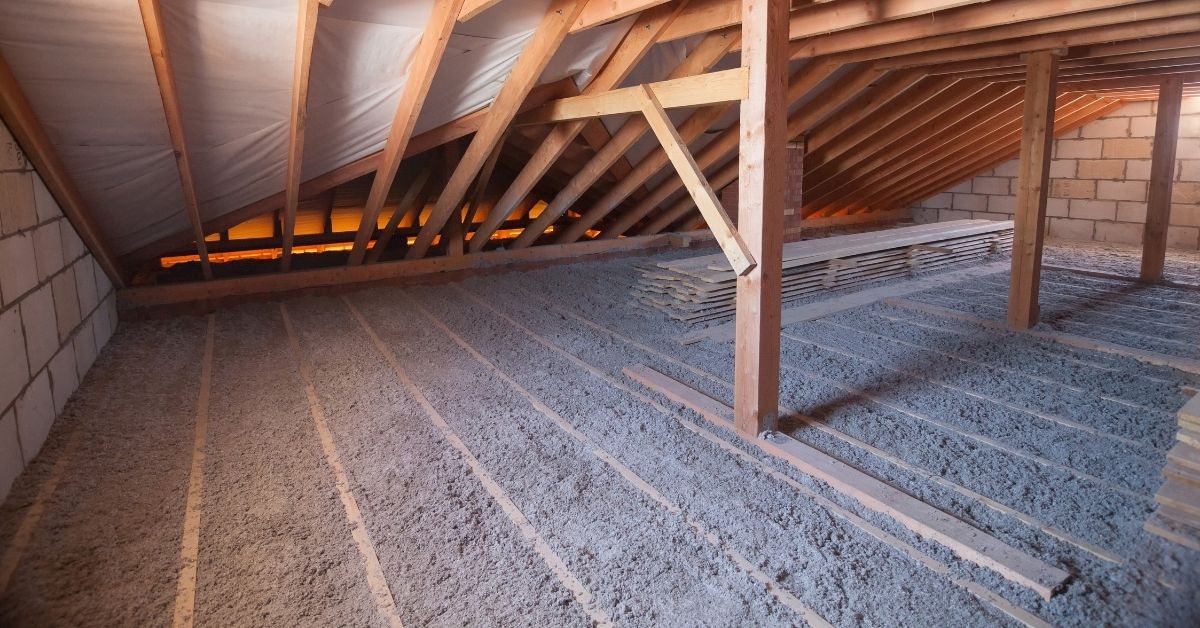
Concrete is used in all types of construction for many [...]
Technically speaking, exterior stucco does not contain asbestos particles in [...]
Commercial and residential garage concrete floors have tendency to crack [...]
Pool shocking is very important to maintain water quality. This [...]
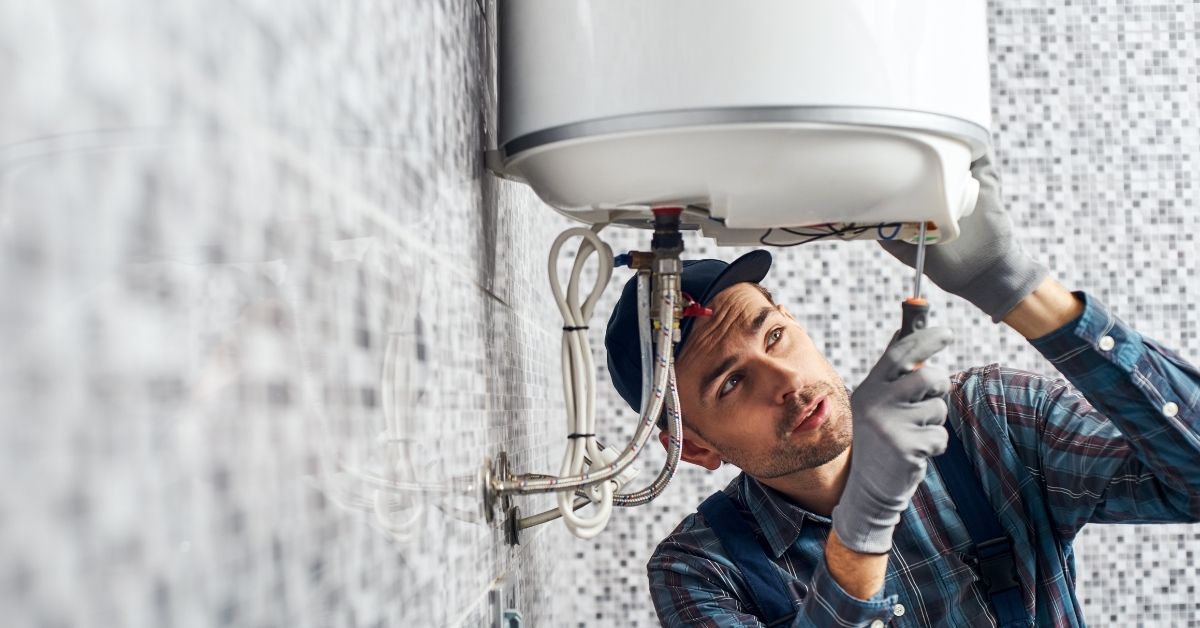
In most cases, people need to replace water heaters due [...]
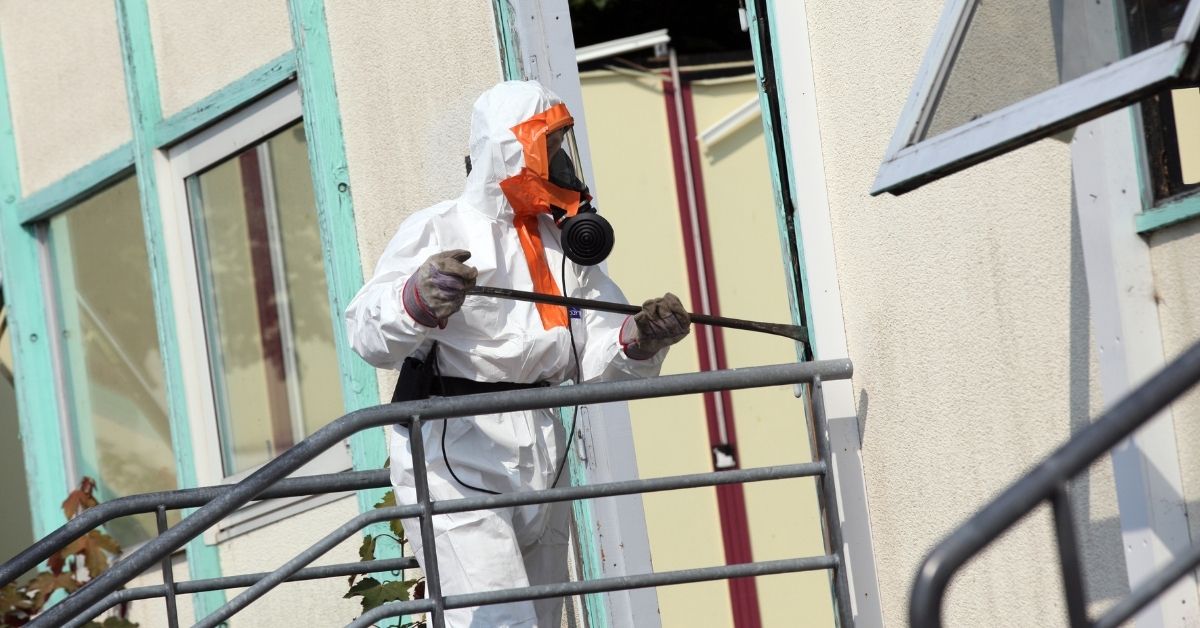
Asbestos minerals were rapidly used in construction for many of [...]
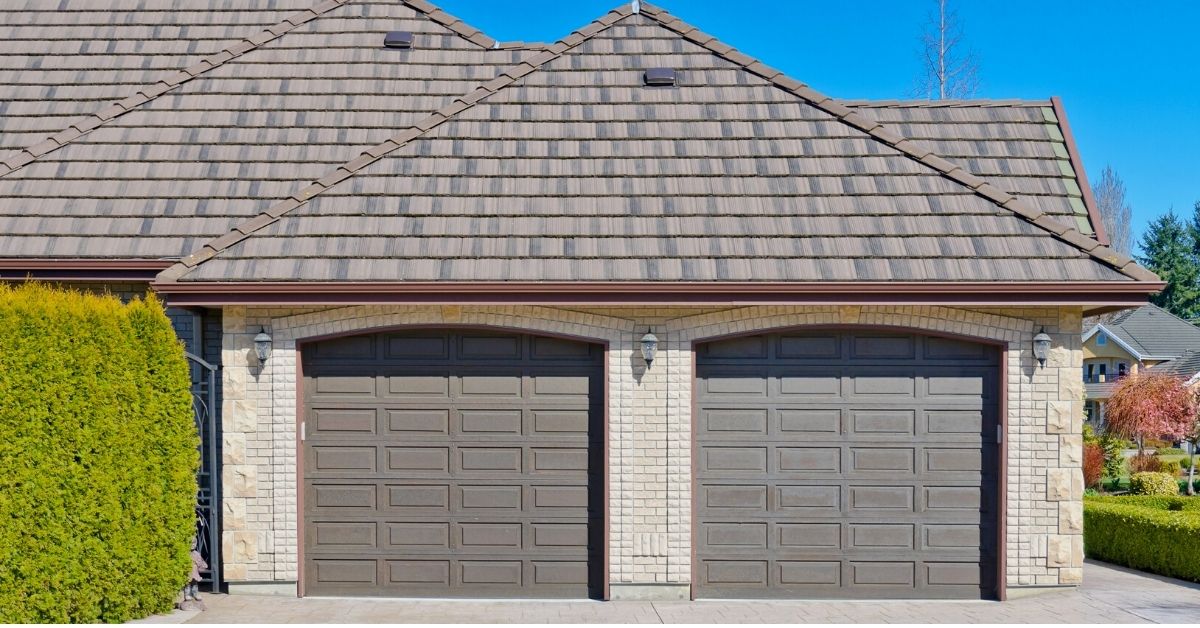
Newly installed garage doors can last anywhere from 5 to [...]
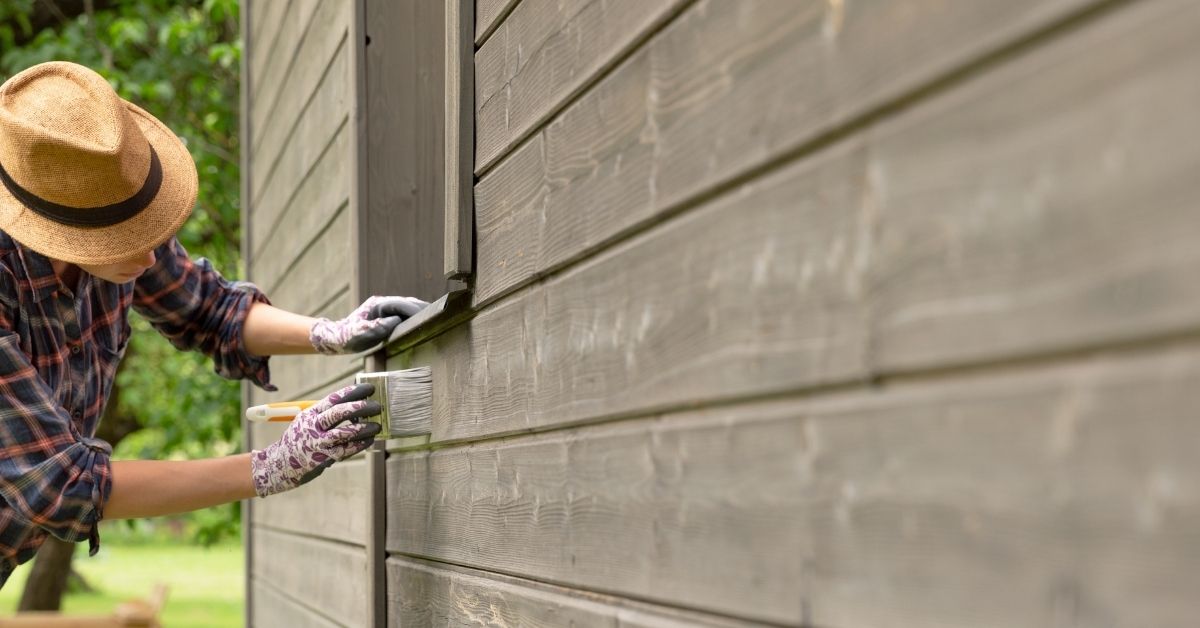
How long does it take to paint house exterior depends [...]
Bringing you the latest news and insights, Everyday!
© 2012 - 2026 • Avada is a Website Builder for WordPress and eCommerce • All Rights Reserved • Developed by ThemeFusion