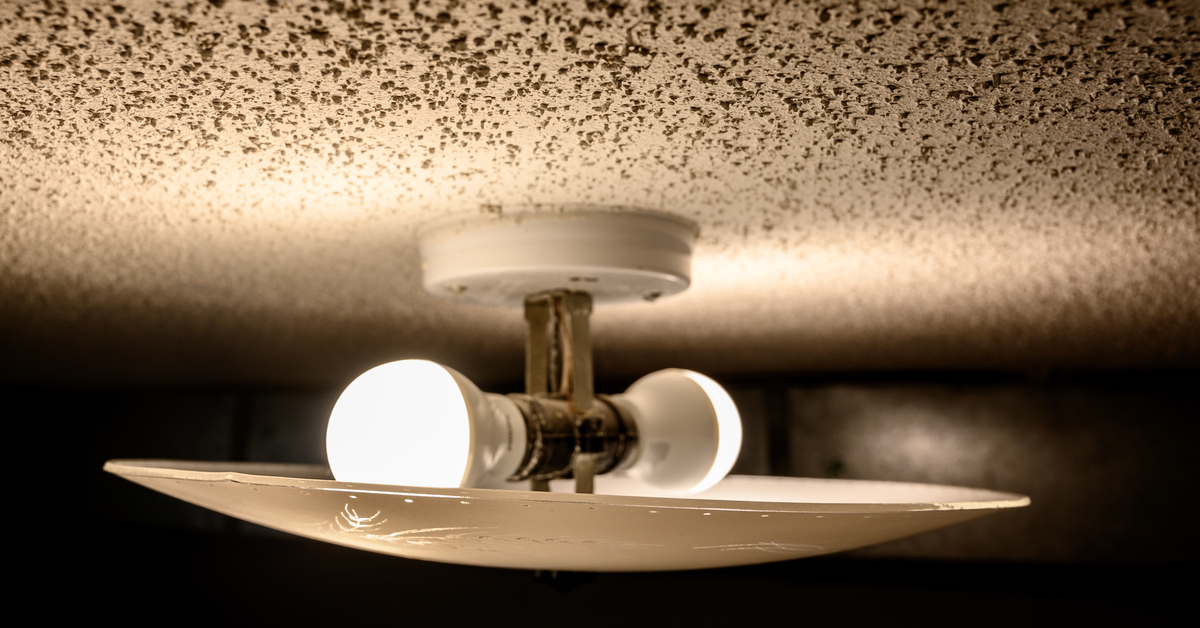
How to Remove Popcorn Ceiling With Asbestos Safely
To remove popcorn ceiling with asbestos in safely manner you [...]
To remove popcorn ceiling with asbestos in safely manner you [...]
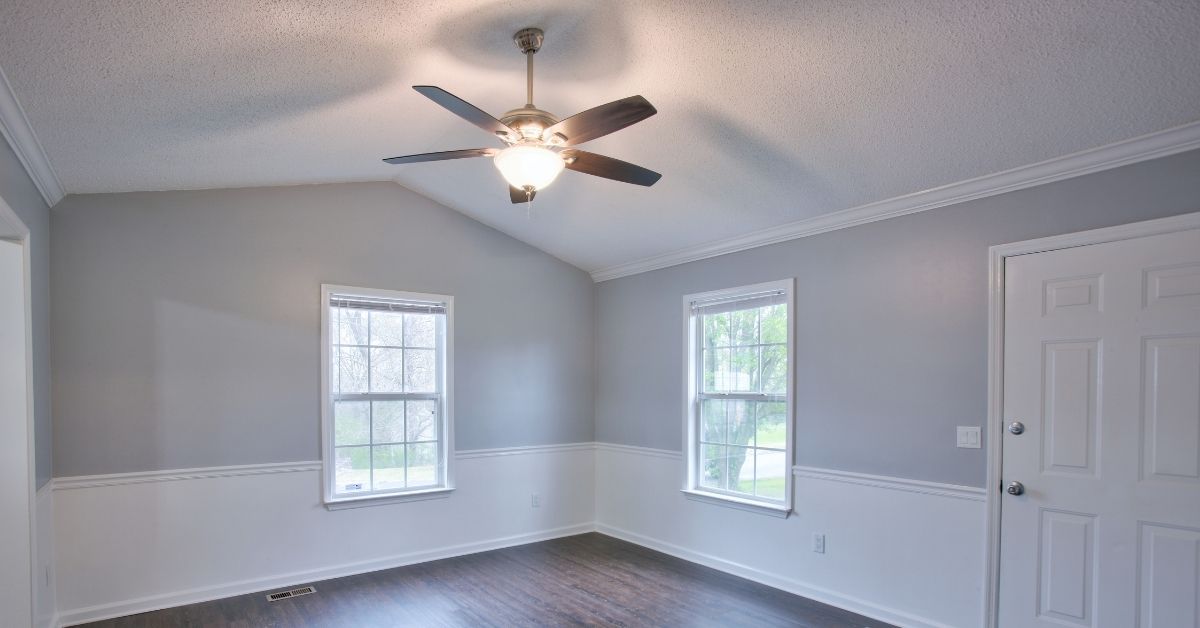
Popcorn ceiling is the most common place to find particles [...]
To measure the living space of your home, you need [...]
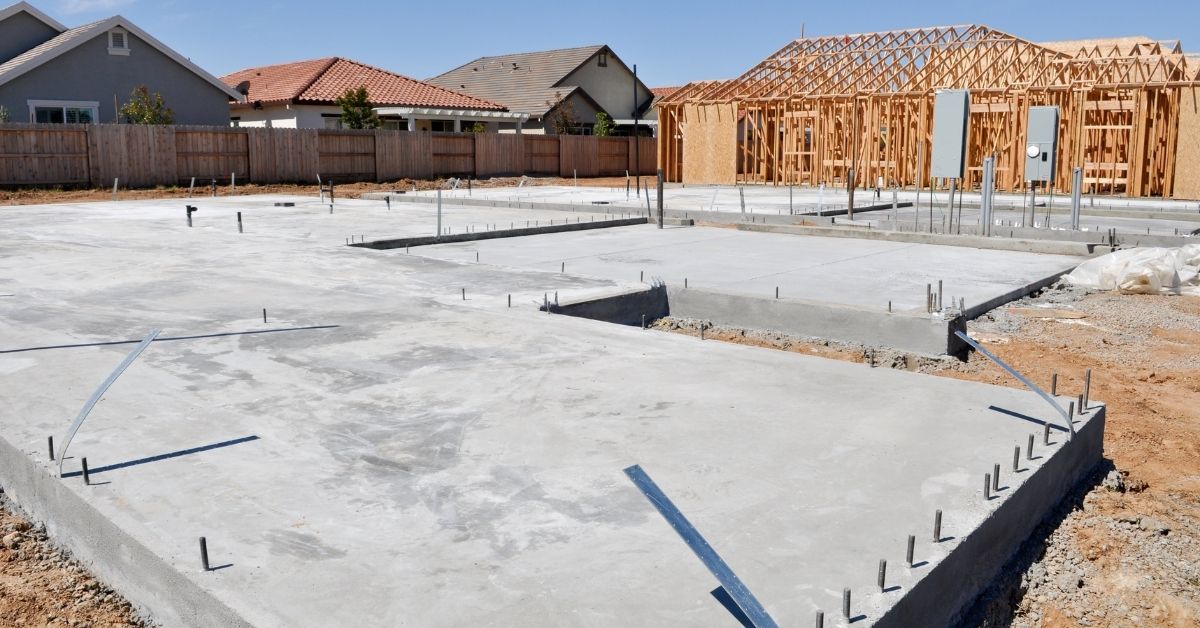
There are four types of foundation used in residential home [...]
When you are planning to build a new house or [...]
To become home builder in USA and other developed countries [...]
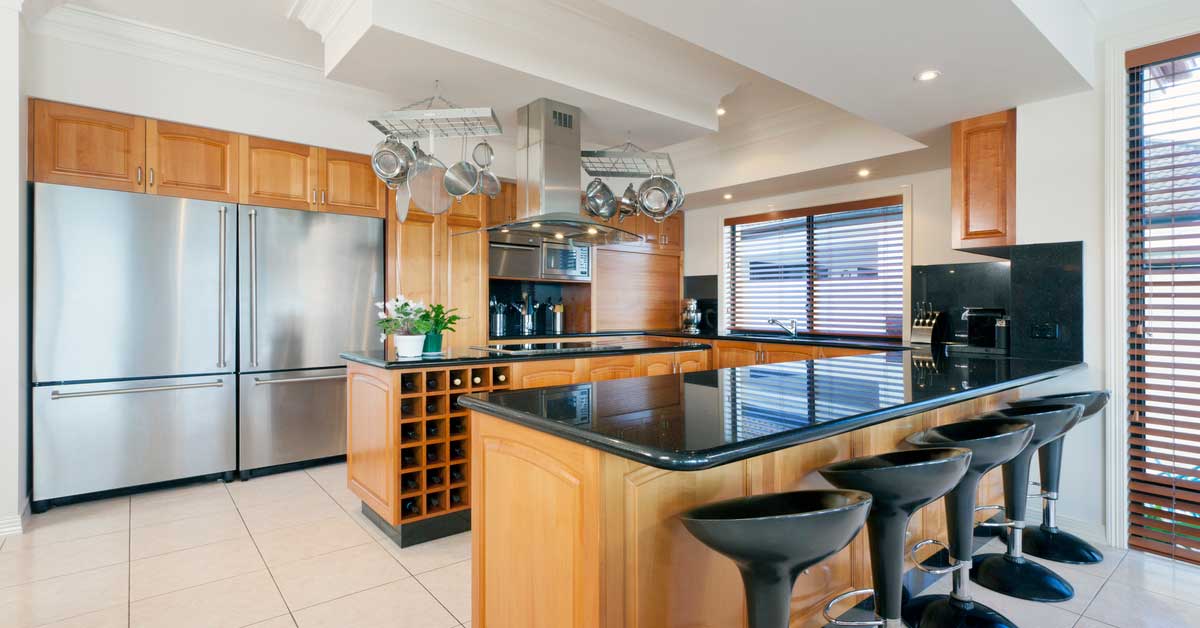
Almost every kitchen these days is equipped with a kitchen [...]
Full gut home renovation takes 116 Working days or just [...]
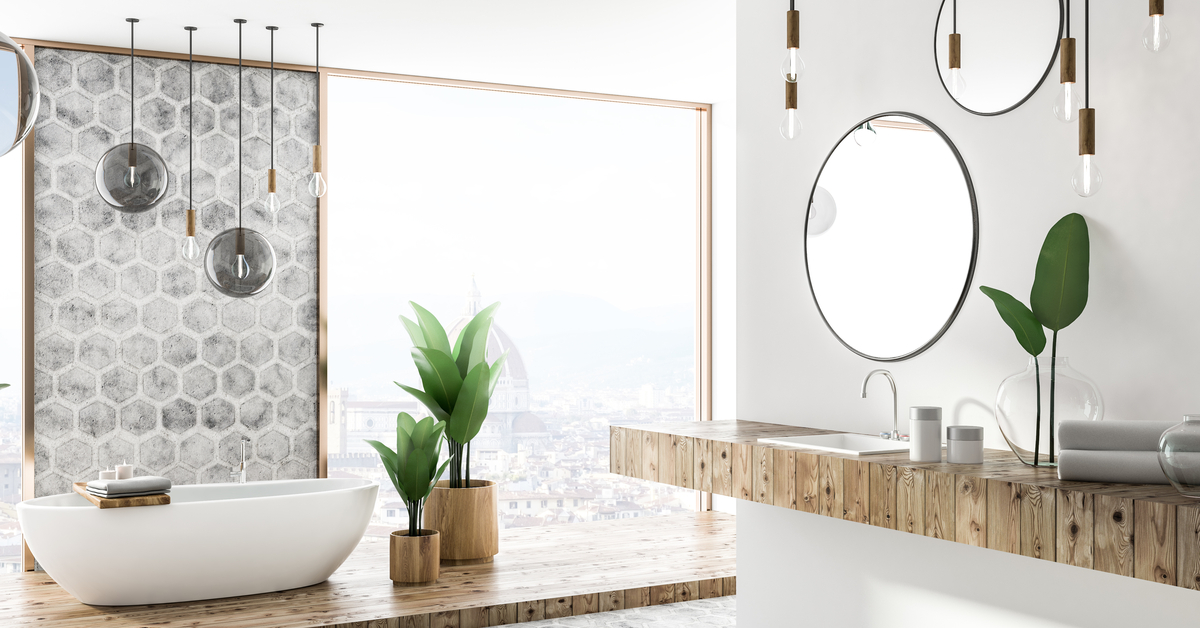
Master bathroom sizes and layouts have several distinctive characteristics. First [...]
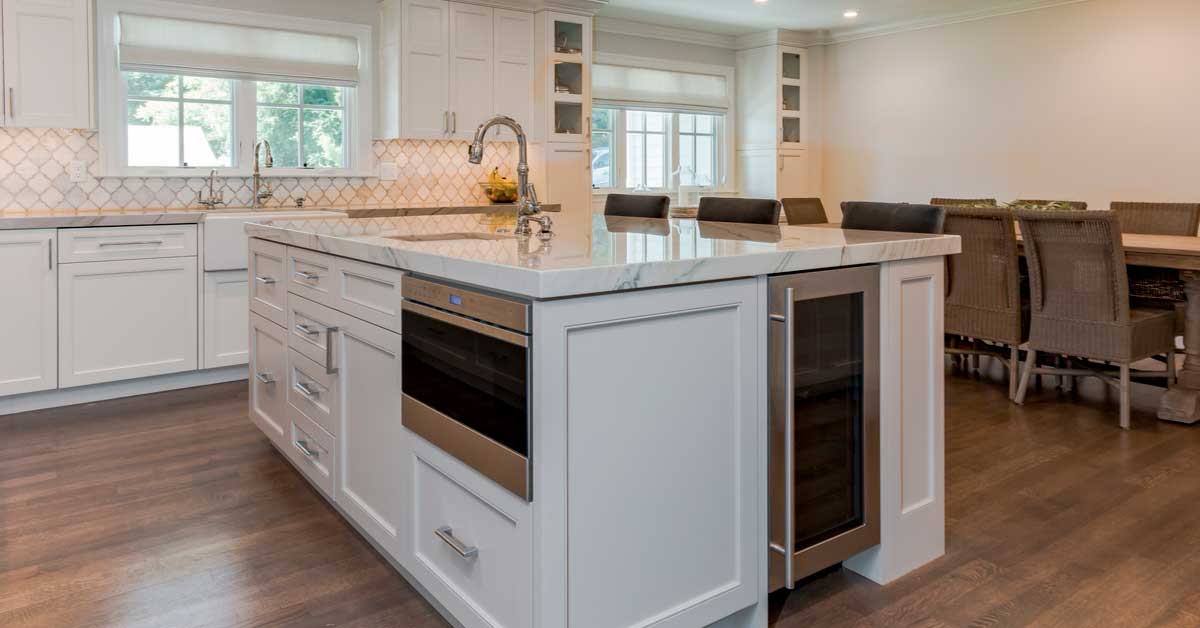
To remodel average size kitchen it takes 22 full working [...]
Bringing you the latest news and insights, Everyday!
© 2012 - 2026 • Avada is a Website Builder for WordPress and eCommerce • All Rights Reserved • Developed by ThemeFusion