Rubber Flooring Mats and Tiles for Gym and Commercial Use
A great alternative to already many existing types of flooring is rubber floor mats. It is not primarily used type of floor that home owners install in their homes, but it does provide qualities that can benefit some rooms.
Specific use businesses prefer rubber floor mats over everything else on the market, due to its functions.
After several requests from home owners, and our regular readers, we decided to fully research this topic and provide full guide on rubber flooring products and installations.
Hopefully after reading this, home and business owners can understand benefits and purpose of gym floor mats and rubber tiles. Our team contacted many suppliers that manufacture rubber floors locally and compared quality with costs to Chinese factories.
Read below our gym mats and rubber floor main discussions:
- Types of Rubber Flooring Products
- How Much Does it Cost to Install
- Home and Commercial Gym Mats
- Installation Process of Rubber Floors
- What are the Pros and Cons
- Lifespan and Comparison
- Regular Maintenance and Cleaning
Remodel On Point team found best sellers for products described in this post. By purchasing rubber flooring mats and tiles through our suggested suppliers you are guaranteed discounted price.
[instagram-feed]1. Types of Rubber Flooring Products
Selecting rubber flooring type is easier than deciding you actually require this material over tiles, hardwood or vinyl. There are several options on the market and our team breaks down all of them for our followers.
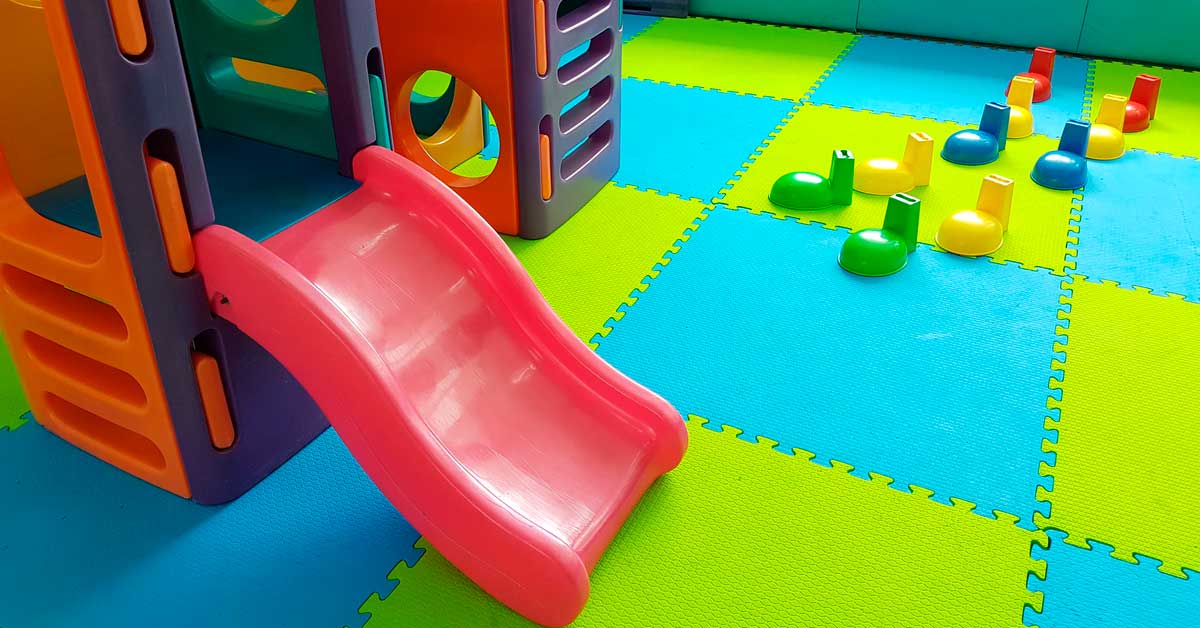
Rubber Flooring Mats – very popular for single use yoga and smaller gym areas. Main idea was to sell rubber mats as portable rolls for people to carry with them and use anywhere on hard surface or even in parks. Later we saw transformation of small gyms and practice rooms with rubber mats put together.
Size of rubber mat is somewhere between 2×4 to 3×6 feet. Thickness for single person product is half inch to an inch, but there are exceptions from unusual suppliers. Mats for gym floor installation are slightly thinner.
Rubber Flooring Tiles for Gym – definitely the most common option for rubber floors in homes and commercial spaces. Tiles can be interlocking or regular square shape that glues to the floor. For environmental reasons interlock tiles are preferred more.
This type of flooring is very easy to install by yourself. Simply attach the sides of each tile and cut the corners at the wall of room. They come in square of 2×2 or 3×3 feet and have thickness of 1 inch.
Sheeting or Rolls – similar to carpet, sheeting rubber comes in roles. It is used for low quality commercial spaces where you don’t need to impress visitors.
The main benefit of rubber sheeting is it can be installed without any connections as one piece. Easily cut through obstacles and door opening curves. On average rolls are half inch or thinner and can cover up to several hundred square feet of space.
2. How Much Does it Cost to Install
One of the first factors home and business owners consider before installing rubber floor is the cost of material with work. On Point group brings attention not only by listing specific functions, but also underlining great costs of such material.
Each type of material has variances in costs and quality from one brad to another, but our job is to summarize it and give approximate numbers.
Single rubber mats that people carry from one place to another by hand costs on average $35-$40. You can buy in on amazon with our discount and get it delivered in few days. Considering six by two foot size and overall dimensions of twelve square feet, carry on yoga mats cost $3 per square foot.
Tiles made of rubber that are used in most home work out areas and commercial gyms are slightly less expensive. Material alone can be purchased in bundle of 10, 20 or even 50 interlocking rubber flooring tiles for gym for slightly less than $1.5 – $2 per square foot. Hiring professional for installation of this floor should be within $1 per square foot of floor area.
Commercial rolls of rubber floor mats are the least expensive out of all options. The material is purchased in large quantities and used by businesses with extensive floor areas. Although there are some expensive rubber sheets out there, average product with installation should cost $2-$2.5 per square foot with installation included.
Comparing to hardwood, tiles or even laminate, rubber floor options are cheap and better in use for specific functions.
3. Home and Commercial Gym Mats
With fitness being popular part of our life, rubber flooring became sold more though all states. Tough business and entrepreneur life cycle is hard on health and going to fitness center is a relief from day to day stress.
Fortunate home owners with plenty of extra space can set up in-house gym that works as good as any commercial space. This save tons of time for traveling, and just in half on hour, you can complete morning exercise routine.
4. Installation Process of Rubber Floors
Prior to any installation any flooring, especially rubber mats or tiles, contractors prepare the area for work. Surface has to be perfectly smooth or very close to it.
Because rubber floor material is soft and bends around hard surface, any obstacle on subfloor such as screw, small stone or piece of debris, can cause small bump of installed floor. Perfect sublevel for rubber flooring tiles for gym or rolls is concrete and plywood subfloor, but we see it being installed on top of hardwood, laminate and tiles.
- Remove old layer of floor or prepare it for installation of new rubber materials on top of it.
- Clean, scrape and vacuum surface to remove all obstacles and debris
- Lay the rubber floor starting from the edge of longest wall
- Connect interlock tiles together and cut edges next to the wall
- Rubber rolls are glued with adhesive and connected on edges with double sided commercial grade tape.
- Baseboards or other trims are installed next to the wall to hide edges (same as other floor materials)
- Let it cure and clean after work is completed.
Technically this process is not complicated and if you think about it, possibly the easiest material for flooring to install by yourself. You just need few basic tools that area easy to purchase at any hardware counter.
5. What are the Pros and Cons
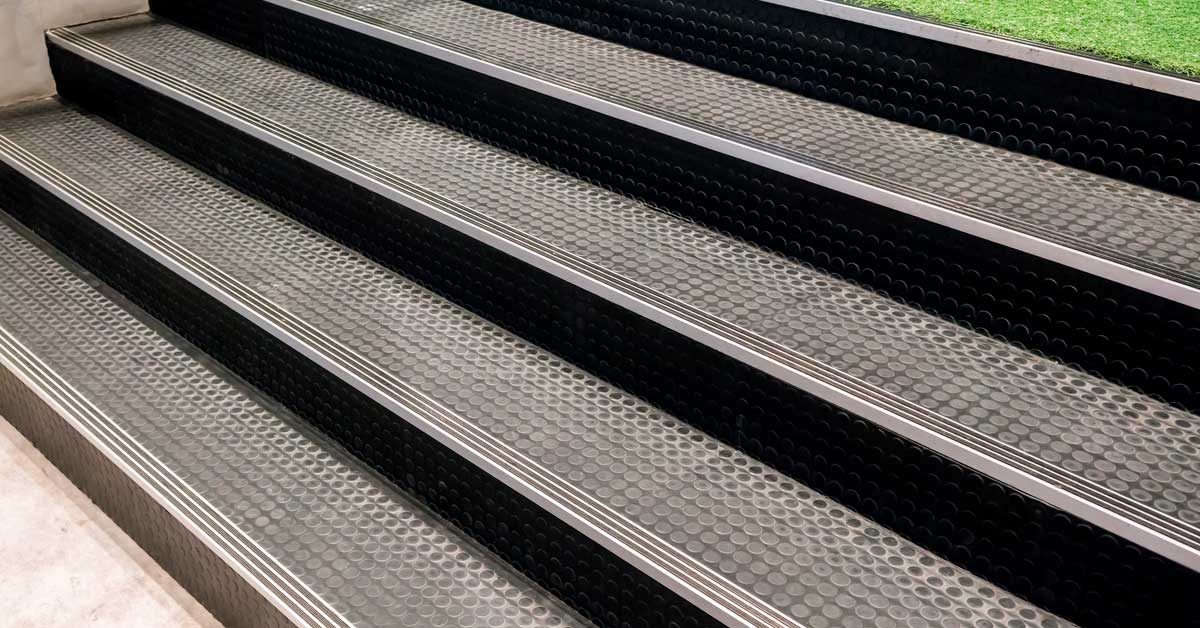
Installed rubber surface on stairs for safety.
Pros
Good Heat Insulator – walking on rubber floor with bare feet does not bring discomfort like it would on tiles or hardwood. This material protects you from cold temperatures below ground.
Recyclable and Environmental Friendly – after long time of using rubber flooring tiles for gym at your home, it can be recycled for different and used with different purpose. Circulation of material makes it environmentally friendly.
Unique Texture – there is nothing to compare to on the market. These floors are non-slippery and very safe to walk, run or exercise on. The material makes them soft and bouncy, which works great on knees and other soft tissues. Also it is water and sound resistant.
Relatively Cheap – given all listed above abilities and benefits of rubber mats and tiles, it is relatively cheap to install. There are definitely cheaper options to choose from, but nothing with high quality and multipurpose.
Cons
Unattractive Finish – even though rubber floor mats are hard to beat in multi-function, they are very bland and unattractive to install in main areas of home. Perfectly fine for commercial use and gyms, but not that great in kitchens or bathrooms.
Has Rubbery Smell – the smells does not go away even after several years from installation date. Some people don’t mind it, while others have distinct discomfort being around strong rubber odor.
Has Very Specific Functions – we wish there were many options of where we can use rubber tile floors, but as of now it is used only in home gyms, exercise rooms and commercial spaces.
Not as Popular as Other Flooring – the reality is average home owners does not even think about installing rubber floors in their home. With less demand, manufacturers stick to only several types and colors of material.
6. Lifespan and Comparison
One of the worries customers have is the time that rubber floor can be used on floors before complete replacement. Perception of material we are discussing is usually misunderstood and people think that rubber floors do not last for too long. But after years of analyzing this material we can come to conclusion that it is one of the long lasting products.
The lifespan of tiles or mats made out of rubber is between 20 and 30 years. It stands very high in chart of all floor surface materials. If heavy machinery or heavy traffic is casually sent through the areas where these floors are set up, they will last for less.
In case of damage or tear off, it is not mandatory to replace entire floor space. Simply change one tile and connect it with interlock on place where it was placed before.
This way you guarantee full lifespan potential of your floor and use to the max. Unlike other floors there is no requirement to refinish or maintain this material.
7. Regular Maintenance and Cleaning of Rubber Flooring Mats
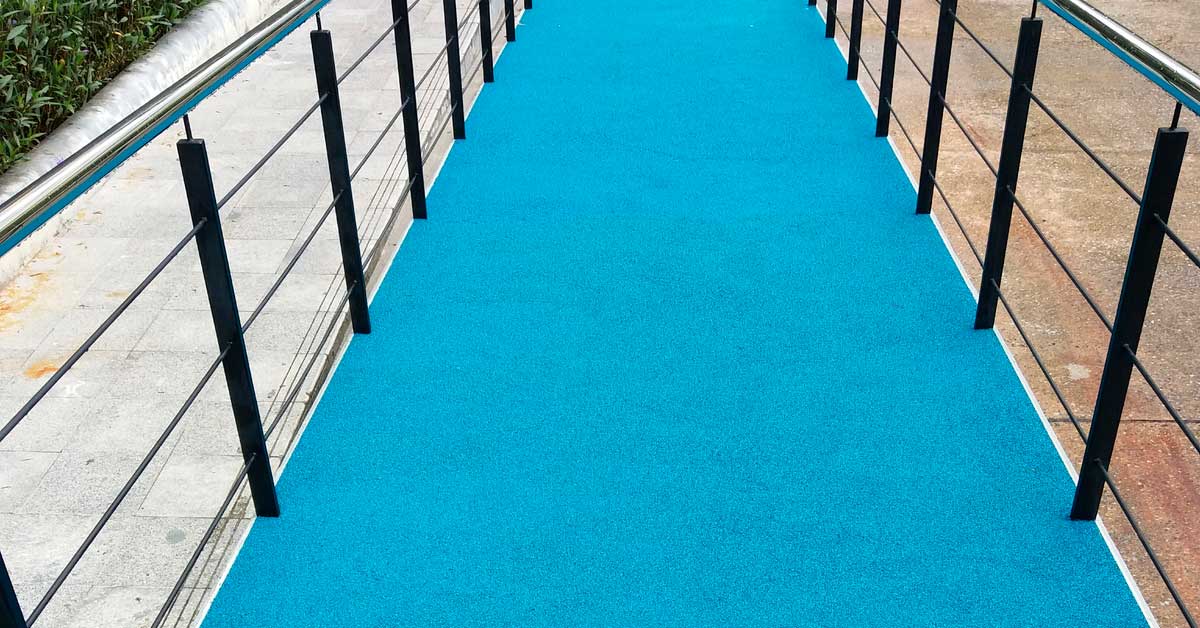
Safety ramp rubber surface.
Other benefit that we skipped in pros and cons, but rather decided to widely discuss here is rubber floor quality and lack of requirements for constant maintenance.
Ceramic and natural stone surfaces have to be protected with special seal at least every year to look as good as original. Our suggested material does not need any protection for long use.
Natural wood material has to be stained not only for purpose of changing color, but also to prevent material from changing shape and oxidizing. Rubber manufactured floors do not react to oxygen, water or any other liquid that would destroy wooden floors.
With time many materials that normally installed in homes have to be resurfaced. Once again our product wins and becomes ultimate product that literally stays there for years without you spending money on it every year.
Our recommendation is to occasionally sweeping the dust from it with any other debris. Gyms need to wash their floor to prevent accumulation of sweat on top.
latest video
news via inbox
Nulla turp dis cursus. Integer liberos euismod pretium faucibua