
14 Steps in New Home Construction – Explained by Builders
Many of us see new custom homes getting build in our neighborhoods with all sorts of architectural designs and modern features. On Point Remodeling team recommends hiring only experienced professionals, but at the same time we want to educate all readers of process involved in home construction.
In some regions houses are a little different and may have slight difference in materials used due to weather and location, but we try to include most similar stages in construction from beginning till end.
Here are the steps for building new home:
- Documents/Permits
- Preparation
- Demolition/Excavation
- Footings and Foundation
- Framing
- Exterior finishes
- Rough ins
- Insulation
- Drywall
- Stairs and flooring
- Finishes
- Final Electrical/Plumbing
- Painting/staining
- Inspections
There may be additional stages and steps in new home construction with complications of soil, distance to services like water and electrical lines, but overall you should get a good idea of how home are built in America.
[instagram-feed]1. Documents/Permits
Before any projects start you need to plan the house layout with all structural details. In simple concept you would hire an architect or structural engineer to create drawings for you that can be later submitted for permit.
Normally you work with this person or company for several months explaining your desires of how it will need to look and absolute necessary details for your home. For example a good start would be to provide several images of homes you like, with overall details like 4 bedrooms and 3 bathrooms totaling 3000 square feet.
There are obviously tons of work and designing involved, but to sum it up the plan gets created and forwarded to municipal authorities for approval.
2. Preparation
Can you just start work when city approves your drawings? Technically yes, but there are several requirements that are set up for home builders.
These requirements are established by safety associations and local bylaws. Preparations are mostly safety precautions and information packages that can be used by inspectors or other authorities.
Good examples of preparation for home construction would be putting up a fence around the lot and ordering temporary portable washrooms. Building permits may be required to be posted somewhere on jobsite with details of builder.
Other things like first aid kit, fire extinguisher or even map to nearest hospital could be needed on the job. Contact your municipality for details of what is required to be posted on site for construction projects.
3. Demolition/Excavation
On day one of actual work the excavators move in to demolish existing house on the lot. The process can take several hours and up to few days, depending on size of existing building.
Now you have to understand that not all projects will require demolition step. On some lots there will only be excavation for new home footings and foundation walls.
On property lots that don’t have adjacent neighboring houses and lots are rather large there should be no problem with sloping soil and easily working with all sorts of excavators.
Downtown areas and neighborhoods that have houses literally next to each other, shoring system may be necessary to protect soil from caving in and other houses piling together.
4. Footings and Foundation
Different houses may have different structure, but all of them have some sort of footing system to hold the weight without sinking in. Slab on grade homes simply have same level main floor as your outdoor height.
Footings may be even poured with entire concrete slab together. Surveyors are often used to help mark the boundaries of your lot and exact location of footings as specified on approved building permit. The height survey is also used to properly measure depth of homes with basements and lower levels.
Foundation walls are different across the country. Some home builders use cinder blocks, other pour straight concrete and some prefer to make structural walls with bricks. All of them work, but be sure to confirm with structural engineer before proceeding.
5. Framing Walls and Ceiling
The house box as we call it usually is made from wood, but other materials like metal, block, brick and concrete can be used for construction. These days most of the builders tend to use wood materials. It is easy to work with and changes can be made throughout the process and later on.
Exterior walls are made with what we call 2x6s. It’s pieces of wood that span out for 8 – 10 feet in height with thickness of 2 inches by 6 inches. Interior walls are smaller.
Structural loads may be carried down with metal beams and LVLs (laminated veneer lumber) which is higher in strength than regular wood planks.
6. Exterior Finishes of House

Designing house exterior and selecting materials.
They said the exterior of the house makes the overall look and style of your home. It’s not only the material that will be attached on the walls, but that’s not it. The exterior of the house is made of façade, roof, windows, doors and eaves.
Normally windows and roof are installed right after the framing is completed to isolate the interior and protect from weather conditions. This step of new home construction is very crucial in home construction to keep going with inside work. The actual outside façade work can be done parallel to next steps like rough ins or even drywall and has no effect on interior work.
The exterior work may take from few weeks to months to complete. It depends on materials used and style proposed by designer.
7. Rough ins – HVAC, Plumbing and Electrical
When the box of the house is complete you can proceed with interior work and start mechanical work. Rough ins means connection of all pipes, wires and ducts for the house.
These types of work require very specific plan. The rooms have to be carefully laid out in order for technicians to properly locate positions of your plumbing fixtures like tubs, faucets, sinks and dishwasher, for electrician to calculate required wiring needed for each room or floor.
HVAC or other heating system is calculated by mechanical engineer and positioned inside the walls to avoid unnecessary bulkheads and parts of wall that stick out. All steps in new home construction are extremely important, but rough ins are by far #1 priority.
If the framing is skeleton of the house, rough ins would be the veins and nervous system that controls the home from inside.
8. Insulation of Walls and Attic/Roof
Within exterior walls you need to put some sort of insulation layer. One of the most popular materials for insulation layer is spray foam. It is literally sprayed inside wall cavities to provide insulating barrier. Make sure that attic, flat roof and all the cavities between floors are insulated as well. Think of it as a box that you have to protect everywhere from outside cold or war air.
There are other materials for insulation such as rockwool, fiberglass and cellulose insulation. Those require extra vapor barrier to be installed on top for stopping the air.
Ask your local building authorities for required R-Value for insulating walls and ceiling for new home construction.
9. Drywall Installation and Taping
The interior walls in most of the house are covered with drywall. Installation of drywall is popular because the material is very good for fire separation, sound separation and overall looks. Drywall hides all previous steps in new home construction and finishes start from this point.
Drywall sheets somewhere from 4 feet by 8 feet and can go as large as 4 feet by 16 feet in length. It takes several people to hold the sheet of drywall next to the stud wall and screw it to the wall.
The drywall is followed up by mud and tape work. The joints of drywall sheets are taped with special tape and muddy material is put on to make the wall look continuous. Drywalling looks like heavy and dirty work as it actually is, but it requires enormous professionalism to make your wall perfectly even and smooth. When finished drywall and tape process, the walls are called – ready for paint.
10. New Stairs and Flooring
In home construction during the first stage of work we recommend using temporary stairs. This prevents from major damages to your final stairs. They can be easily dented with drywall while carrying up or down, with electrical outlet or switch that falls down, with sharp duct corner.
Stairs and floor are installed right before all other interior finishes are put together. Entire hardwood floor with stairs should be covered with proper material. On Point Remodeling recommends ramboards or similar thickness carton/paper for new home construction steps flooring stage.
Do not cheat on covering floor, go from every corner to corner and tape each side with paper tape that does not leave marks when taken off.
11. Finishes – Tiles, Carpentry, Cabinets, etc.

Open kitchen and dining area done by professionals.
Now its time to shine with interior finishes. They are made of tiles, carpentry, kitchen cabinets and other attributes that create overall theme and design inside of your place.
There is a debate of flooring before tiles and otherwise, and we recommend finishing hardwood floors first and installing all tiles afterwards. Although in sensitive areas where designers came up with exact pattern that have to fit and cannot be cut, you may want to install tiles first and start floor from the edge.
Kitchen cabinets are installed on your new floor and all other carpentry follows up to finish gaps like baseboards, crown moldings and casings. The house is almost complete now, only we have to bring mechanical trade to complete their part.
12. Final Electrical/Plumbing Installations
On last days of technical work when tiles are installed and cabinets are looking gorgeous, electrician and plumber come back to finish what they started few month ago.
Electrical wound normally come and within few days finish all lights, switches, under cabinet lighting, smoke detectors and any other outer connection.
Plumbers get in to install and connect faucet fixtures, showerheads, dishwasher and fridge water connections.
Nevertheless this work has to be done very carefully without damaging or scratching all newly installed items in the house. They can work together without interrupting each other’s work. Do not forget the house and water sprinklers on your front and backyard.
13. Painting and Staining
The last trades that walk in your home construction project are painters. Sometimes painting work is broken down into few stages and first time they prime the walls with first coat of paint is right after drywall is installed. This makes painting process easier from them.
Stairs and other wooden surfaces like doors, moldings and custom wood panels are stained very last. In perfect world you do not want anyone to walk on finished stairs at the time of completion of project.
It is very important to clean and vacuum before painting and staining is done inside of your house. Dust particles may end up on walls and when covered up with paint create bubbles on surface.
14. Inspections
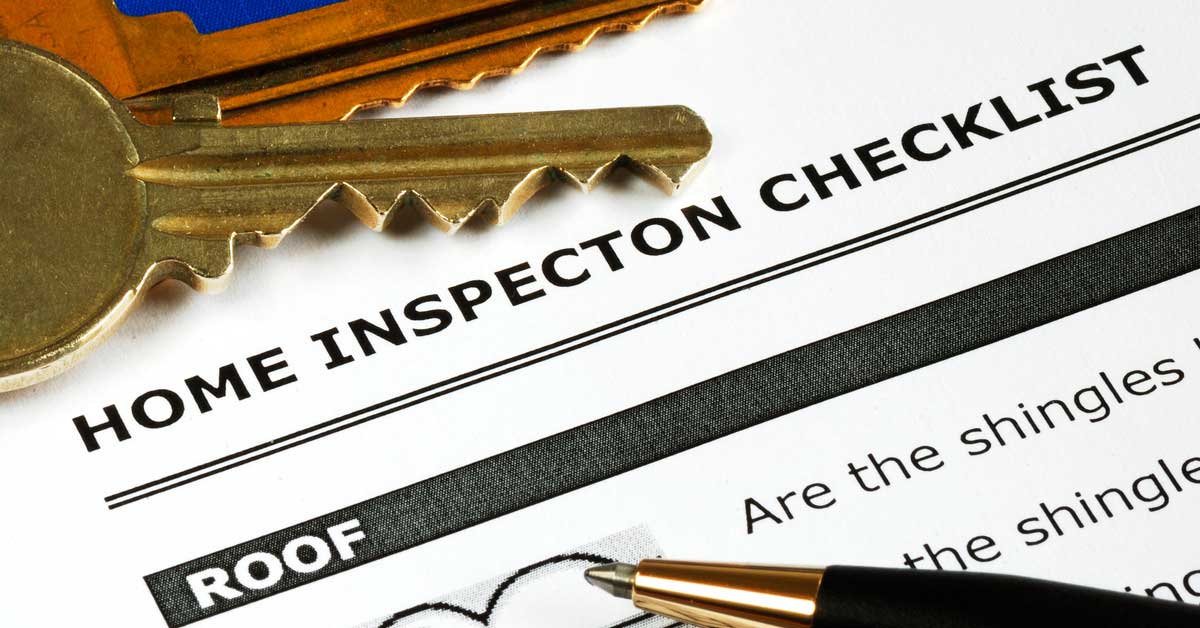
Checklist for home inspection after home is built.
All construction jobs end with inspection or at least they should. Even though throughout the stages there will be inspections from local authorities to check structural completion of the house, rough ins, insulation of your home and foundation, the last inspection from city inspector will be to close the permit for the job.
They would already have notes on the layout with initial building permit application and now it is the time to close the job and officially finish it.
The other final inspection at the end of the job is either for yourself or for you client who is the new home owner. During this inspection you would expect a walk through the house with explanation of everything that was completed, how everything operates, warranties and equipment that comes with the house.
Conclusion for New Home Construction Steps
We do no encourage any readers to build new homes by themselves. There are training and licensing centers in your states or cities that have specific requirements for becoming builder.
You can ask local building companies their procedures and compare to what we have outlined in our article. This list helps prepare for long process and not miss anything keeping the timelines as short as they need to be.
On Point Remodeling can recommend best home builders in your area for all sorts of houses.
We have reviewed work of many companies and are glad to help you with their contact information.
latest video
news via inbox
Nulla turp dis cursus. Integer liberos euismod pretium faucibua