Stained and Polished Concrete Floor Costs and Installation
The idea of concrete floors originated more than three thousand years ago in Greece and Cyprus. In warm countries it was popular and very easy to mix mortar with sand and water to make floor together with platform for homes.
It was never considered as luxury or something extraordinary throughout the years and people were using it for its durability and very reasonable costs. Nowadays concrete floors with high end finish may be considered as modern feature in a house that stands out from the rest.
After writing an article about 10 types of flooring for home, On Point Remodeling team has received several requests to expand provided information on polished and stained concrete flooring finish to understand if this is something our readers would want at their home.
[instagram-feed]Stained and Polished Concrete Floor Installation Process
- Preparation
Every job has its own problems and obstacles prior to start. Weather inside or outside concrete work has to be done; contractors clean the area and compact sublevel.
- Forming
Borders of new concrete are set with forming. Smaller jobs are formed with regular construction wood and pieces of plywood on sides. Larger projects require metal forms to withstand pressure of concrete.
- Rebar Installation
To make concrete stronger sometimes installers would add rebar before pouring. This is mostly done for structural concrete purposes. Stairs made of concrete also need rebar, but simple floor concrete finish would not require it.
- Pouring
Next step is actually pouring concrete mixture into the forms. Trucks arrive to the job and stream mix of sand, cement and stone to where you tell them. The process is similar to epoxy floor installation.
- Smoothening
Even though we think of concrete to be liquid before it sets, but contractors work on smoothening it out to make it look good.
- Grind
After manually leveling the surface of our new floor, it is time to step it up with machines and grind it using blades taking out bits of rough edges and any imperfection.
- Staining
Adding color and texture to new floor is our next step and concrete contractors stain the product as per your request. These have tons of options and styles to choose from.
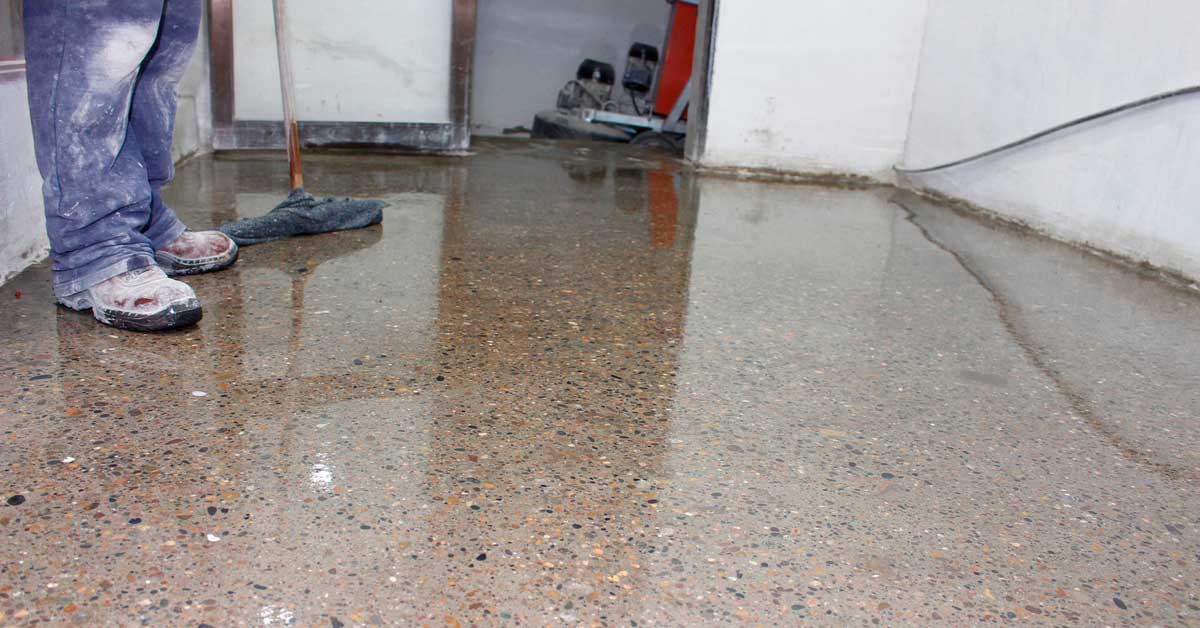
- Polishing
The last step is making everything shine. Stained and polished concrete flooring finish will feel and look like walking on glass on top of painted and stained floor.
Design and colors for Concrete Floor Stains
Concrete floors have tons of options for colors and designs.
Polishing concrete is the simplest design finish you can do. Your new or even old concrete floors can be polished to create industrial style. Unique finish can be created with adding few colors to polish.
Staining can be added to polishing process or simply installed with new concrete floor. This brings simple gray to life with amazing looks of patterns, colors and even imitations of hardwood or tiles.
Design can change the game with adding texture and create completely new style. Professional contractor can create ledge lines and shades to create almost 3d image on your concrete floor.
Pros and Cons of Stained and Polished Concrete Floors
Pros
Benefit of concrete floors over other types is has No Joint Lines to trap the dirt. This makes cleaning process much faster with less frequency.
The building materials concrete floors are made of exist in our nature and 100% recyclable. Entire manufacturing and installation is Environmentally Friendly unlike other floors.
Buildings can have subfloor and floor as concrete to save on Construction Costs. Maintenance and repair costs are significantly cheaper than any other floor finishes.
Cons
Keeping the looks of new concrete floor with shine requires Annual Stain and Wax. Not only extra costs involved, commercial areas will be shut down during the process.
Just like quartz and few other stone materials, concrete floors Absorb Colors from Spills if not taken care of fast enough.
In commercial spaces you walk with shoes on, but at home Walking Barefoot is Extremely Cold if you do not have heated floors.
How Much Does Concrete Surfacing Cost?
Unlike other flooring installations, concrete costs are always considered to be combining installation and material. For example tiles or hardwood you can purchase from local supplier and have contractor install them.
In 99% of all concrete installations the contractor provides all the materials and charges you for the entire job. Thus stained and polished concrete floor finish has to be compared to other floors with average material cost.
Commercial concrete floors are typically less expensive because square footages are larges and the access to jobs requires less effort. When doing over 1000 square feet of concrete flooring installation your costs should be $5 – $6 per square foot.
To complete your house floors with concrete finish it takes a long time to protect interiors from getting damaged. Also in new homes the job quality standards are very high. This puts residential concrete flooring installation with polish and stain at $9 – $10 per square foot.
We decided to average it out to $7 per square foot because at this point there are more commercial projects with concrete and costs has to be closer to their range.
Maintenance and Repairs of Polished Concrete Floors
The look that you will get on the floor is not the same as you imagine in garage or parking lot. Livings spaces or high traffic areas in offices are polished to give it better shiny look. The cleaning is not that complicated and requires just a mop with bucket of water.
Protecting the polish finish of concrete is done either by layer of sealant or by wax. We recommend refinishing floors once a year to keep original looks and keep the floors from getting damaged.
In large commercial properties it should cost around $0.50 per square foot to restrain or wax the floors, while in smaller residential homes it goes up to $1.00 per foot.
To repair it is more difficult for stained and polished concrete floors than to regular concrete. Polished floor cracks cannot just be filled with rubbery substance to seal and call it a day. You actually need to expose the crack with removing all small bits and dust particles. You carefully repair with same materials that were used originally and polish around 12 inches around that area to smooth out surface. This should cost $200 – $400 per crack or damaged spot.
Where Concrete Floors Usually Installed?
Areas where home owners decide to install concrete finish floor.
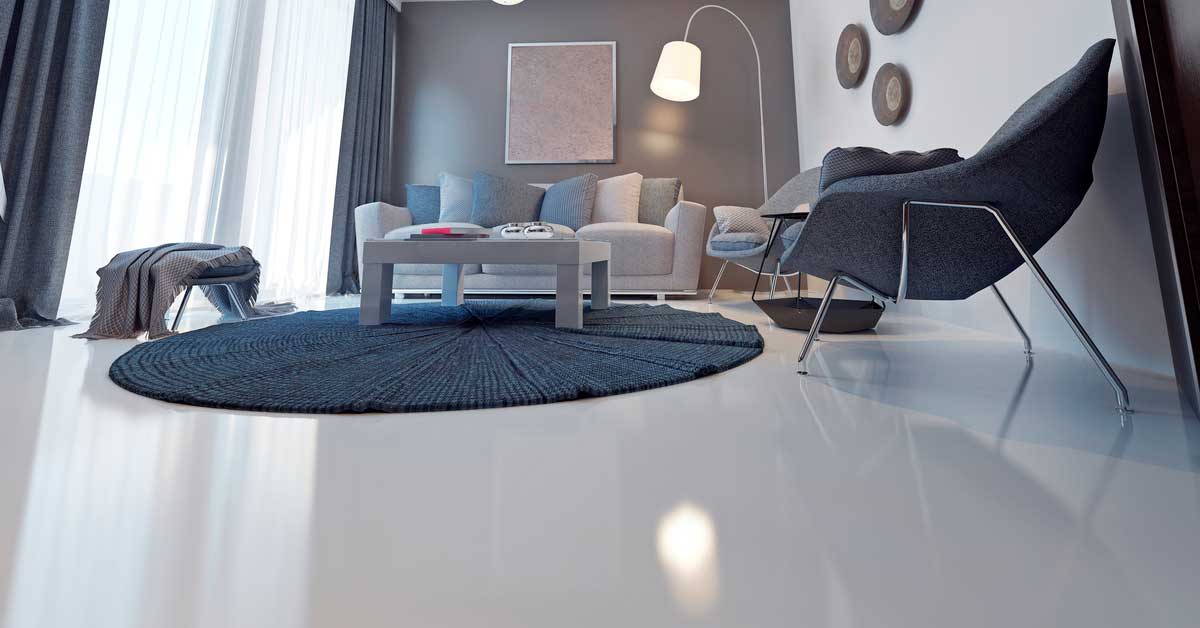
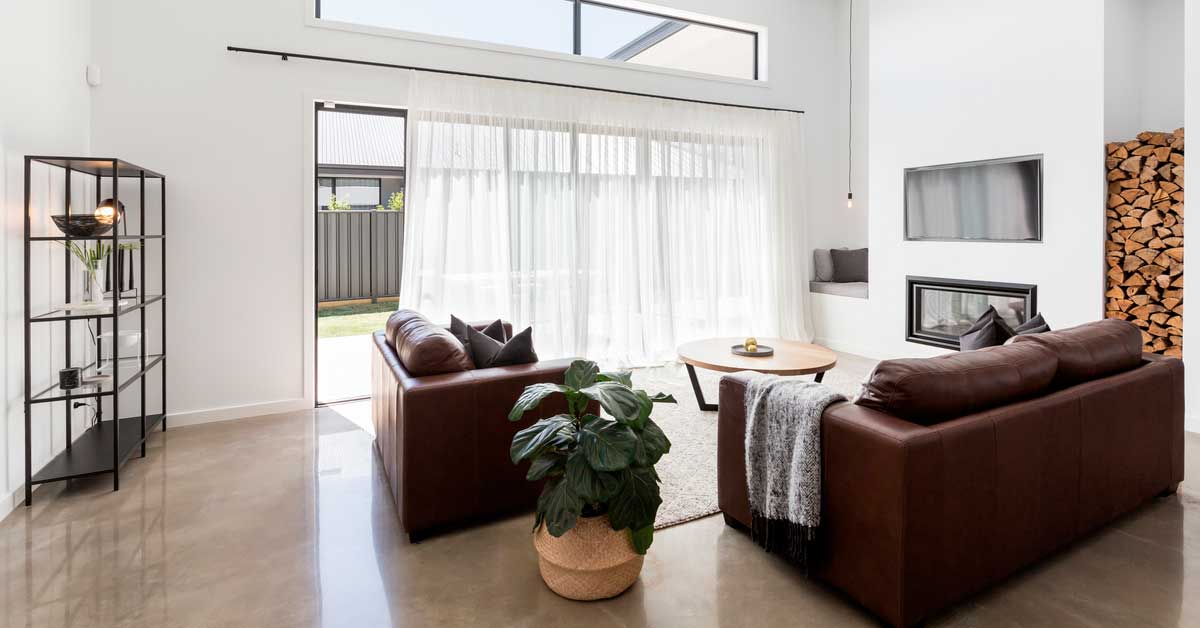
Full House – Very modern new home construction projects may end up with concrete floors throughout the house. This requires either worm weather or heated radiant flooring system to increase temperature of concrete. Stained and polished concrete floor in homes look spectacular.
Kitchen –The area with most traffic at home. To avoid constant repairs, joint lines and sensitive materials, home owners can install concrete floors in the kitchen that will definitely compliment design and modern/industrial style.
Bathrooms – Almost all the time we see tiles installed in bathroom to protect from water spills and high temperature, but grout does need maintenance and can have water go under. With concrete floor finish in bathroom most of the problems go away. Do not forget to create slope towards the drain and curb less shower.
Mudroom – So the mudroom has the purpose in its name. This is the spot where you come in from garage and all your mud from shoes goes on the floor. The grout lines get dirty all the time and we recommend doing concrete instead of tiles in mud rooms.
Garage – Every house has concrete floors for in garage. It is very practical to hold weight of cars without causing any damage and does not require much maintenance.
Basement – The slab in basements are already made with concrete. Polishing and staining is needed to make it look better for finished basements. On Point Remodeling strongly recommends installing heated floors in the basement under finished concrete floor.
Commercial – Concrete flooring in commercial properties was always in favor. There is no need for constant replacement of expensive hardwood or tiles, when you can simply install concrete flooring with cheap maintenance.
DIY Polished Concrete Floors vs Hiring Contractor
Home owners are always looking to learn new things to do and at the same time save money by avoiding hiring professionals. We always encourage self-educating and trying out new construction work. There are 5 criteria in DIY work that you want to consider:
Know all details of work from start to end
Have all materials and equipment that professionals use
Have someone to help you – it is not single person job
You have to like this work – otherwise you will do “OK Job” at best
DIY work takes double the time of experienced contractor
On Point Remodeling’s opinion to find perfect middle ground. Saving money is always the main point of doing things DIY, but concrete work is not the easiest and cleanest to do. Also concrete installation is not that expensive, you mostly pay for the material and equipment used in process.
To save money and get the job done perfectly fine you as hiring manager or home owner need to prepare by learning all the steps and knowing exactly what concrete floor you are trying to achieve. Find contractor that is experienced (preferably by referral). With complete list of details professional contractor sees opportunity to finish job without wasting too much time.
Difference between Residential and Commercial Application
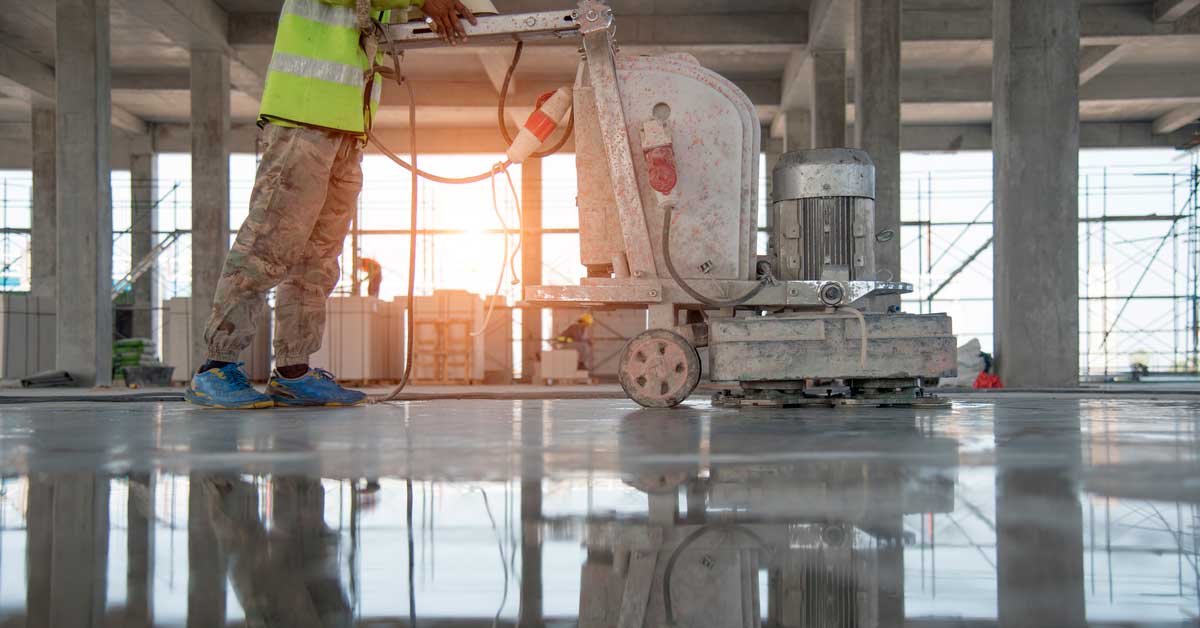
Durable concrete finish on floor at commercial building.
The actual work and details to it are somewhere different in residential project from commercial. On Point Remodeling wants all our readers and subscribers to understand the difference with difficulties associated in concrete floors installation with polishing and staining.
Material Used on these two types of jobs are always different. Small deficiencies are not as important in commercial buildings giving contractors the option to use cheaper materials for concrete as well as stains.
In houses the work is more expensive than in offices and malls. This can be explained by large square footage in commercial properties and houses do not have massive work. Residential requires more perfection in small given area.
Thickness of installed floor is more in commercial properties simply because in those places human traffic and machinery on top of the floors should not cause cracks on stained and polished concrete floor finish. Single home family does not need more than few inches slab.
In house you are looking for preparation dragging the timelines and lack of possibility to work with many people. In commercial, on other hand, time is always an issue and management will not allow contractors expand timelines for installation.
latest video
news via inbox
Nulla turp dis cursus. Integer liberos euismod pretium faucibua