How To Build a Retaining Wall on a Slope or a Hill
Retaining wall is built to support soil from falling down and make flat surfaces instead of high slope ground. Be it a backyard of a house, commercial space or city property where they want to separate sidewalk from upper hill with a road – the best solution falls down to building retaining wall. But what to do if soil slopes down from two sides? Simplest way to deal with this issue is to build a retaining wall with steps or in stages.
Here are the steps to build a retaining wall on a slope:
- Plan The Layout of Walls
- Select the Stones
- Excavate and Clear the Ground
- Dig Trench with Steps Down Following Slope
- Install Gravel Base
- Put First Row of Stones and Connect Steps
- Wheeping Tile and Gravel Behind The Wall
- Continue Stones all The Way Up
- Backfill with Gravel and Soil
Retaining wall construction is one of the most complicated types of landscape work. We highly suggest hiring professionals that know exactly how its done. For the purpose of comparison, it took almost 4 weeks. Making it on your own would take at least several month and the results would be less attractive.
[instagram-feed]Detailed Steps How to Build a Retaining Wall on a Slope
To understand the process we want to go more detailed in each step backing it up with images from actual project.
Take a look at each step and let us know in comments if Remodel On Point provided clear information on subject or if there is something else we our team could add?
Plan The Layout of Walls
Just like every complicated or structural work the most important step is careful planning. Otherwise you are risking running into constant problems, redoing most of work and loosing thousands of dollars.
It can be compared to regular elevation planning of the house with full measurements of heights, length and width. It will help understand the height of walls, number of steps required and further on calculate necessary material for ordering.
Professional surveyors are not needed and most scenarios would avoid making architectural drawings, but some type of drawing with exact measurements is absolute must. Following the master plan on the paper is so much easier for the whole crew than to kind of have it on the go.
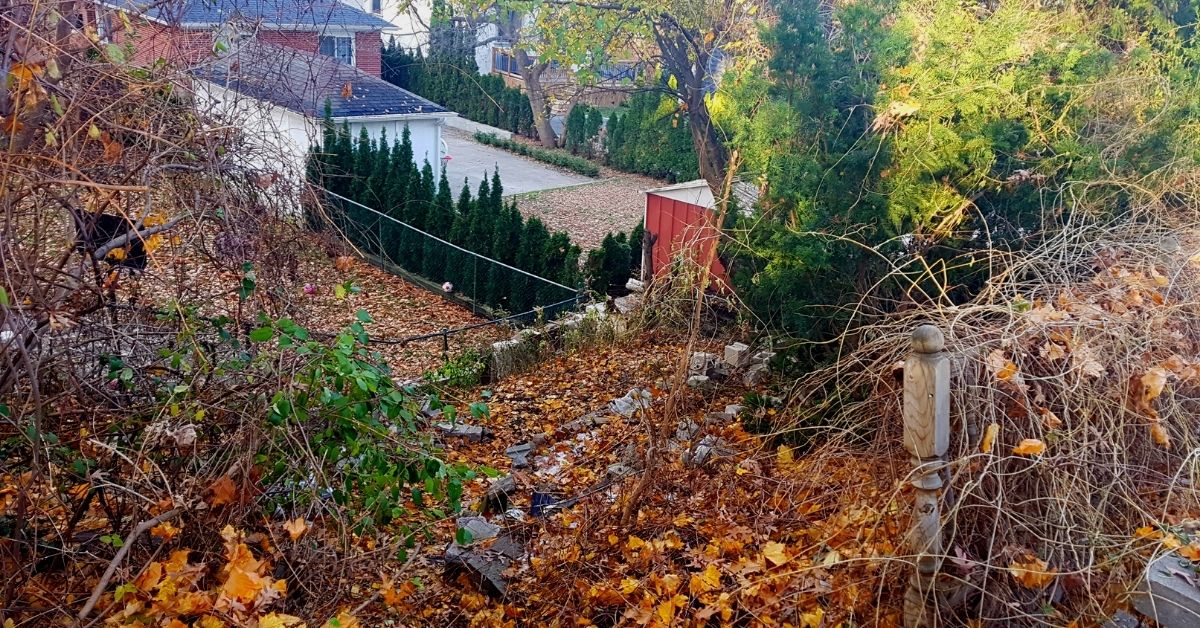
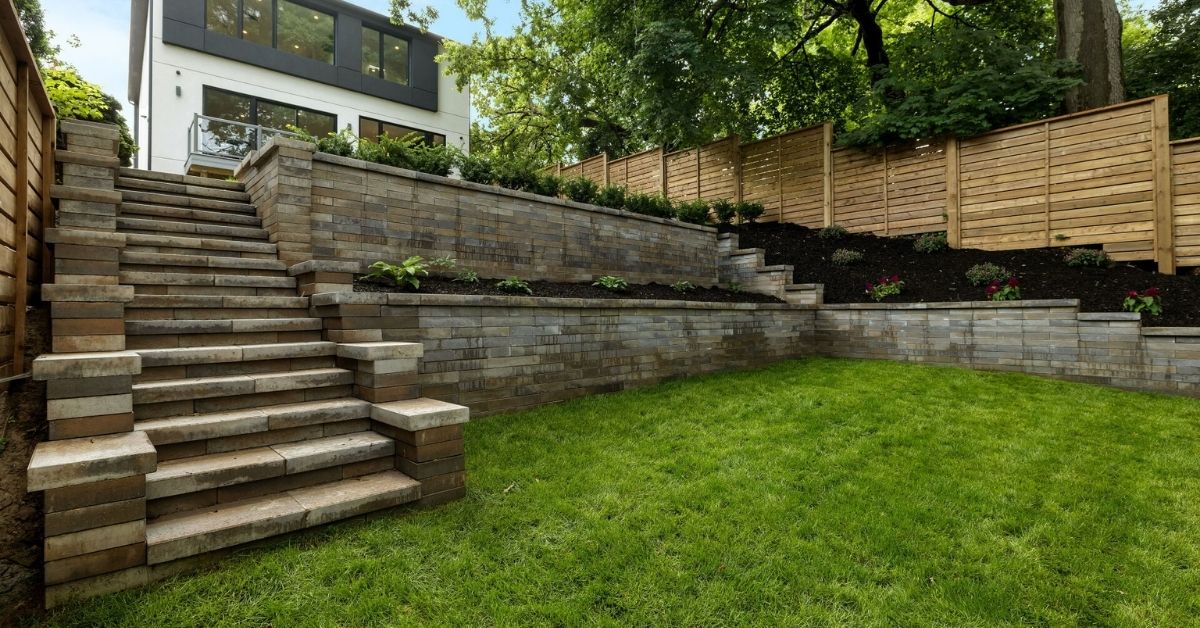
initial look at backyard space contractors were hired to change
Select the Stones and Order
The scale of work depends on type of stones. We are not talking only about colors and grading, size will be one of biggest factors going through the job.
Smallest material is not heavy and can be installed by hand. With access, contractors prefer to move all materials right next to the wall and place them in by hand.
Larger blocks and stones can weight several hundred pounds each and help of machine is required. There is no other way but to use excavator for building a retain wall with large stones.
Our experience tells us that most resellers and suppliers can complete manufacturing order in 2-4 weeks. Make sure to pre order materials and have it all ready by the time the first row of blocks is to be laid.
Excavate and Clear the Ground
Often enough the plan how to build a retaining wall on a slope involves transforming entire sloped hill into several flat surfaces that are held by these blocks.
Our suggestion is to make platforms prior to building retaining wall. Excavating and moving dirt after the wall is completed may damage it and shift some stones.
In other words cleaning and preparing the area has to be done prior and retaining walls follows along. Professionals with heavy machinery can do this work in few days and most interesting part will be on the way.
Dig Trench with Steps Down Following Slope
Very similar to start of all retaining walls, contractors dig a trench where it all will begin. Once again the size and depth depends on stones selected for wall.
For example smaller stones with 4-6 inches in height should be placed lower than soil level. It is also recommended to put at least 6 inches of crushed stone or gravel under first level. Therefore depth of initial trench should be more than a foot and properly levelled.
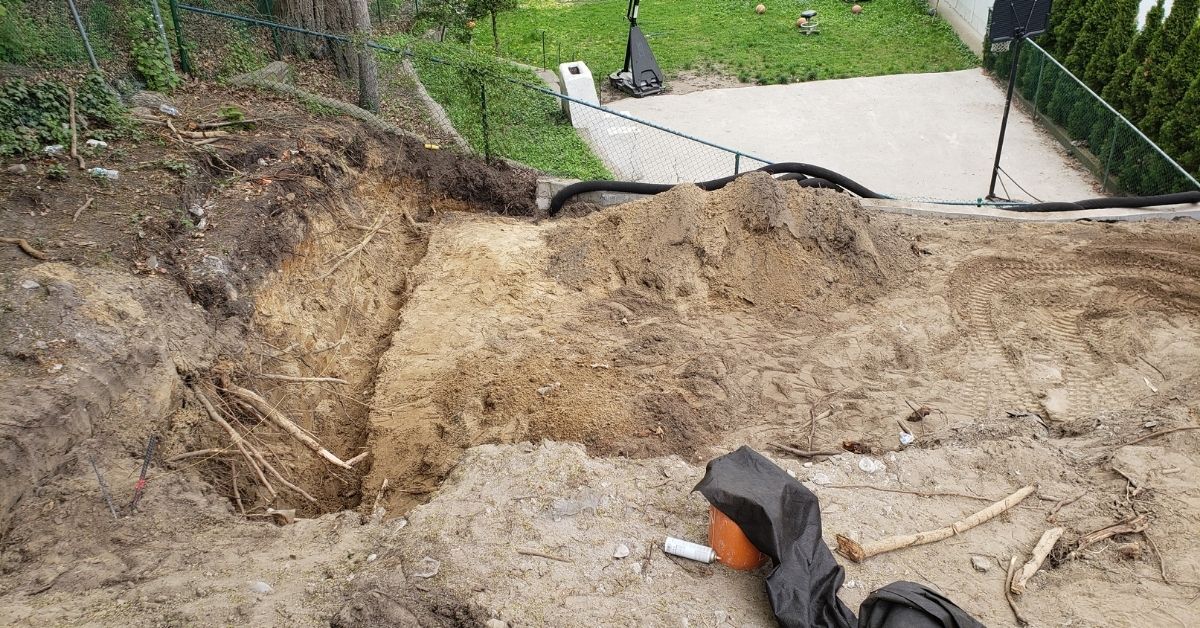
First trenches for retaining wall placement and marking on soil
Where steps down are marked – the trench is lowered by exact height of one or several stones. It is done to connect the layers of wall as its built up.
For example the height of stones is 4 inches and the step is calculated for 3 stones. The trench should be 12 inches lower for the first layer, so the 4th layer will the height and stones can be connected.
Install Gravel Base
At the very bottom of our wall there will be gravel. The purpose of stone is to create a solid pad for heavy wall and not sink in the soil.
Another reason is for the water to go down freely and not to wash out under bricks. The importance of how to build a retaining wall on a slope starts with solid base and proper techniques that are followed.
Contractors or home owners may want to skip some important steps that lead to complete disasters and walls fall down with tons of soil pushed with it.
Manufacturer of specific stone should always have instructions with suggested depth, amount of gravel and connection details for their product.
Put First Row of Stones and Connect Steps
Everyone says that first layer of retaining wall on a hill is the most important one and we are happy to confirm that fact. It can take hours to connect steps and properly level just next stone. It’s very easy to make tiny mistakes and contractors are not exclusion of the rule.
If they are lucky, just taking out some gravel under the stone by hand will do the trick and make it level. Very often few stones that were already placed are taken out and levelling is redone by tamper or similar equipment.
After first row is completed, it’s time to check the work. We recommend leaving it for a day and checking the level next morning. With clear head and time to set smaller deficiencies can be spotted.
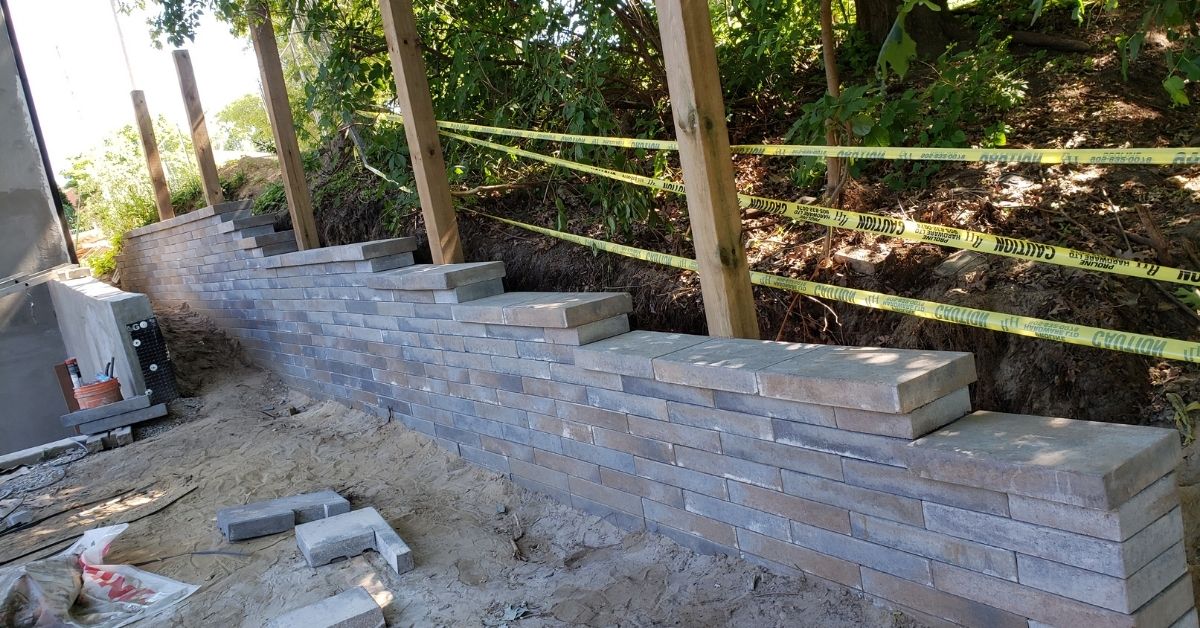
As the slope continues to change the retaining wall creates higher steps
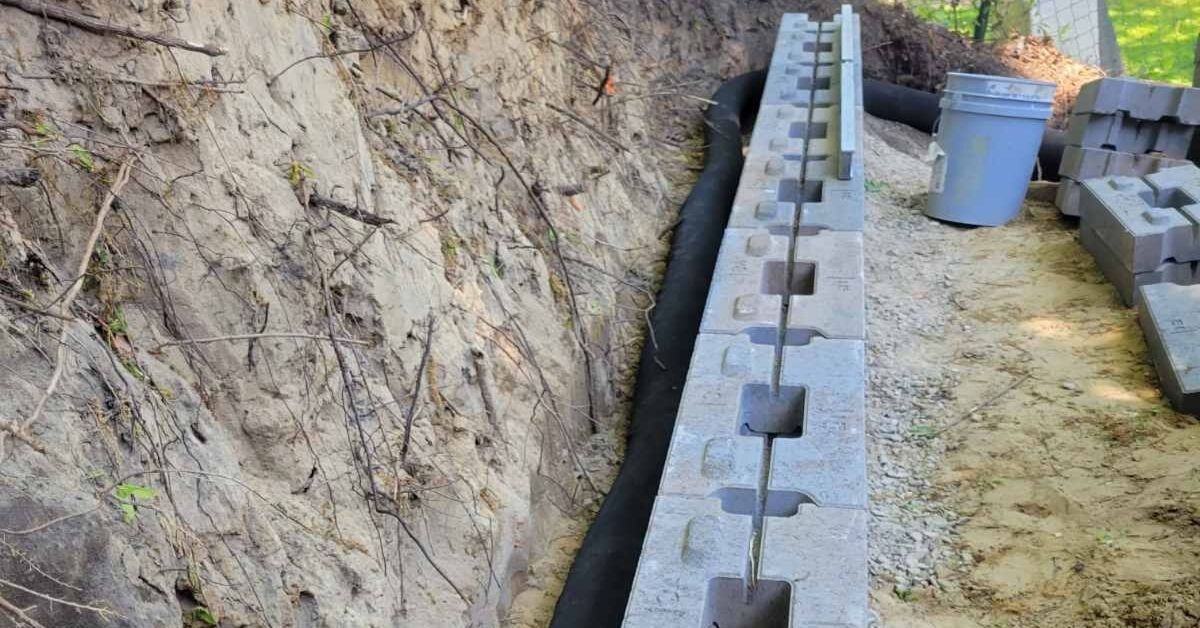
Wheeping Tile and Gravel Behind The Wall
How to build retaining wall on a slope or a hill properly includes directing water flow. After all, retaining walls fail due to improper assembly or water that constantly pushes the wall forward.
Don’t get us wrong, but the idea is to let water go freely through the wall without having it accumulate in any specific areas. Wheeping tile covered with protective material acts as a tunnel for water and directs it away.
Keep in mind that it won’t work if there is no positive slope towards the end, where sump pit or catch basin is located for water collection. In worst case scenario, wheeping tile will simply collect water and it won’t go anywhere.
Water collected behind the wall is directed towards sump put and discharged
Continue Stones all The Way Up
Now that everything seems good and first layer is perfectly level we build the wall up. Although stones may be heavy and it is still lots of work, the hardest technical part has passed.
Contractors just need to know when to stop and strategy for overlapping each stone. Similar to subway tiles technique, retaining wall on the hill stones placed in brick formation or 60-40 format.
With little to no supervision helpers drag and drop stones on top of each other until the wall is completed. Instructions for material specify if glue or other connection methods are mandatory. Top layer or caps are often glued to the wall for safety.
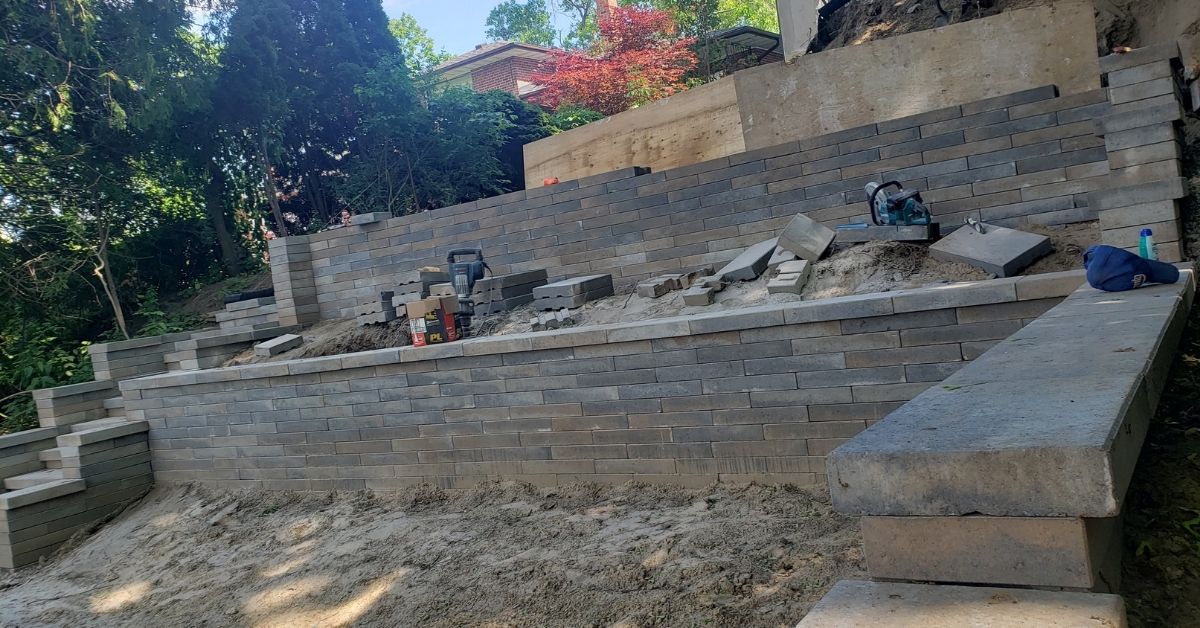
Retaining wall is built up with pisa smooth stone
Backfill with Gravel and Soil
If we take any instruction for how to build a retaining wall on a hill, the specs always suggest some amount of gravel behind the wall and the rest is backfilled with regular soil. How is that achieved?
How can we perfectly backfill 1 foot of gravel for water flow and soil afterwards? The trick is to do it slowly going 1 foot up at a time or even less. Place gravel maximum 1 foot up and back it up with soil. This will prevent mixing of stones with dirt.
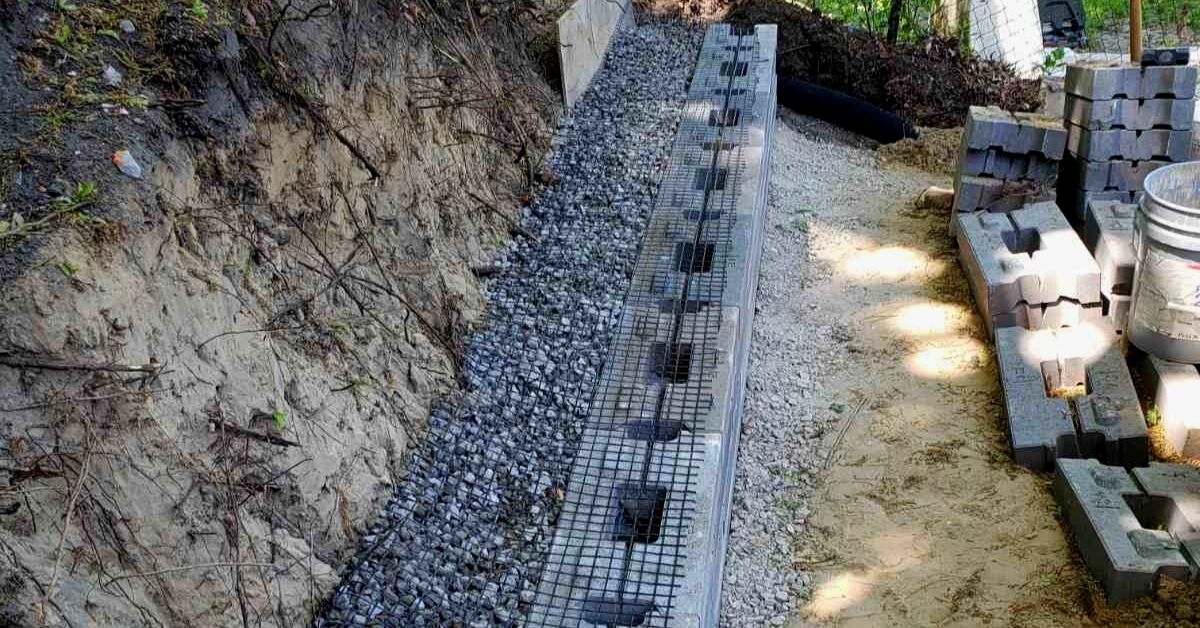
First few layers of retaining walls are backfilled with gravel and secured with geogrid material
Do not forget to carefully compact the soil as you go up. Continue filling back of the retaining wall with gravel and soil step by step until the top is reached. There you go, we now have completed building retaining wall on the hill and several elevations of backyard.
latest video
news via inbox
Nulla turp dis cursus. Integer liberos euismod pretium faucibua