
How Long Does it Take to Finish Basement?
Home owners should expect their basement to be completely finished within 6 – 7 weeks by qualified contractor. This research is based on many factors explained below. For comparison in how long does it take to finish basement we used not complicated projects with 800-1000 sq ft of floor space.
This time increases by 4-6 weeks when allowing for drawings and city permits to be completed.
Investing money into unfinished basement is probably the best way to get extra space for this little money. Most of us focus on the aspect of money and completely forget to ask about time to finish basement.
Specifically for many requests of our readers, Remodel On Point team completed long time research on each step of basement finish with approximate time schedules.
Here is the table of how long does it take to finish basement with detailed renovation steps:
| Company with In-house | General Contractor | DIY Management | |
|---|---|---|---|
| Drawings & Permits | 4 Weeks | 4 Weeks | 6 Weeks |
| Demolition | 1 Day | 1 Day | 1 Day |
| Framing & Stairs | 3 Days | 4 Days | 5 Days |
| Plumbing | 1 Day | 2 Days | 2-3 Days |
| Electrical | 2-3 Days | 2-3 Days | 3-4 Days |
| Heating | 0.5 Days | 1 Day | 1 Day |
| Insulation | 1-2 Days | 1-2 Days | 1-2 Days |
| Drywall & Tape | 1 Week 1 Day | 1 Week 2 days | 2 Weeks |
| Tiles | 2 Days | 2 Days | 3 Days |
| Flooring | (same time as tiles) | 1-2 Days | 1-2 Days |
| Carpentry | 1 Week | 1 Week | 1 Week |
| Cabinets & Vanities | 1 Day | 1 Day | 1-2 Day |
| Painting & Stain | 2 Days | 4-5 Days | 5-6 Days |
| All Finishes | 2 Days | 3 Days | 1 Week |
| Total Time | 9.5 Weeks | 11 Weeks | 15 Weeks |
The biggest difference between companies you hire for basement finishing and managing it by yourself is continuous adjustment of trades and materials that come on jobsite one by one.
Permits and documents/drawings
Not every requires permits for completing basement as living space. Even in those areas that do require documentation and approval we regularly see home owners that ignore this step to speed up the process. Remodel On Point team strongly advices to follow local bylaws and get drawings with proper permits when required.
Floor Plan and Architectural Drawings
The basement does not get as much attention as new home construction or addition. Therefore the floor plan is created without much technical details within a week or two. Moving existing structural walls will absolutely require architectural plan with engineering details that adds another two weeks.
Considering that a portion of basement finish projects do not do any complicated drawings our overall guide for timeline on this step is 0-4 weeks. You should definitely do at least a floor plan with details to follow thought the job. This will make it smoother to understand what goes where.
City Permits
After submitting documents for those areas that require municipal approval, it does not take long to approve small projects like basement. 2-4 weeks should be expected time for getting an answer, but obviously this time is impossible to control. If projects involve lowering height, basement underpinning permit allows needed start of work.
We would like to take into account those projects that do not waste any time on permits and give this step an average of 2 weeks.
Actual Work Steps with Explanation of How Long Does it Take to Finish Basement Project
This article is not only for home owners, but also for investors, home flippers and starting small business to know how long does it take to finish basement and what can delay it even further.
Job site preparation in basement is so small or nonexistent and we did not want to give it any specific time schedule.
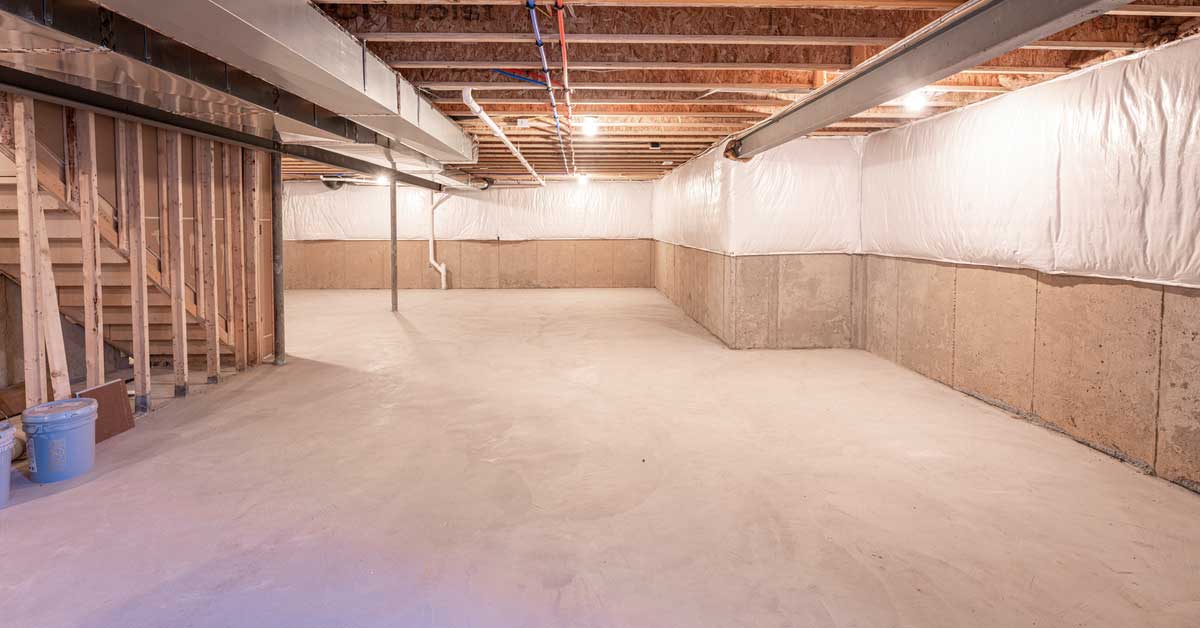
Concrete walls of basements without framing or insulation.
Demolition – If there is any demolition to be take care of, it can take 1-2 days to be completely gutted. Big portion of all basements would be simply unfinished and demo crew would be skipped completely.
Framing and Stairs – At first framers complete exterior and interior walls for all rooms. But don’t forget this exact same crew needs to come back to build bulkheads and covers after all rough ins are installed.
Stairs are set up at the same time and better be preordered at least 3 weeks ahead of time. Entire process of framing for 1000 sq ft basement takes 3-4 days to complete.
Plumbing – This step is tricky and can take from 1 full day to almost a week. The longest option of plumbing is when basement renovation needs replacement of drains or extension of new drain underground.
Rough in for bathroom and kitchenette does not need more than 1 day of work though. Keep in mind that installation of faucet, toilet and shower head requires one extra day, but we count it in finishing step.
Electrical – Some unfinished basement have wiring for lights and receptacles, but in most cases electrician needs to work for 2-3 days to complete it.
In worst case scenario, where tons of disconnects are needed after demolition of old basement, rewiring and potentially a sub panel or new larger electrical panel. This work increases electrical step timeline for another 2-3 days, but it does not happen that often.
Heating – The upstairs should already have heating system, be it HVAC ducts or radiators. Additional vent lines need to be installed for washroom fan and kitchen exhaust.
Bedrooms and living area of basement need extension of existing heat system and maybe a return for air. It takes one full day for 2 specialists to complete above listed items, unless home owner wants complicated heated floors.
Insulation – Like many steps listed above, this one is 1-2 days to complete. It depends on method of insulation, and unfinished basements from builder may already have insulation layer on the walls.
For spray foam it should be 1 day of work, while batts and vapor barrier method is cheaper but takes an extra day of work to complete. You should not worry how long does it take to finish basement when trying DIY insulation. It actually is not complicated and you can do it within same timeline.
Drywall and tape – This is the most time consuming step of basement finishing. While installation of the drywall on all walls and ceiling needs 1 day, mud and taping goes for at least 1 week.
To complete it, the basement needs to be warm and ventilated. Mud applied on walls needs to dry before sanding and application of next coat.
Tiles – Single bathroom in basement has approximately 120 sq ft of tiles. Tile installation with grouting should be maximum 2 days. If kitchen has tiled backsplash, we would carry this time to finish basement into last step.
Flooring – Not many flooring options are suitable for basement slab. Or should we say there are only hand full of floor types that are preferable by home owners for their basements.
Laminate, vinyl and carpet are popular for their ability to withstand lower temperature and have low costs. To install those type of floor in 1000 sq ft basement we schedule 1-2 days.
Carpentry – Just like any other part of the house, basement needs fair amount of carpentry work. It starts with installation of doors and installation of casings and ends with baseboards/shoe molds to cover gaps in floor set up.
Professional carpenters need good five days to complete all the work in your basement so we count it as a week.
Cabinets – Vanities and kitchen drawers are purchased or preordered from manufacturer. When the jobsite is ready it takes a day to install all of them in regular size basement area.
Painting – Despite the fact that walls and ceiling need primer coat and only than 2 coats of paint, there is a way to speed up that process.
With ventilators and portable heaters the whole basement can be completed in 2 days. Of course contractors that are not finishing basement as primary business on daily basis will have this step for 4-5 days.
Finishes – The last step of the basement finishing project (like any other large home renovation) is one of the most important ones. This depends on how much client will like or critique the work.
At this point electricians come back to install covers, plumbers install faucets and toilets, painter does touch ups and every detail is taken care of. If coordinated properly it takes only 2 days, but those with less experience need full week to close the job.
Time to Finish Basement with In-house Crew

9 Feet tall basement with complete kitchen and living area.
Contractors and renovation companies hire sub trades for all the work to be completed on the jobs they contract to do. These companies supervise, organize deliveries and control the quality of work.
Having tons of experience and best organizing skills renovation and building companies could never finish basement as fast as companies that do only basement projects.
They way basement renovation companies set up their business model is quite simple, but also fascinating. All of the workers and hired directly by the company and they are trained in few specific tasks. For example framing is done by the same people as insulation and drywall. You would be surprised how long does it take to finish basement with regular team.
By working as one big team and having special trades like electrician, plumber and heating guys jump from one project to another, they are not bothered working together with other trades and know exactly what to do.
Hiring strictly basement renovation company is not always the cheapest option but it definitely will save you time.
latest video
news via inbox
Nulla turp dis cursus. Integer liberos euismod pretium faucibua