How Long Does it Take To Build an Addition to a House?

Last Updated: 2023-01-17By

Expect home addition to last for at least 4 month, unless it will be modular second story addition. Estimated time schedule does not include drawings and permits stage. Preparation and experience in construction speed up the process and few stages can be completed at the same time.

Few things are to consider when increasing living space in the house by building and addition. First is to understand if you are to expand in side of existing house or will it be second story addition. This can significantly change the situation.

Remodel On Point team explains both options with how construction affects timing schedules. Our table explains how long does it take to build an addition for average house in few scenarios. Below you can read complete explanation on steps of work.

Side/Rear AdditionSecond Floor AdditionModular
Site Preparation1-3 days1-3 days1-3 days
Demolition & Excavation3-6 days1-3 days1-3 days
Foundation & Footings1 Week0 Days0 Days
Framing or Build Box2-3 Weeks2-3 Weeks3 Days
Rough ins2 Weeks3 Weeks3 Days
Interior Finishes2 Month2 Month1-2 Month
Exterior Finishes0 Days0 Days0 Days
Landscape1 Week1 Week1 Week
Overall Time 4 Month4 Month2-2,5 Month
Our table breaks down home timelines for average 1000 sq ft home addition.

Extra delays can always happen on all types of projects. Even modular homes have manufacturing flaws and damages after installation. Hang in there and very soon you can enjoy your new beautiful home. Our partner in Toronto can give better and more precise calculation on specific home addition projects and timelines to complete it.

Permits and documents/drawings

Above we have a chart with details and approximate timelines for construction, but there is another thing to it. We are talking about making drawings and obtaining permits for work ahead. This is not a one week work and most home owners don’t realize amount of work involved.

From the very beginning architect and engineer analyze your house with exact dimensions, point loads, load bearing walls and even sizes or existing footings. All of them work together to come up with best solution to attach new structure to already existing house with extensions of plumbing and appropriate heat system.

All drawings may take 1-2 month to complete with detailed engineering details, but what if you don’t like the plan and want different room positions. Revisions can keep on going for weeks and even month until everything is agreed upon.

Hopefully your bylaw does not limit you on size of addition you are considering and there is no need to appeal it. When everything checks out, simple addition permits can be approved within a month and construction can begin.

Explanation of How Long Does it Take to Build an Addition with Steps

Each project should be evaluated separately because of different circumstances. Some homes have limited driveway space, some have tough soil with rocks, and some are located in rainy regions. Here we want to list and explain steps of work by answering how long does it take to build addition to a house on either side.

Site preparation – At this point no one should live In the house unless it is modular home extension on side of the house or second floor addition literally brought to site for installation. Construction area is secured with fence and other mandatory items that bylaw requires. Regardless of the project type it takes 1-3 days for site preparation.

Demolition & Excavation – Number of renovations can be included in home addition project. In fact most popular project these days is completely gutting existing home with second floor or/and rear addition that will look like completely brand new home. In our topic we are talking only about addition part not to confuse things.

Second floor additions require roof to be taken out with trusses, which takes 1-3 days. Rear extension is slightly harder because it requires excavation for footings or foundation walls if basement is needed. Excavation is another 1-2 days.

Foundation & Footings – As you may already know, side or back additions will need concrete or block footings for structure to sit on. During second floor extension project engineers may need to check existing footing size for ability to support another floor. In rare cases existing concrete footings need to be enlarged. Entire process can take up to a week. Don’t forget to hire Direct Waterproofing for sealing foundation walls and making it safe for basement to be finished.

Framing – This step is exactly like building new house, only it will be attached to something already standing. Modular homes are built in warehouse and it does not take any time on site to frame it. It is assembled within 3 days or so. 1000 sq ft addition can be framed in 2-3 weeks with roof.

Drywall installation in home addition project

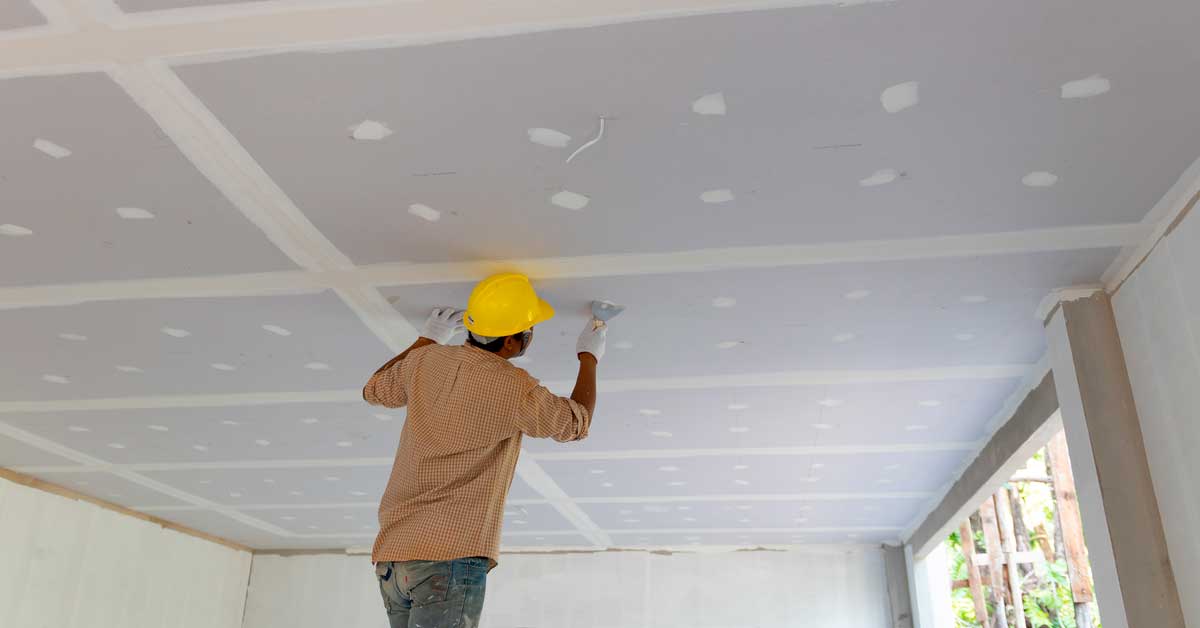
Worker taping and sanding drywall connections.

Rough ins – Assuming new addition will have one or two bathrooms, tons of lights and receptacles as well as extension of ducts or radiators to feed with heat. Modular homes have everything already prebuilt and only connections are required, that don’t take more than 3 days. Rough in connections in average home addition project take around 2-3 weeks to complete.

Interior finishes – This is where everything starts to get complicated. This part of home addition takes most of the time. Most modular homes do not complete any of the finishes in the warehouse and it all has to be done on site. This step starts from finishing drywall and end with painting. We estimate interior finishes take around 2 month to do in 1000 sq ft addition.

Exterior finishes – Although exterior work can last for a month or even more in rear projects, we usually don’t include it in our timelines. This is because all work on the outside can be scheduled during interior finishes. Experienced home builders and general contractors cannot waste any time and manage home addition schedule wisely.

Landscape – If there is absolute rush, landscape work around the house during home addition can be completed parallel to interior work as well. Possibility to save time exist because interior work takes the longest to finish, but builders prefer to leave landscape for the very last. It makes overall project look complete and pretty. Assume basic landscape to be done in 1 week.

Construction Time Difference in Three Home Addition Types

Modular homes are by far the fastest way to add extra square footage to your house.  You would be surprised how long does it take to build an addition with this method. Most time is spent during design stage and manufacturing of actual home box before bringing it on site. This way home owners can keep living at their current space until almost completed addition is brought by machines for installation. Disturbance is very much eliminated. Go on a vacation and come back to new home with addition.

Second floor addition takes more time during construction for connection of all the services and refinishing lower floors. The entire roof is also being demolished and a new roof needs to be installed. Besides that other finishes are no different from other home renovation.

Finished home addition part of home with furniture

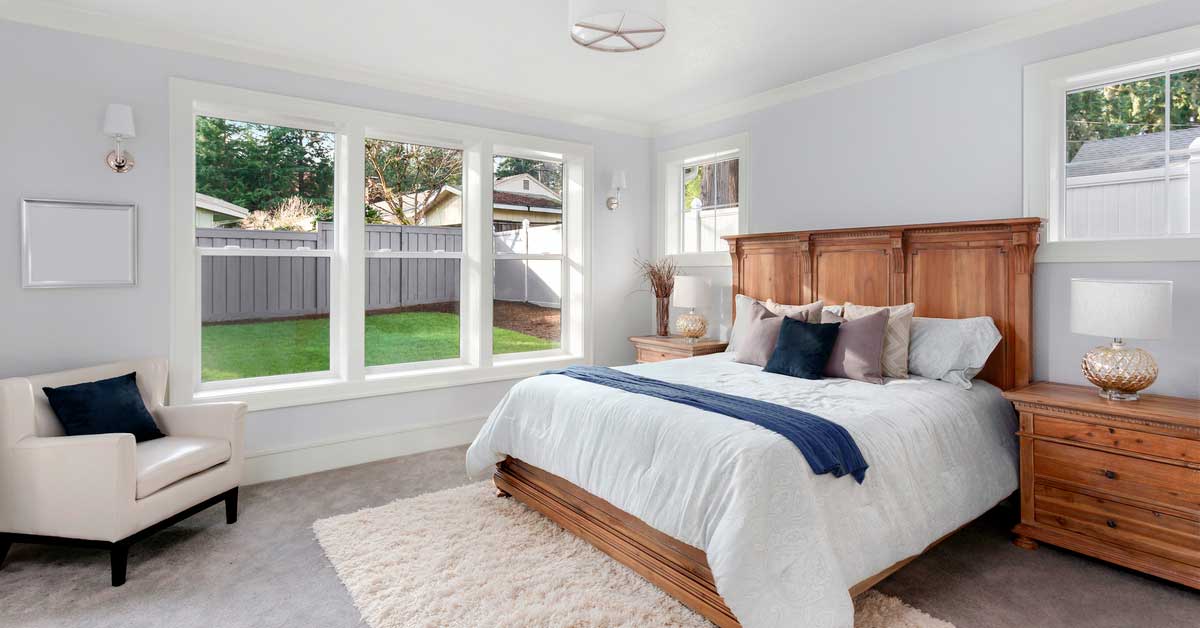
Beautiful rear bedroom finished in rear home addition project.

Side additions require more time for creating a base for the structure. Builders need to spend time digging and pouring concrete for footings and foundation that will hold entire addition. Also side connection to existing home is somewhere time consuming, unless new floor plan has basic transition with a door.

Permits and plans are the same for all types of projects. It basically depends on architect, complexity of work and how busy is the municipality that approves permits.

editor's pick

latest video

news via inbox

Nulla turp dis cursus. Integer liberos  euismod pretium faucibua

Each building has some sort of driveway or at least should have. The main reason is for vehicles to come closer without need to walk all the way. Some homes are residential with small driveway for their car to come in and park before garage or front entrance, and others can be large commercial buildings with loading docks, delivery entrances and casual parking entrances. On Point Remodeling was asked for suggestions on residential driveway for new home construction, and we decided to write detailed article for all our readers. Using this guide you can select the material for your driveway and see what works for your budget. Here are the materials for driveway we will be discussing in our guide:
  • Asphalt
  • Concrete
  • Paver Stone
  • Crushed stone
  • Brick
  • Seashell
  • Gravel
To find good contractor for your driveway, you can either ask our team by email or try to find someone local that worked with neighbors or nearby buildings.

Installation process of any material surface on your driveway

a) Demolition and Excavation – Before anything is done, your contractor will get heavy machinery and scratch off old layer of driveway. They need to go down at least 5-6 inches to insure proper layering before your final layer of material is installed. b) Material Purchase and Delivery – At this point your contract is signed and you already know how the surface will look. Contracting company purchases necessary materials and delivers them to site. Double check if material is correct and not damaged. c) Preparation of Sublevel – Whatever you place as final material, it cannot just be installed directly on top soil. Gravel is the first choice of material that goes down at this stage. Other preferred material is screen sand that can go on top of gravel and works better with stone and bricks. d) Compaction of Ground – To prevent your driveway from moving and changing shapes, all the layers from bottom up have to be properly compacted. Do not leave any spot untouched while doing this or you can get small holes and cracks in driveway after installation. E) Final Installation – This is when all the magic happens. After all preparations and dirty work the final installation is made literally within hours and you can enjoy new driveway. Stone and brick is set up by hand, while other materials require some sort of machinery with manual labor to even out surface.

1. Asphalt

Probably the most used material for road top surfaces as well as driveways is asphalt. This is a mix of gravel and sand that is mixed in and combined by asphalt cement with crude oil. Pros of Asphalt Driveway
  • Very popular and easy to find materials/contractor
  • Completed in 1 day and you can drive on it after
  • Patches and small holes can be fixed fast
Cons of Asphalt Driveway
  • Easy to damage and cracks appear in few years
  • Almost everyone else has same surface
  • Oily surface and chemicals used in mix
Prepared for asphalt driveway will cost you around $5 per square foot to finish. The contractors that take care of entire process from taking out old driveway surface, install subsurface and compact the ground with new asphalt on top, will charge on average $5500 per regular size driveway at single home property.

2. Concrete

What we call concrete is a mixture of Portland cement, aggregate as well as sand with gravel. Suggested thickness of concrete for driveway is 6 inches. The mixture needs to cure without being touched or driven on top for several days. Pros of Concrete Driveway
  • Durable material for large weights
  • Long lifespan if installed properly
  • Winter and summer friendly
Cons of Concrete Driveway
  • Has marks and stains over time
  • Hard to repair without replacement
  • Super hard to DIY
To hire contractors for concrete driveway it will cost around $7-$9 per square foot. This will include site preparation with gravel spread and new concrete installation. They will order full truck of concrete (or several for larger driveways) to pour inside forming. Smoothening and curing is required after installation.

3. Paver Stone

The most luxurious material that you can use to create driveway path with is paver stone. It is made out of natural stone with uneven rough shapes that have different line patterns. Paver stones are very heavy and are perfect for weights on top of them. Almost every city in Europe has roads and walks made out of stone that were installed centuries ago. Pros of Paver Stone Driveway
  • Creative designs can be done
  • Personal looks, can match the house
  • Can replace single stone in minutes
Cons of Paver Stone Driveway
  • Weeds growing through
  • Stone can move over time
  • Most expensive material
There is wide selection of stone that can be purchased for your driveway. On average we recommend settling with $17-$20 per square foot for stone with installation included. Working with this material is very intense labor and we recommend hiring professionals that do this type of work every day.

4. Crushed Stone

Our readers sometimes mistake crushed stone with gravel, but this is not the same material. Crushed stone material is achieved when machine is mechanically crushing larger pieces of unused stone for this specific purpose. It is larger than gravel and can have smooth finish. Crushed stone can also have a mix of colors, which is much pleasant to eyes than gravel. Pros of Crushed Stone Driveway
  • Low maintenance required
  • Fits rural area style
  • Can be reused for other purposes
Cons of Crushed Stone Driveway
  • Gets very hot during summer
  • Can be messy after many drives
  • Hard to remove snow and ice
Buying crushed stone and installing it on your driveway is as easy as it gets. Similar to other rough materials discussed in this post, only small tools like shovels, dolly and buckets are required to spread it on the road. The cost of crushed stone driveway is between $4 and $6 per square foot from professional local contractors that can finish the job in several days.

5. Brick

The same brick we see being used in wall construction can be installed as top driveway surface. Brick is manufactured by compressing clay with plastic mass. It is heated to extreme temperature and dried up to become as solid as you know it. Pros of Brick Driveway
  • Variety of selections in shapes and shades
  • Bricks are recyclable
  • Slip resistant with rough top part
Cons of Brick Driveway
  • Needs regular maintenance
  • Change color over time
  • Old fashion looking
Installing brick on driveway costs $10 per square foot, which is not too far from masonry brick laying as part of the wall. To save money you can use or purchase old brick, that was part of a wall before. Do not mix these two jobs and contact landscaping professionals instead of masonry contractors that work with bricks.

6. Seashell

This material is popular on the coast line where shells can be found near the water. Construction companies use seashells to add in other materials as well as spread them on driveway in rough condition, without adding anything else. It usually comes in white or pearl color and darkens within year because of mixing with sand and dirt. Pros of Seashell Driveway
  • Environmentally friendly
  • Has natural drainage
  • Creates worm vibe of beach house
Cons of Seashell Driveway
  • Break and crack under light weight
  • Sharp and very hard to walk on
  • Gets stuck in shoes and tires
To deliver and spread seashells on driveways costs below $4, which is only slightly more expensive than rough gravel. As you go further from coast line, cost of material increases due to delivery. This material is elegant and very soft. We recommend adding edge lines with darker color landscape material to create visual path.

7. Gravel

This material is used in other construction mixes and underlayment systems. It’s literally fragments and small crushed stones that are put on top of soil. It is easily spread out by hands and anyone can do it. Pros of Gravel Driveway
  • Cheapest of them all
  • Easy DIY Job
  • Can install another material on top
Cons of Gravel Driveway
  • Needs to be graded very often
  • Will mix with dirt and leaves
  • Washes up with heavy rains
It is rough material and can be purchased in bulk (by metric tons or cubic meters). The cost of driveway with gravel should not exceed $3 per square foot, but you can save tons of money by purchasing materials and doings installation by yourself. You do not require specific tools or heavy equipment for the job and delivery of gravel can be arranged directly to your project.

Conclusion

To properly finish any and all of these driveways requires skills and experience. There is no way you can complete any of these projects without heavy equipment and tools that regular home owner’s just store in their garages. Most of those who will read this post will prefer to install asphalt driveway, because of its popularity and low costs. We want to encourage home owners to go for personal preference and what matches your house, rather than getting the most affordable and popular items. Driveway jobs have to be completed fast; otherwise you will need to park elsewhere while the project is running. To not overpay, ask us for quotation sample on material you prefer in specific region where the work need to be done and our team can provide some numbers.

Leave A Comment