Average Bathroom Renovation Costs for Materials and Labor
Instead of saying that it “It all Depends” how much bathroom remodeling costs, On Point Remodeling is breaking down all different bathroom renovation types, trades involved and materials required for the job.
Average size (8×10 feet) bathroom renovation costs $19 000. It includes regular finish materials and all labor required. Contractors supply rough materials and dispose garbage after demolition within this estimate. Cost will very depending on size of bathroom, quality of work and finish materials.
Before deciding on bathroom remodeling we all know want to know how much it will drain from our pockets and what are we actually paying for.
In this post you can see what works for you, how much you want to spend on each finishing material to work with exact budget.
| Small Size (5×8) | Average Size (8×10) | Large Size (10×14) | |
|---|---|---|---|
| DIY Project | $5 000 | $6 000 | $8 000 |
| Cheap | $12 000 | $15 000 | $19 000 |
| Regular | $14 000 | $19 000 | $25 000 |
| Expensive | $18 000 | $24 000 | $33 000 |
| Luxury | $23 000 | $32 000 | $42 000 |
There are variation of prices even in same area from different companies and it all can depend on smallest things like heavy supply of customers, reputation and experience.
Our idea is for now to leave behind most of these factors and explain details from types of materials and labor involved. After all, by being educated on bathroom renovation costs breakdown you can negotiate with contractors to get a better deal.
Breakdown of Material Costs for Average Bathroom Remodeling
When you know what finishing materials are needed for bathroom renovation cost calculation, you can start creating a picture of overall costs.
Construction companies having difficulties explaining to home owners why job costs that much, simply because they are unaware the amount of materials have to be purchased and their actual costs.
In table below On Point Remodeling lists materials that most bathrooms will have with average prices from local stores and suppliers.
| Size/Amount | Basic | Average | Expensive | |
|---|---|---|---|---|
| Rough Materials | $750 | $750 | $750 | |
| – | ||||
| Mechanical Materials | $200 | $300 | $500 | |
| – | ||||
| Tiles | 150 – 180 sq ft | $400 | $700 | $1200 |
| Grout | ||||
| Marble Jamb | 1 -3 Pieces | – | $60 | $190 |
| Baseboards | 30 Feet | $30 | $50 | $100 |
| Vanity | Single – Double | $500 | $850 | $1800 |
| Faucets | 1-2 | $120 | $150 | $300 |
| Showerhead | 1 | $100 | $350 | $750 |
| Tub | 1 | $400 | $720 | $1340 |
| Toilet | 1-2 | $180 | $350 | $820 |
| Vanity Lights | 1-2 | $50 | $150 | $570 |
| Mirror | 1 | $60 | $100 | $480 |
| Drain Cover | 1 | $30 | $60 | $200 |
| Shower Glass | 1 | $450 | $850 | $1300 |
| Paint | $60 | $80 | $140 | |
| – | ||||
| Total | $3330 | $5520 | $10440 |
Rough Materials
Everything contractors use and you do not see at the end of remodeling process is called rough materials. In industry also we say construction materials when addressing things that go inside the walls during renovation.
Bathroom projects have rough materials like drywall with compound, wood or metal studs, insulation for walls, screws, plywood and few others.
Cost of all construction materials for average bathroom costs should not exceed $1000 but most complicated factor is knowing exactly what you need and buying it from supplier with on site delivery.
For average size bathroom you should be purchasing:
- 5-6 sheets (4×8) of water and mold resistant drywall.
- 6-8 sheets (4×8) of regular drywall
- 1 Box oh mud compound for drywall
- 1 Roll of tape for connections
- 25 – 30 of 2×4 wood studs or metal studs (if framing required)
- 40 – 120 sq ft of insulation (if 1 or 2 walls of bathroom are exterior)
- Screws for framing and drywall installation
- 1-2 piece of 4×8 plywood (for replacing subfloor)
Mechanical Materials
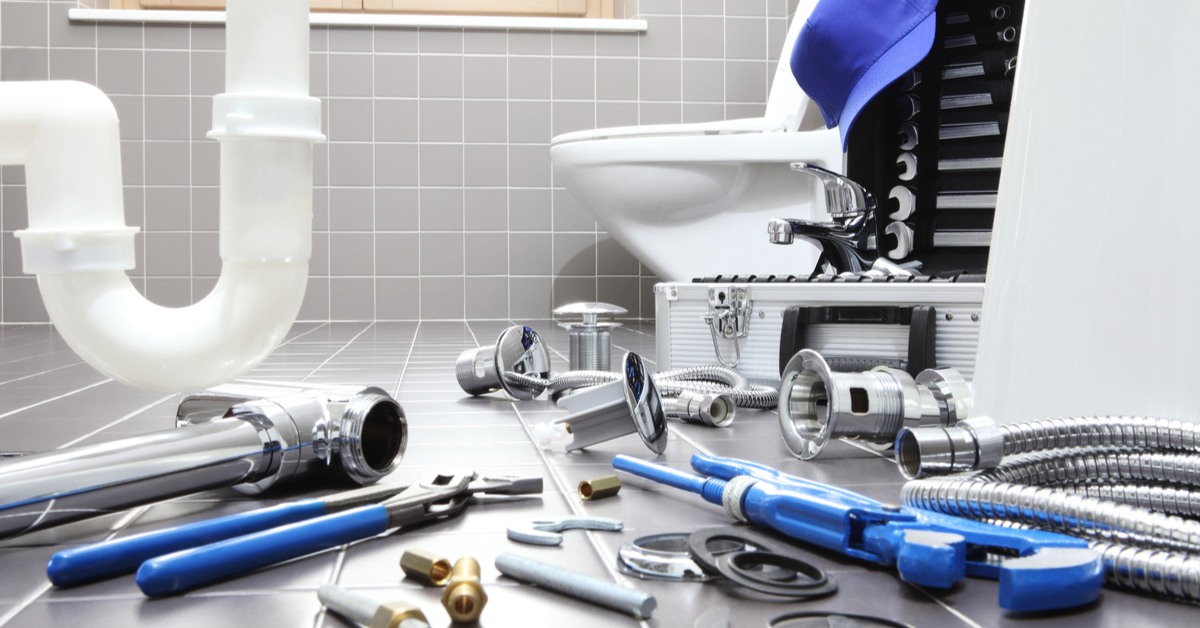
Different types of plumbing materials for the bathroom.
For technical work that is done by licensed specialists like plumbers, electricians and hvac workers special material is required to be purchased, which we call mechanical material.
Normally technicians purchase these items in specific supplier stores that sell only electrical materials or plumbing details.
Bathroom remodeling is considered a small and not complicated project, for which all mechanical materials can be purchased in local hardware stores.
Mechanical materials required for bathroom remodeling:
- Drain pipes for vanity, toilet and shower
- Plumbing water pipes for hot and cold water
- Electrical wires for lights, outlets and switches
- Boxes for outlets and switches inside the wall
- Exhaust and duct pipes for heat and fan ventilation
DIY Project
If you think that you have the abilities to completely finish this project completely by yourself than you can save tons of money. You should have experience in renovation to even consider this type of work without hiring contractors.
Proper tools have to be used each step of work and if you do not have some of them, you can rent it at Home Depot or Lowes for several day. DIY bathroom remodeling projects can save home owners more than $10 000, but you need to know what you are doing.
What we suggest doing if you do want to go ahead with DIY bathroom project, is to hire licensed electrician, HVAC professional and plumber to do their part and do everything else by yourself.
Hiring Team of Subcontractors or Handyman

Workers team with different construction specialties.
The most preferred way of finishing or renovating bathroom is to hire subcontractors for all the work. Why should you spend extra money out of your pocket on brand name that will have same workers anyways.
It is hard to find these professionals and you have to have some inside connections.
The problem with subcontractors is that their work will not be warranted and sometimes completed without proper licensing.
Labor costs can be cut in half when hiring handyman and subcontractors. You pay the same price for all the materials and your overall project cost on average can be $11 000.
Bathroom Remodeling Company Costs
Larger cities would have companies with dedicated crews that work on bathroom renovation projects. These companies operate as any other business and dealing with them will cost a little bit extra.
They have websites, portfolio, reviews on many platforms but they also have overheads with company profit that you will pay for by hiring them.
Bathroom remodeling companies provide warranty and customer services that is a must in developed world. They have a salesman and possibly a supervisor or foreman that will be controlling the flow of the job and making schedule for work and deliveries.
Our team specified the above table of bathroom renovation costs breakdown when dealing with bathroom remodeling companies.
Supervising Job and Hiring Sub Trades One by One

The supervisor checks the construction project.
We all have friends and family members that can be connected to renovation or construction industry one way or another. For home owners that have extra time to manage the job and know experienced trades for the job, On Point Remodeling recommends breaking down each step of bathroom remodeling project and hiring separate trades for work.
This process will save the money and insure that each task is competed by true professional that specializes in one particular type of work.
Our suggestions for supervising trades:
- Leave last payment until job is complete and quality checked
- Make sure they clean up after completion of their work
- Check next trade previous work for deficiencies (e.g. drywallers to check framing work, painters to check taping work)
- Have then on schedule or they will not take it seriously
Trades that Get Involved in Bathroom Remodeling
We wanted to break down the project for home owners to understand what trades get involved in bathroom remodeling jobs and what is the sequence of all steps. Very complicated bathrooms may have additional steps and trades, and our post is for average project that all our readers can go through.
1.Planning and Designing – $1500
Designers charge for their knowledge and professionalism in gathering your thoughts with ideas and expressing it on layout with items that work in renovation. Drafting professionals also will save you tons of money and time with efforts to create proper layout with finishes.
2.Demolition – $500
This part of work is often forgotten or undervalued by home owners. Demolition is the most dangerous and dirties work in renovation. Guys need to carefully remove existing parts, package it in bags or bins, carry out for disposal and clean after without leaving a trace.
3.Framing and Insulation – $300
Installing new wall studs for boundaries of your new bathrooms is not that complicated and professional framer can complete the job in half a day. Adding insulation into cavities is even easier and literally anyone can do it with proper tools.
4.Heat and Exhaust – $500
You wont always require HVAC professional on bathroom remodeling project. They are needed when the plan is to add or relocate heat runs from furnace or change/add exhaust pipes for ventilation system in ceiling.
5.Plumbing Rough ins and Final – $1800
Average cost for license plumber is $600 per spot and bathrooms 3+ spots. They spend a day on installation of rough ins for drain and water liens and than come in at the end of remodeling for final installations of faucets, showeheads and toilet.
6.Electrical Rough ins and Final – $400
Electricians have the same process idea as plumbers. They create rough ins and come back later on for putting last touches on plugs and switches. Electrical rough ins should be done within 1-2 hours by licensed professional and same time for final work.
7.Drywall and Tape – $500
Screwing drywall to studs is the easiest task in this part of work. The more complicated step is taping, mudding and sanding. Bathroom is relatively small project for tapers and they don’t wish to come back many times after leaving mud to dry. This why the bring ventilators with warm air to speed up drying process.
8.Prime and Painting – $350
Similar to drywallers, painter should use fan and ventilator to speed up drying for prime and paint. They want to finish everything by the end of the day and never come back for additional coats.
9.Tile Installations – $1100
First day tilers put cement as preparation for tiles. This is done to even out deficiencies on the floor and walls. Next day after everything is dry and sturdy, they install tiles. They need to come back again to complete grout for all tiles. Sometimes work is speed up and cane be completed in 2 days.
10.Carpentry and Cabinets – $300
Carpenters come in almost as last stage workers for installation of door, casings around window/door and baseboards on the floor. It should take less than a day to complete 1 small or medium size bathroom for carpenter.
11.Overall Finishes – $300
Last touch up finishes can be done by handyman that has basic tools like screwdrivers, caulking gun, drills and knife. Their work will not be running for more than 1 full day. After-all its only missed caulking spots, installing hardware for towel and toilet paper holder and few more touch ups.
Condo Projects Are 25% More Expensive

Couple calculating the cost of a condo project.
Not all the bathroom remodeling projects cost the same even though the size and details of project are identical. In complicated for work spaces such as condo buildings and apartments the prices go up because of multiple restrictions in the building and problems with delivery materials.
Be ready to spend 20% – 30% more on similar projects when hiring bathroom renovation contractors in condo unit.
Doing the project by yourself is not going to be more expensive, because materials will cost the same, but you will spend much more time and efforts for the same work.
Other Items that Increase Overall Bathroom Costs
Now you are almost ready for bathroom remodeling project and understand most of the costs involved. Here are listed other possible expenses that may come up in your specific project:
- Protection of other places at home with tarps, plastic and ramboards
- Structural changes for enlarging bathroom sizes or repositioning walls
- Moving plumbing lines through joists and walls for new locations of toilet, vanity and shower
- Drawings and permits that may be required for adding new bathroom or relocation
- Installation of new window or skylight in bathroom
- Hiring local designer or using On Point design services
Our team of designers can create your perfect sketch with rendering to know exactly what bathroom renovation costs breakdown will be. With spending this money we will help save much more on outsourcing all finish materials and creating complete work process schedule.
editor's pick
latest video
news via inbox
Nulla turp dis cursus. Integer liberos euismod pretium faucibua