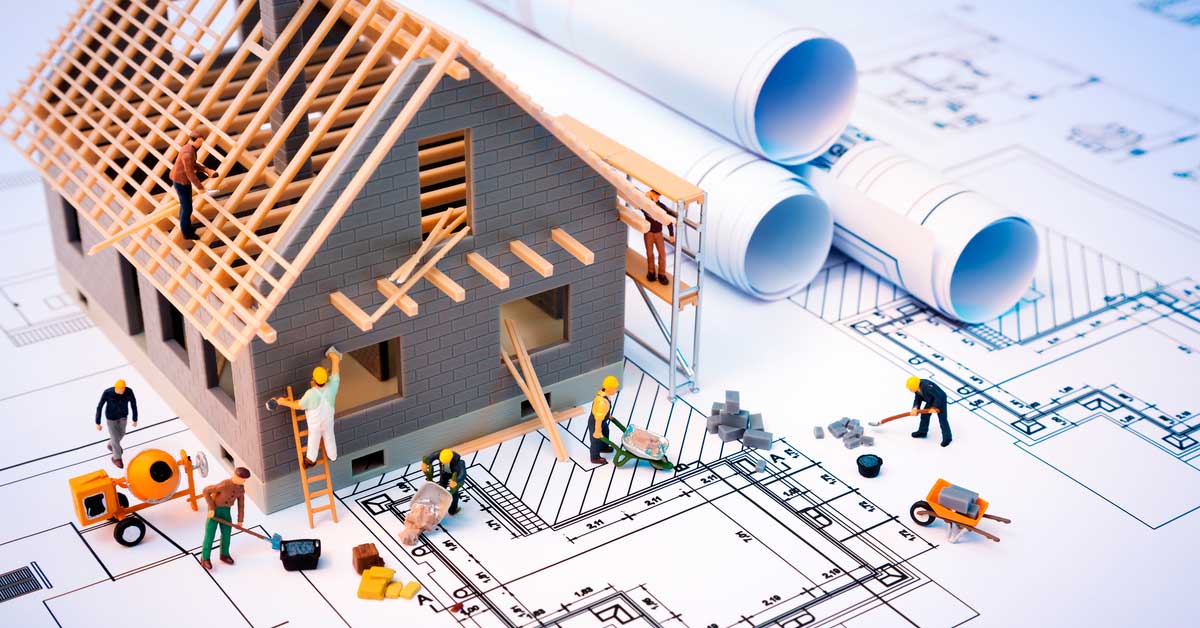
How Long Does it Take to Build a House?
For those home owners who want to step up a notch and build a house from the scratch we wanted to breakdown home construction timeline and answer how long does it take to build a house. Our research showed that experienced builder company can build house with permits and preparation within 11 month and 2 weeks.
The most simple answer is it depends or around a year, but we want to go much further and list all steps with time required.
Many investors or regular home owners need to understand not only the process and costs, but also timing that goes into building a house. There are people that want to avoid dealing with home builders and want to try and manage home construction project on their own.
Although we strongly recommend avoiding experiments on such complicated and expensive projects without experienced team or company, we still would like to outline the time for new custom home builds.
Here is a table of how long does it takes to build house for specific steps in construction:
| Construction Steps | Builder Company | Average Contractor | Manage by Yourself |
|---|---|---|---|
| Drawings & Documents | 2 Month | 3 Month | 3-4 Month |
| City Permits | 1 Month | 1 Month | 1 Month |
| Site Preparation | 2 Days | 1 Week | 1-2 Weeks |
| Demolition & Excavation | 2 Weeks | 2-3 Weeks | 3-4 Weeks |
| Foundation & Footings | 1-3 Weeks | 2-4 Weeks | 3-5 Weeks |
| Framing | 3 Weeks | 4 Weeks | 4-6 Weeks |
| Exterior Finishes | 1 Week | 1-2 Weeks | 2 Weeks |
| Rough Ins | 4 Weeks | 4-5 Weeks | 5-6 Weeks |
| Insulation & Drywall | 4 Weeks | 4 Weeks | 4-5 Weeks |
| Interior Finishes | 3 Month | 4 Month | 5 Month |
| Landscape | 2 Weeks | 3 Weeks | 4 Weeks |
| Other Delays | 1 Month | 1 Month | 2 Month |
| Total Time | 11 Month 2 Weeks | 14 Month 2 Week | 18-19 Month |
Because every custom house is different in size and complexity, our suggested timeline are for 3000 sq ft new home without complicated extra features that would take longer.

Modern looking home with completed exterior finishes and landscape.
Permits and Documents/Drawings
Many builders do not include permits and drawings in proposed home building timeline. This is because they usually do not deal with architectural drawings nor can they control response time from the city for permit approval.
This point is overlooked, but it is very important for home owners and investors. You need to take into consideration the entire process from start to finish, because time is money for those who put a lot of money and effort into building their dream home.
All Drawings and Plans
Initial plan of the house is developed by architects and engineers. Local company can prepare home drawings within a month or two, but revisions that you would require to adjust can make the process longer.
Investors and flippers that want to speed up the process and save some money on plans can purchase ready architectural drawings for construction and adjust several items during construction. This would take absolutely no time to do.
Required Documents
Depending on where you reside and specific lot the construction will be at, there may be additional documents required by the law to start construction.
This could be new land survey for construction, zoning certificates, soil testing, designated substance analysis for demolition of existing building, committee of adjustments and many other documents that your municipality could require.
Our suggested time allocation for all documents is 2 month. Simple projects in rural areas without intense laws would have less time needed for documents.
City Permits Approved
Assuming everything architects or you personally submitted was according to bylaws without mistakes, than probably within a month you would have all permits on hand for construction.
Keep in mind that home build documentation is very complicated and precise. Even experienced companies sometimes make tiny mistakes that examiners flag and request to fix before permit is assigned. We suggest preparing to spend 6 weeks of time for getting city permits.
How Long does it Take to Build House – Work Steps Explained
This is where it all gets interesting. Unless you are investing in developments and reselling new homes, the home construction is experienced once in a lifetime.
We want to underline the responsibility of home owner to disconnect all services before work begins. This step is done while documents and permits are going through to save time. Gas, electrical and water lines have to be shut off by the city officials or specific company assigned for this work.
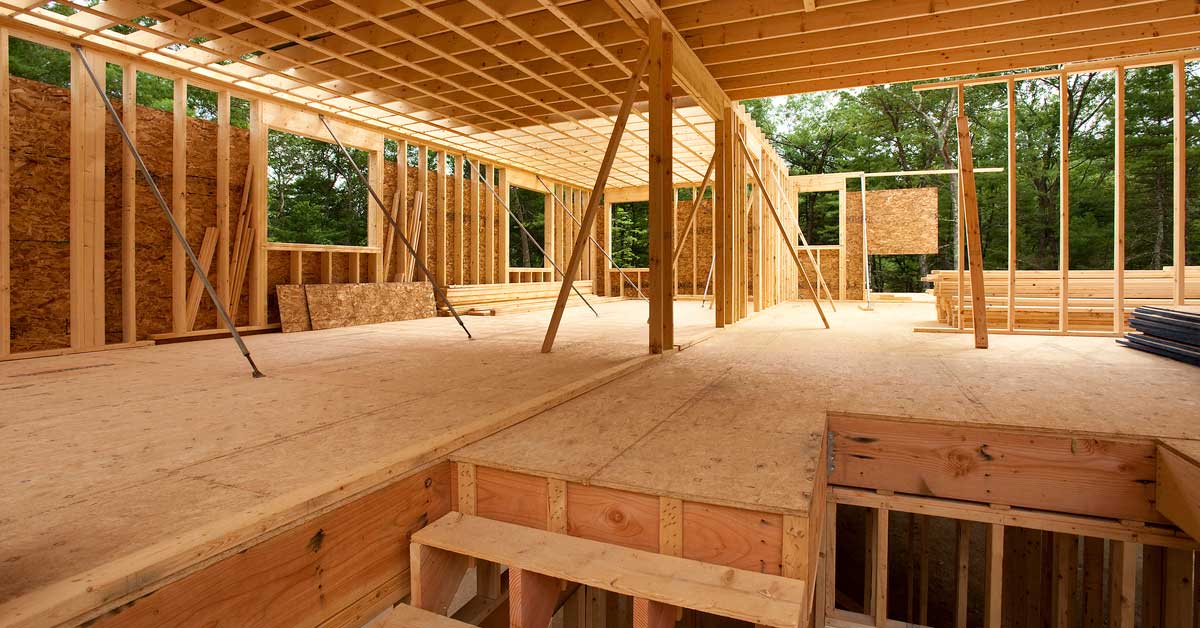
Framing is almost complete for new home building timeline.
Do not wait for disconnects and do it beforehand or you can be waiting several month without work happening at your site.
- Site Preparation
To experienced builder this step is almost automatic, while clients would never think that it takes some time to prepare the jobsite before work starts. It starts with fencing out the whole jobsite, putting portable toilet, preparation for excavator to go in and few other things.
If builders really wanted to step up they could complete site preparation in 1-2 days, but no one wants to rush in the beginning of project and we give it a week. Although once again this can be done during permit stage if there is a rush.
- Demolition and Excavation
Average time for this step is 2 weeks. Actual demolition of old house is like 2 days. After that, its excavation of ground for the depth of foundation. Now here the timing depends on several factors. Slab on grade homes do not need much to be excavated and it can be done in several days.
Homes with deep basements would need excavator to work for at least 5-10 days to dig out exact depth for foundation walls and footings. Downtown projects with neighbors literally within several feet away need shoring safety system that takes another week to bore and install.
- Foundation and Footings
We are going back to slab on grade vs house with basement. Simple concrete slab with attached footing that are poured at the same time can be framed, rebar installed, poured and cured within one week.
Basement foundation walls with larger footings would take up to 3 weeks with proper waterproofing, window wells and whipping tile at the bottom of the wall. Like any other stage of construction this can take longer because of weather, problems with suppliers or inexperienced and busy subcontractors that jump from project to project.
- Framing or Building Walls/Roof
Ahead of time supplier or builder completed take off for lumber and engineered trusses started production. The job is ready for framers to start and all materials are delivered on jobsite without shortage or mistakes in order. Now, its time to put the house together.
Crew of 5-6 experienced framers can complete 3000 sq ft trusses in 3 weeks if everything goes by the plan. Do not be scared by this statement, but nothing goes by the plan in home building and there is always a problem that needs to be tackled.
Remodel on Point lists this point as 4 weeks completion item given all the issues that do arise in the process. Homes made of concrete or blocks instead of framing take similar time to have the walls done.
- Exterior Finishes
This starts with roof installation and windows right after framing is done as well as inspected. Companies that build homes know that ordering windows from the factory takes 4 plus weeks, and you need them as soon as frame work is completed.
Installation of that takes a week or so, and everything other finish work outside is kind of irrelevant. This is because after roof and windows are in, the team should move inside to work on interior, while exterior siding or stone is done parallel in time.
- Rough ins
There are three trades that normally work during rough in stage. The question is how well you know them and if they are going to be fine working together. Companies prefer to work alone without other trades disturbing or delaying them.
Heating system – takes 1-2 weeks for all rough ins for the house. They go in first because ducts or other heating equipment takes more space and hard to maneuver around other rough ins.
Plumbing – drain and water lines are installed for bathrooms, kitchens and laundries. 2 plumbers can complete the whole house in 1 week.
Electrical wiring – team of 2-3 electricians can finish entire home electrical rough ins in 2 weeks. They need to be explained and walked through all the details. Architectural plan does not usually include electrical plan for the house.
Professional home building companies require 4 weeks to complete the stage of rough ins for 3000 sq ft home.
- Insulation and Drywall
It all starts with insulation, drywall or finishing walls (depends how your home is planned). Insulation, Drywall and tape stage is somewhere between rough ins and detailed finishes, and it takes 4-6 weeks to do.
Homes built closer to south don’t require much of insulation. They also could have different finish on the walls, but builders and home owners still need to account 4 weeks for finishing walls.
- Interior Finishes
On this step it starts to become beautiful inside and all the finishing materials come together. At first floor, tiles and stairs are installed. After kitchen cabinets, trims, doors with baseboards and crown molding are put in place.
All walls, ceilings and surface materials like doors and trims are carefully primed, painted or stained where needed. To calculate how long does it take to build house it requires precise calculation and knowledge of all steps.
When all seems to be completed, plumber and electrician come back to fasten fixtures and plates on panted or finished walls.
This is the longest and one of the most complicated steps that requires enormous attention to details. Slight mistakes and damages cause huge delays. Wrong paint, mix-up with tile supplier and defected door handles can change schedules of all trades.
Roughly this work will add 3 months to other steps and we are able to calculate how long does it take to build house with more broken down steps. With delays and problematic trades/suppliers timelines could be much longer.
- Exterior finishes
There are tens of materials that can be selected as finish material on exterior of the house. All of them cost the same and take different time to install. Mix of materials increases overall time because different trades would be hired and materials sourced out from suppliers that sell that exact product.
It takes up to 4 weeks to finish exterior of 3000 sq ft home during construction but we almost never include that time. This is because builders complete this work at the same time as interior gets taken care of. It requires experience to create precise schedules and make sure nothing gets damaged by others.
- Landscape
Tons of complicated landscape is not recommended for new home construction. This is simply because of excavation and soil work during the build. The soil may continue to go down and landscape can be ruined. Basic sod and stone tiles for walkway can be installed.
Driveway is part of the landscape milestone and done at the same time. This work can be completed in 2 weeks.
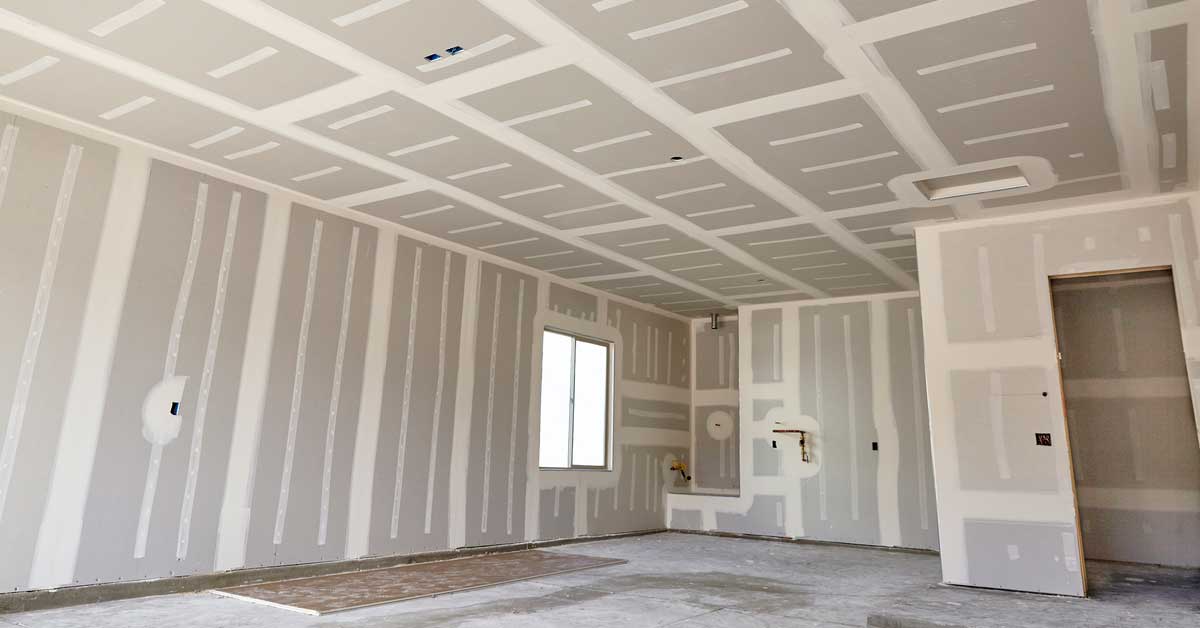
Finished drywall and tape on walls and ceiling.
Preparation is Key in Home Building Timeline
Just because we suggest home building timeline for each step of new home construction, it doesn’t necessarily mean it will pay out that way. Our guidance is something that you rather aim for and expect to happen in one of the best situations in construction.
Biggest delays are caused not by trades working slowly, but rather home builder not preparing for each step properly. This includes scheduling right people ahead of time, knowing how long it will take them to complete specific tasks and most importantly – ordering materials and have them on site ready for construction step.
Getting orders to late or even too early can change entire schedule.
In first example builder can get everyone lined up for work, but forgets to order trusses ahead of time. Home framing is complete and now you need to wait until trusses are ordered and come on site for installation. This could delay 2-4 weeks of project time.
In another situation project manager orders kitchen too early and its ready way before floors are installed. One option is to keep the kitchen at manufacturer’s facility unit its ready for installation. They may charge you for it by day or week. Or another option is to deliver in jobsite and work around it which will delay other trades.
Inspections Will Push the Schedule Back
Never expect everything to go smooth. There will be problems and you better deal with them fast in most efficient way. During home construction some stages require city inspector or other officials to actually inspect if work is completed according to the code.
At point of inspection one stage is usually completed and another does not start until it has passed. Inspector may not be able to come on exact day that you request him to. Also he can request the work to be adjusted in one way or another. Both of these examples push the next stage start date at least few days.
Materials Always Add Time to Home Construction
Remodel On Point committed tons of time to research this topic and we found that materials cause more delays than anything else. Occasionally suppliers mix up exact materials and may send different shade, type or size. Than builder needs to send that part of order and wait for proper materials to arrive.
Whoever does measurements and makes the orders should always account extras for damages and waste. Home owners that are building for the first time tend to convince themselves to purchase fewer materials than actually needed. How long does it take to build house to homeowners that manage their own project? Trying to save money on management results to reordering with extra delivery fees and time wasted.
Incompetent workers can also damage some of the stuff that already installed or products just waiting to be placed on jobsite. It can be tiles, faucets, doors, lights and literally anything if you think about it.
Weather Conditions
Always and we mean always account for the worst weather conditions. Working days always get pushed back because of rain, snow or extremely windy days. This however does not affect interior work and finishes.
Everything depends on time of the year and exact location you are building house at with specific weather changes. This is something you can never predict but at least allow 10% of extra time for schedule work besides interior finishes.
latest video
news via inbox
Nulla turp dis cursus. Integer liberos euismod pretium faucibua